Tuesday, November 24, 2020

Even More Wiring (6)

6 hours

Still more wiring!  Just wrapping up a few more things.  I installed an LED strip along the underside of the glareshield for interior lighting, and wired it to the dimmer switch on the panel.  I had a great assistant for that part!


I found this 12v to 5v converter on amazon and made a simple bracket to attach it to the back of the iPad mount.  That'll provide USB power to the iPad.


I made a fused cable from the battery to this SAE connector; that will connect to the charge port on the side of the cowl for battery charging.


Besides all that, I spent a lot of time tidying up and tying wire bundles together in the interior as well as the engine compartment!!


Sunday, November 22, 2020

Cowl Fiberglass Fixes (5)

 5 hours

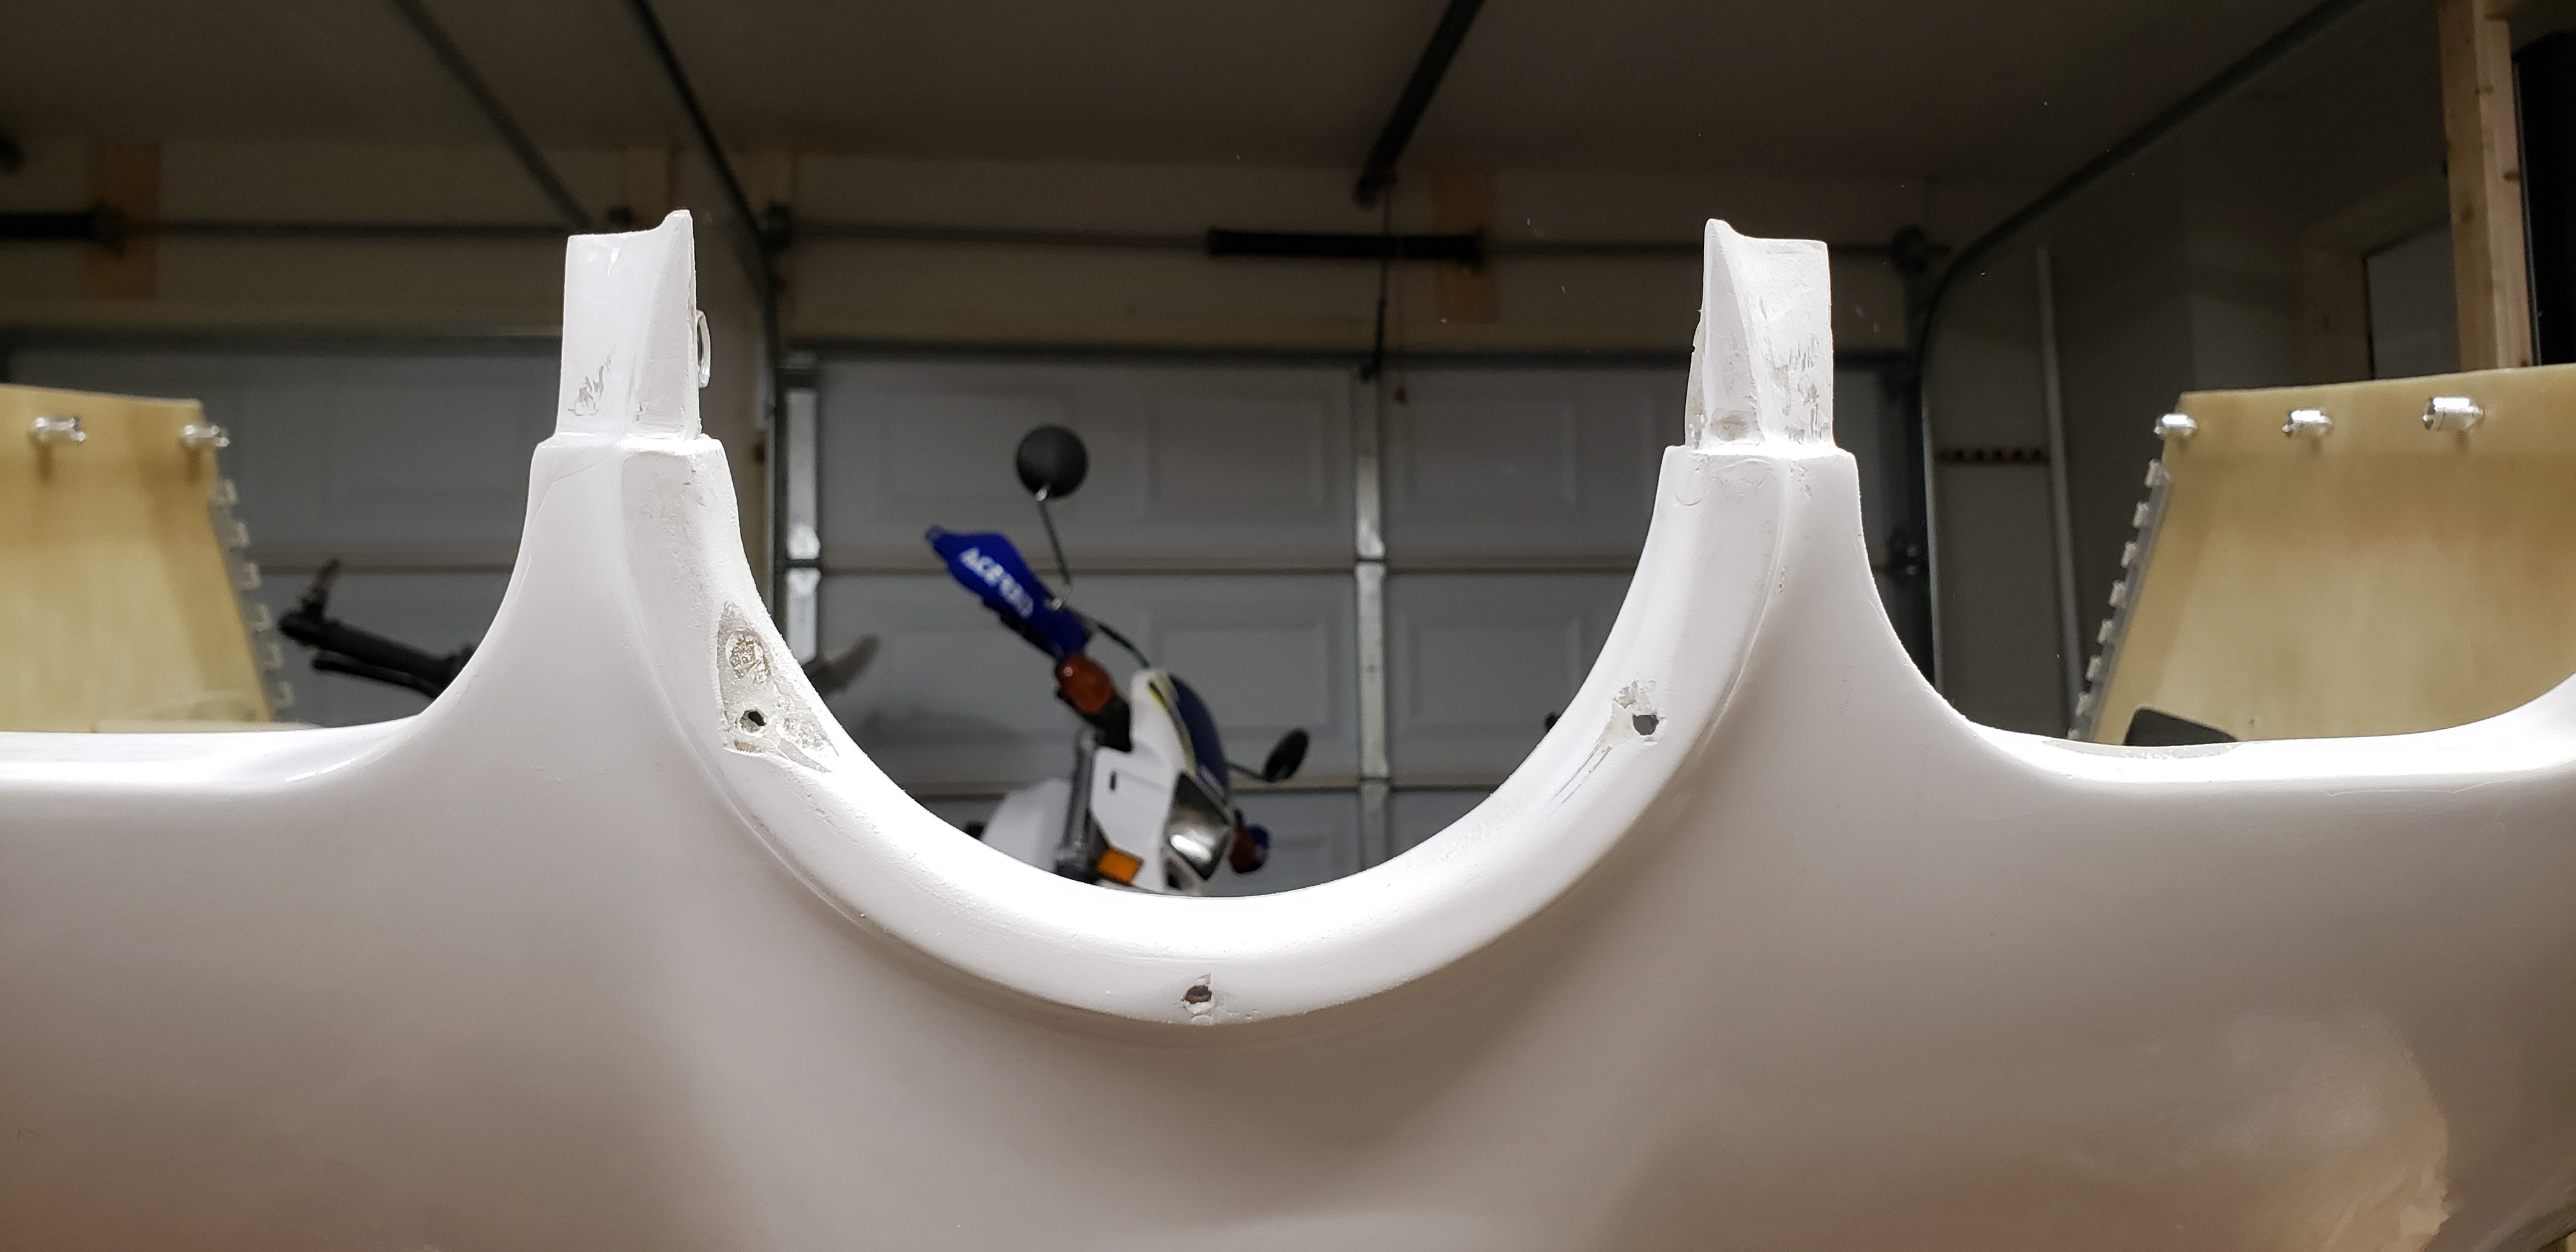
The cowl was pretty much installed but I still had some areas to work on.  First, I sanded down and filled in the holes I had drilled through the prop hub area when I initially fit the cowl.  While working in that area I also found a bunch of little voids in the surface of the fiberglass that I also cleaned up and filled in.


Next I installed the side scoops.  I wanted a convenient battery charge port, so I figured a good spot would be in the top of the left scoop.  It's easy to reach but you can't see it unless you're looking for it!  I attached the scoops to the cowl with some epoxy and aluminum rivets.  I added a little bondo to smooth over the edges where it met the cowl too.


Here's the battery charge port in use:


Next was the exhaust exit.  I just did my best to line up a spot on the inside of the cowl that would match the exhaust pipe and drilled a 3" hole with a hole saw.  It lined up close enough!  Then I adjusted the wrap on the pipe so it didn't hang out the bottom of the cowl.


The last thing was a hole for the coolant and oil vent tubes to go through.  I marked a spot where the vents ended up and cut about a 1"x2" opening.  I think with that done, the lower cowl is done!


Saturday, November 21, 2020

Baffle/Cowl Sealing (6)

 6 hours

I had mostly put the baffles together quite a while ago but I never really finished sealing it against the cowl.  Today I fit the rest of the rubber seals!  I found that the gap between the aft fence and the cowl was too large for the supplied seal (mostly because I cut more off of the baffle than I needed to), so I used a 3" rubber strip for that area.  The seal that came with the baffle kit seemed to work well for the front and sides though.


Wednesday, October 14, 2020

Panel Finishing (5)

5 hours

I finally have all the holes cut/drilled in the panel!  So now it is time to label everything and paint it.  I had been looking into trying to take the panel somewhere to have it powder coated and get all the labels laser engraved, but I didn't really find anywhere nearby that could do it.  So, here is how I did it myself.

First, I primed and painted the panel.  I used Rustoleum Pro Aluminum primer and matte black paint (both from Home Depot).


I let the paint cure for a few days before moving on.  Next, I printed all the labels on my label maker, using some white-on-clear tape.  I laid everything out, figuring out what would fit, how large to make the text, and so on, and then carefully applied all the labels with tweezers.


Finally, I sprayed a few coats of satin clear over the labels.  The passenger warning sticker is from the EAA certification kit.


I let the clear cure for a few more days.  Then I installed everything that goes in from the front (start button, LED lights, and the USB port), and then I installed the panel back in the plane!


I still have a few more things to wire on the panel (seat heat, the interior lights dimmer switch, the iPad dock, and wires to the wings for lighting), but it's nearly complete now!

Sunday, October 11, 2020

Coax Cables (1)

1 hour

With most of the antennas installed, all the was left was to create the coax cables to each one.  I used RG400 cable and BNC connectors, except the GPS antenna which has a TNC connector.  I think I bought 25 feet of RG400 total.

Anyway, I hadn't done any coax stuff before, but I found this video pretty much explained what I needed to know:  https://www.youtube.com/watch?v=xPyLeBIcf9c&ab_channel=SteinAir

Also, this is the crimper I bought:  https://www.amazon.com/gp/product/B0771QGR6Q/

Anyway, it was pretty easy once I understood what that video said.  I made the GPS cable first, which has a specified minimum cable length of 6.5'.  That will leave some extra, which I'll coil around and tie down next to the GPS box somehow.  The transponder antenna was more like 4'.  I'll make the VHF radio cable later once I mount the antenna!


Autopilot Servo Access Panels (2.5)

2.5 hours

Since I'm putting the autopilot servos under the seat, and the seat gets riveted in, I needed a way to access the servos later in case I ever need to adjust or remove them later.  I found some pre-made access panel kits here that I think will work pretty well: http://experimentalaccessories.com/index.html#/ (I bought a 5x5 and a 5x7 panel).

The panels came with instructions that were easy to follow.  I cut two holes in the seat and installed both panels!


Saturday, October 10, 2020

ELT (4)

 4 hours

The ELT I'm using is an ACK E-04.  I had previously created a mounting area just behind the baggage area and installed the little mounting tray there, but I hadn't realized that the mounting screws also needed to go through the two mounting straps.  Luckily I was able to just reach way back there and undo the nuts, install the straps, and reinstall all the hardware.  Then I could install the ELT into the tray and strap it down.


The wiring is pretty simple, it just has a 4-wire connector that consists of power, ground, a signal wire from the GPS box, and a "test" wire for verifying that the ELT is receiving the GPS position.  It was tricky to solder the little connections in this area behind the seat, but once the connector is assembled it seems pretty sturdy.


The other cable on the front of the ELT is an RJ11 cable (same thing as a phone cord) that goes to a beeper and the remote control panel.  I placed the beeper on top of the upper right longeron with two-sided tape, and I installed the control panel above the headset jacks using more of the same M3 screws that I used for the flap position sensor.  The beeper and control panel both required special batteries.  Annoyingly they need two different batteries, but the replacement interval is 10 years so I guess I won't have to go find replacements any time soon at least!


The last thing was to install the coax cable to the antenna.  I used a 90-degree adpater at the antenna end, since clearance was tight next to the channel at the top inside of the turtledeck, where I installed the antenna previously.  The other adapter in this picture is an anti-static filter that came with the ELT.


I used a few zip tie mounts to route the cable along the top channel up to the ELT.  The included 5' cable ended up being just about the perfect length.


I didn't consider this way back when I built the mounting area for the ELT, but I put it a little too close to the turtledeck former, so there wasn't quite enough room for the coax cable to bend behind the former.  I just drilled a hole for the cable to pass through and then curve towards the rear.