Showing posts with label Wing Spars. Show all posts

Friday, January 13, 2017

Spar Mating Done (2.5)

2.5 hours

Spar mating complete!

I stopped at the hardware store and picked up some 1/4" and 1/2" bolts to help me secure the spars together for mating.

I started by drilling the three alignment holes up to 1/4" like the plans call for, then I bolted the spars together through them.


This put the 1/2" holes in the RH wing attach blocks and the pilot holes in the LH spar in pretty much perfect alignment, as far as I could tell.


Next, I used the drill guide to drill one hole up to 3/8", then I drilled that hole up to 1/2".  With the first hole done, I put a 1/2" bolt through it to further hold everything together.  These are not the bolts that will eventually hold the wings on the plane but they will work for this!


Then I drilled the other hole!


With both 1/2" bolts in, the spar assembly is rock solid!!!


The obligatory "Mated Spars" photo

The last step is to install these wing rigging blocks.  They aren't structural, but they will help guide the two spars into alignment with each other when I install them in the fuselage later.


Done!!!


Thursday, January 12, 2017

Spar Mating Part 1 (0.5)

0.5 hours

I borrowed a drill from a co-worker which could hold a 1/2" bit, so I was able to do the final drilling out to 1/2" on the RH wing attach blocks.

Next I started getting the spars ready for mating!

The pilot hole in the middle of this 1/2" hole goes all the way through the LH spar web and the attach block bolted to the other side.  Eventually it will be drilled out to create a 1/2" hole through the whole thing.  There's another one of the same thing a couple feet to the right of this picture.
There are three small holes in each spar web which line up when the attach blocks are lined up, so I cut off three pieces of piano hinge wire and used them to align the holes.

Initial layout of the two spars

Piano hinge wire bits used to align the three small holes

The instructions say to drill out those three holes to 1/4" while the spars are clamped together.  I think what I'll do is drill them to 3/16" initially, and then bolt the spars together with some of the AN3 bolts I have on hand.  That should help everything stay aligned while I drill out the 1/2" holes.  After that I can go back and drill these three to 1/4".

Observe the majestic full wingspan!  These bar stools ended up being the perfect height to support the ends of the spars.

Here's where I am so far on the main spars.  Note that assembled spars come standard with the B-model kit, so this is pretty much the whole main spar build.

Sunday, January 8, 2017

Right Main Spar Part 3 (2)

2 hours

Now that I got my 1/2" reamer in the mail, I was able to go back and drill the RH wing attach blocks up to 1/2".


Then I bolted the attach blocks to the RH spar, and the next step was to carry the 1/2" hole through the spar.  Sonex includes a "drill guide" with the kit, which is a piece of steel tubing with a 1/2" OD and 3/8" ID.  The drill guide wouldn't quite fit into the holes in my wing attach blocks, so I chucked it into the drill press and hit it with some sandpaper until it would just barely fit without getting stuck.

This is as far as the drill guide would go initially.

After a bit of sanding, the drill guide fits into the holes in the attach blocks with no slop!

Once of the attach blocks bolted to the spar.  In the center is the pilot hole in the spar which needs to be updrilled to 1/2".
Pilot hole updrilled to 3/8" using the drill guide.  It's actually perfectly centered, it's my picture that' crooked!
I don't have a drill big enough to hold my 1/2" bit, so I'll have to borrow one.  The next step will be to mate the spars together and carry the the 1/2" holes all the way through the LH spar and attach blocks.

Sunday, January 1, 2017

Left Main Spar Part 2 (0.5)

0.5 hours

I got the last few parts attached, so until I mate the two spars the left side is done!


Saturday, December 31, 2016

Left Main Spar (3)

3 hours

Cranking away on the left main spar.  Since I already did most of this on the right spar this went pretty fast!  It's just about done, I just need to bolt down the outboard vertical stiffener and tiedown fitting, and rivet the tip rib angle and it'll be all done!

These 8 bolts were still kind of a pain to torque down, but it went faster than the right side did.

The holes on the root rib attach angles don't quite all line up with each other, so I clamped them together and drilled through both using the aft angle as the master.  Then I used the aft angle to transfer the holes to the spar web.  Once the holes were all enlarged to 3/16" they lined up just fine.  On the right side, I tried to do all this with the angles clamped to the spar and it was a pain.  This worked much better!


Root rib attach angles and wing attach block done!

Rear Wing Spars Done (1)

1 hour

Now that I have my hardware I was able to put the last two bolts in each rear wing spar assembly.  I did run into a small problem that I kind of expected, and that was the bolt holes in the root rib attach angles were too close to the radius of the angle for a nut to sit flat.

Not a big deal, I just had to whip up four little blocks with a rounded edge, and use longer bolts.  I'm pretty sure the legacy Sonex/Waiex plans have you do this anyway, but they aren't called out on my B-model drawings.  If you flip to the page where it shows the root ribs attached to the rear spars though, they still show up.

See how the nut can't sit flat because the radius is in the way.

Here's one spacer done.

Another example.  I swapped out the AN3-5A bolts for -7A's to make up for the extra thickness.

Done!

Here's a diagram later in the build process, and you can see the blocks I just built shown here!

Friday, December 30, 2016

Right Main Spar Part 2 (1)

1 hour
Now that I have my hardware I can bolt all these parts to the main spar.  I got the outboard reinforcing angle and tie down fitting done, as well as the 8 bolts holding the inboard bottom edge of the spar web together.

I think until I get the wing attach blocks finalized, that's about all I can do on this side for now!

On the tiedown fitting, the plans call for a washer both on the nut side and the bolt head side.  I found that this resulted in the bolt barely making it all the way through the nut (the closest two nuts in this picture).  So I removed the washer from the bolt head side where required to get the proper amount of protrusion.  Now all of them have about two threads sticking out.

These 8 bolts are very close to the spar cap, so I used a punch and a mallet to tap them in.

Torquing these nuts was even tighter.  The only way I could manage to do it was by holding the nuts with this tiny wrench, and putting the torque wrench on the bolt side.  Luckily the required torque is so low that it wasn't very hard to hang on to the nuts.

Wing Attach Blocks Part 2 (1)

1 hour

Conveniently, my Aircraft Spruce shipment included a 3/16" reamer, so I used that to finish all 3/16" holes on the wing attach blocks.


I want to use a reamer to drill the 1/2" holes on the right wing blocks, but I don't have one yet.  It's on the way.  In the meantime, I decided to enlarge the holes to 15/32" so they'd be ready for the reamer as soon as I get it.

Once I got up to a 3/8" bit, I determined that it was getting increasingly unsafe to hold the parts on the drill press by hand, so I made a quick trip to Harbor Freight for a sweet $17 drill press vice.  I probably should have bought one a few years ago!  Anyway that made it real easy to step up these two holes to 15/32".  Now I just need my big reamer and I can call these done.


Wing Attach Blocks (1)

1 hour

I figured out to to get my wing attach block to fit in the channel.  I just had to round off the upper corners a tiny bit, and I can now slide it into the spar from the end.

Not much of a picture, but the upper left and upper right corners are what I rounded off a tiny bit to allow this part to fit inside the spar.
 
Next I started updrilling the holes.  I'm going to use a reamer for the final sizes of each so I still have to wait for them to show up in the mail.

Thursday, December 29, 2016

Right Main Spar (1)

1 hour

I got a little more work done on the main spar, including drilling the root rib attach angles to the spar and riveting the tip rib angle to the end.  I don't think I can do a whole lot more to this thing until I get my hardware, but it should be here any day now!

This wing attach block is supposed to bolt through those holes on the blue line, but it doesn't quite fit between the spar caps.  I think I will have to trim the corner of the block so I can rotate it into place.

Left Rear Wing Spar (1)

1 hour

I came back this afternoon and knocked out the left rear spar.  It went faster than the first one, but I did make one mistake; I attached the root rib attach angle backwards (I made it the same way as the right spar, but it should be the opposite).

I flipped it around but since I drilled the holes backwards, that puts the angle about 3/32" higher than it's supposed to be on the spar.  I think it'll still work since there's more slop than that when you fit the aft root rib, but I emailed Sonex to make sure.  Worst case I'll have to replace that little angle.


Here is what I messed up.  The root rib attach angle on the left spar (bottom one in this picture) is oriented like the right one, but it was supposed to be flipped around so the flat side faces inboard.

With the attach angle flipped around, the holes still line up, but the part is shifted slightly up on the spar (to the left in this picture).  The top edge of the angle is supposed to line up with the top edge of the plate below it, but it's about 3/32" off now.  I'll have to find out if I can get away with this or not.

Right Rear Wing Spar (1.5)

1.5 hours

Right wing spar just about done; all I need is a couple pieces of hardware and it'll be complete!


This doubler plate didn't quite fit into the radius of the spar channel, so I had to round off the bottom edge a bit to make it fit.

Here's the result of my edge rounding.

Also, the hole in the spar channel wasn't quite as big as the hole in the doubler for whatever reason, so I just filed it until they matched.

Done!

Wednesday, December 28, 2016

Rear wing spar parts (1)

1 hour

Now that I have most of the parts what were backordered, I can build the rear wing spars.  I started by cleaning up the edges and drilling the pilot holes on these plates so I can fit them to the spars.
Once I get my hardware that I ordered I should be able to complete the main and rear spars!


Saturday, December 24, 2016

Wing spars and wing ribs (3)

3 hours
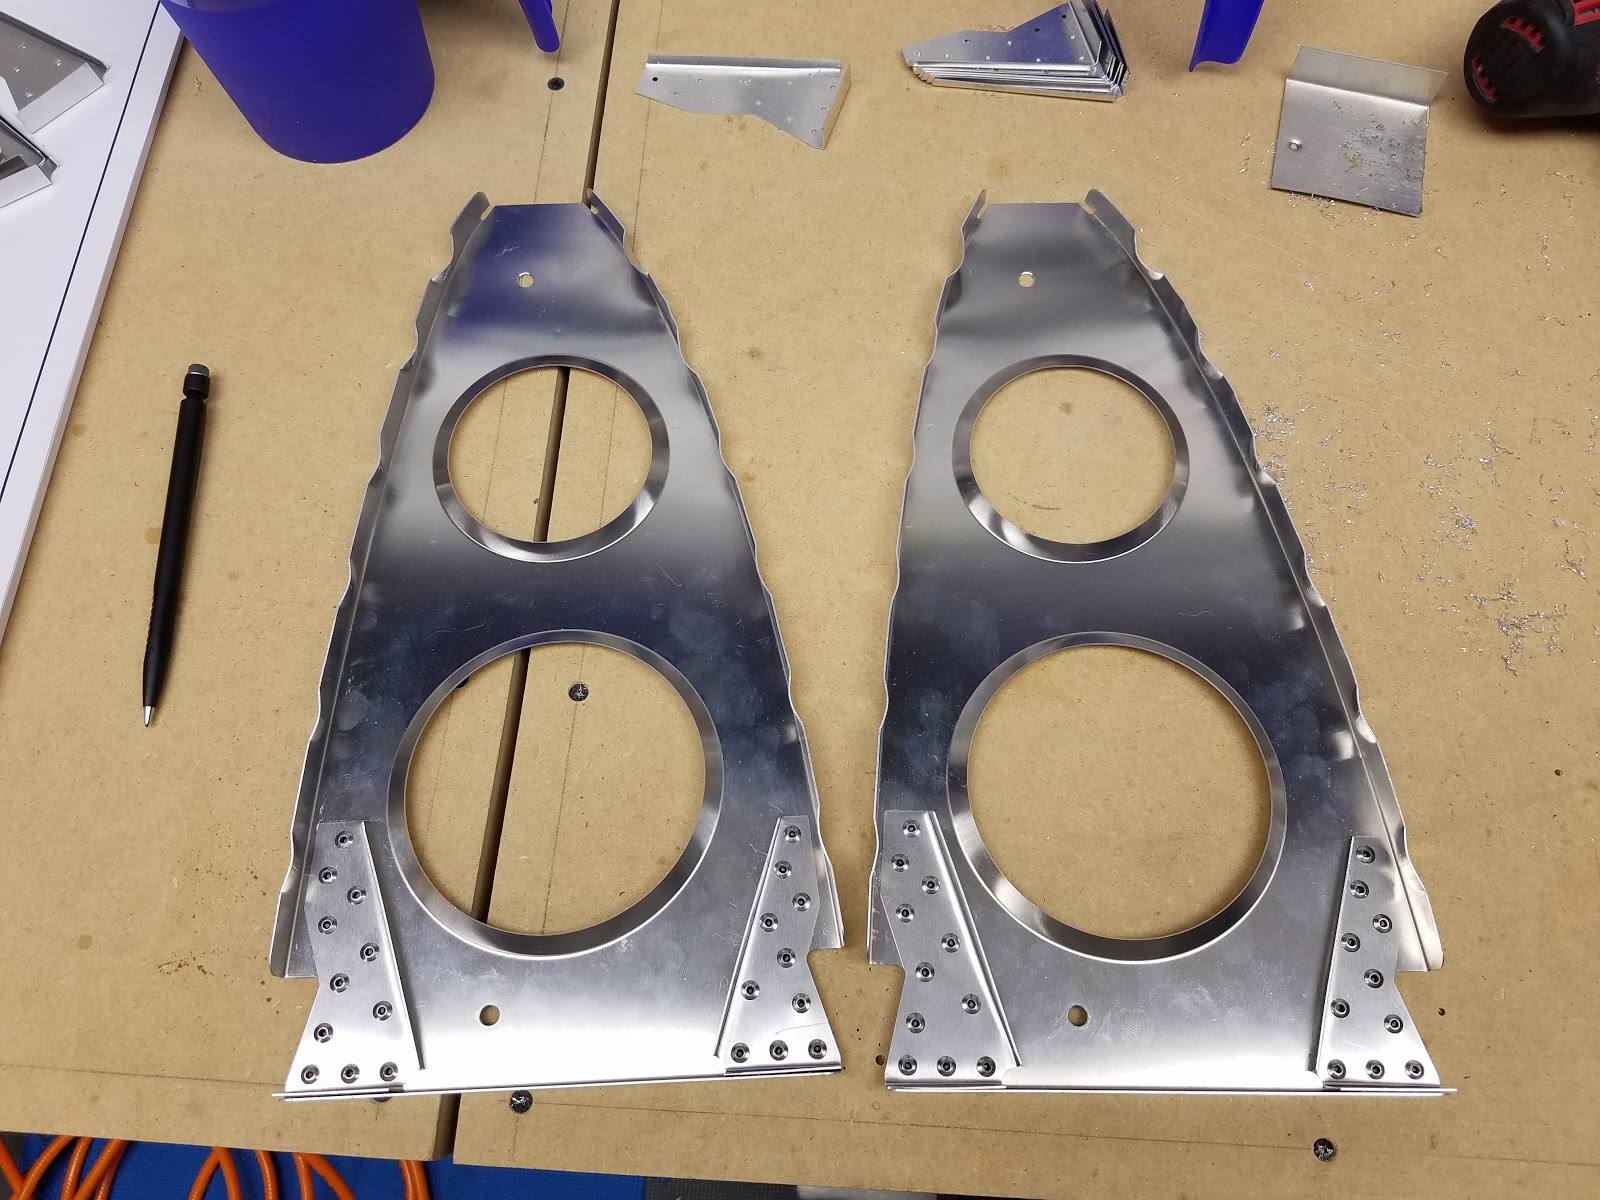
I drilled some of the parts to the right main spar, then I made all the little reinforcing gussets for the forward wing ribs.  Then I started riveting them to the forward ribs!