Wednesday, July 14, 2021

Axle Nuts & Brake Bleeding (1.5)

 1.5 hours

I'm pretty sure I won't have to take the brakes apart anymore, so I guess it is time to fill the brake lines!  It was fairly easy, and the translucent lines made it easy to see where the air bubbles were.  The hardest part by far was filling the reservoir without making a mess.  It's very small!  While I was at it I also drilled the axles for the cotter pins which retain the axle nuts, a job that I could have done ages ago but put off for some reason.


Tuesday, July 13, 2021

Decals & Placards (3)

 3 hours

There were still a few things I needed to add to the plane to make it legal.  First, I bought the required data placard to mount below the left stabilator.  I could have probably made one myself for cheap, but this one turned out really nice.  I bought it here: https://www.experimentalaccessories.com/


Next I put the registration in a little document holder and attached that in the cockpit.  Here's the document holder that I used.


Finally, I had to make some decals for the tail number and required "experimental" label.  I used my wife's Cricut and some black vinyl to produce these decals.  It was pretty simple after a little trial and error.  The font I used is called AmarilloUSAF.

Eventually I will paint or vinyl the whole plane and make new numbers, but these will work until then!


Saturday, July 10, 2021

Gear Leg Fairings (12)

12 hours

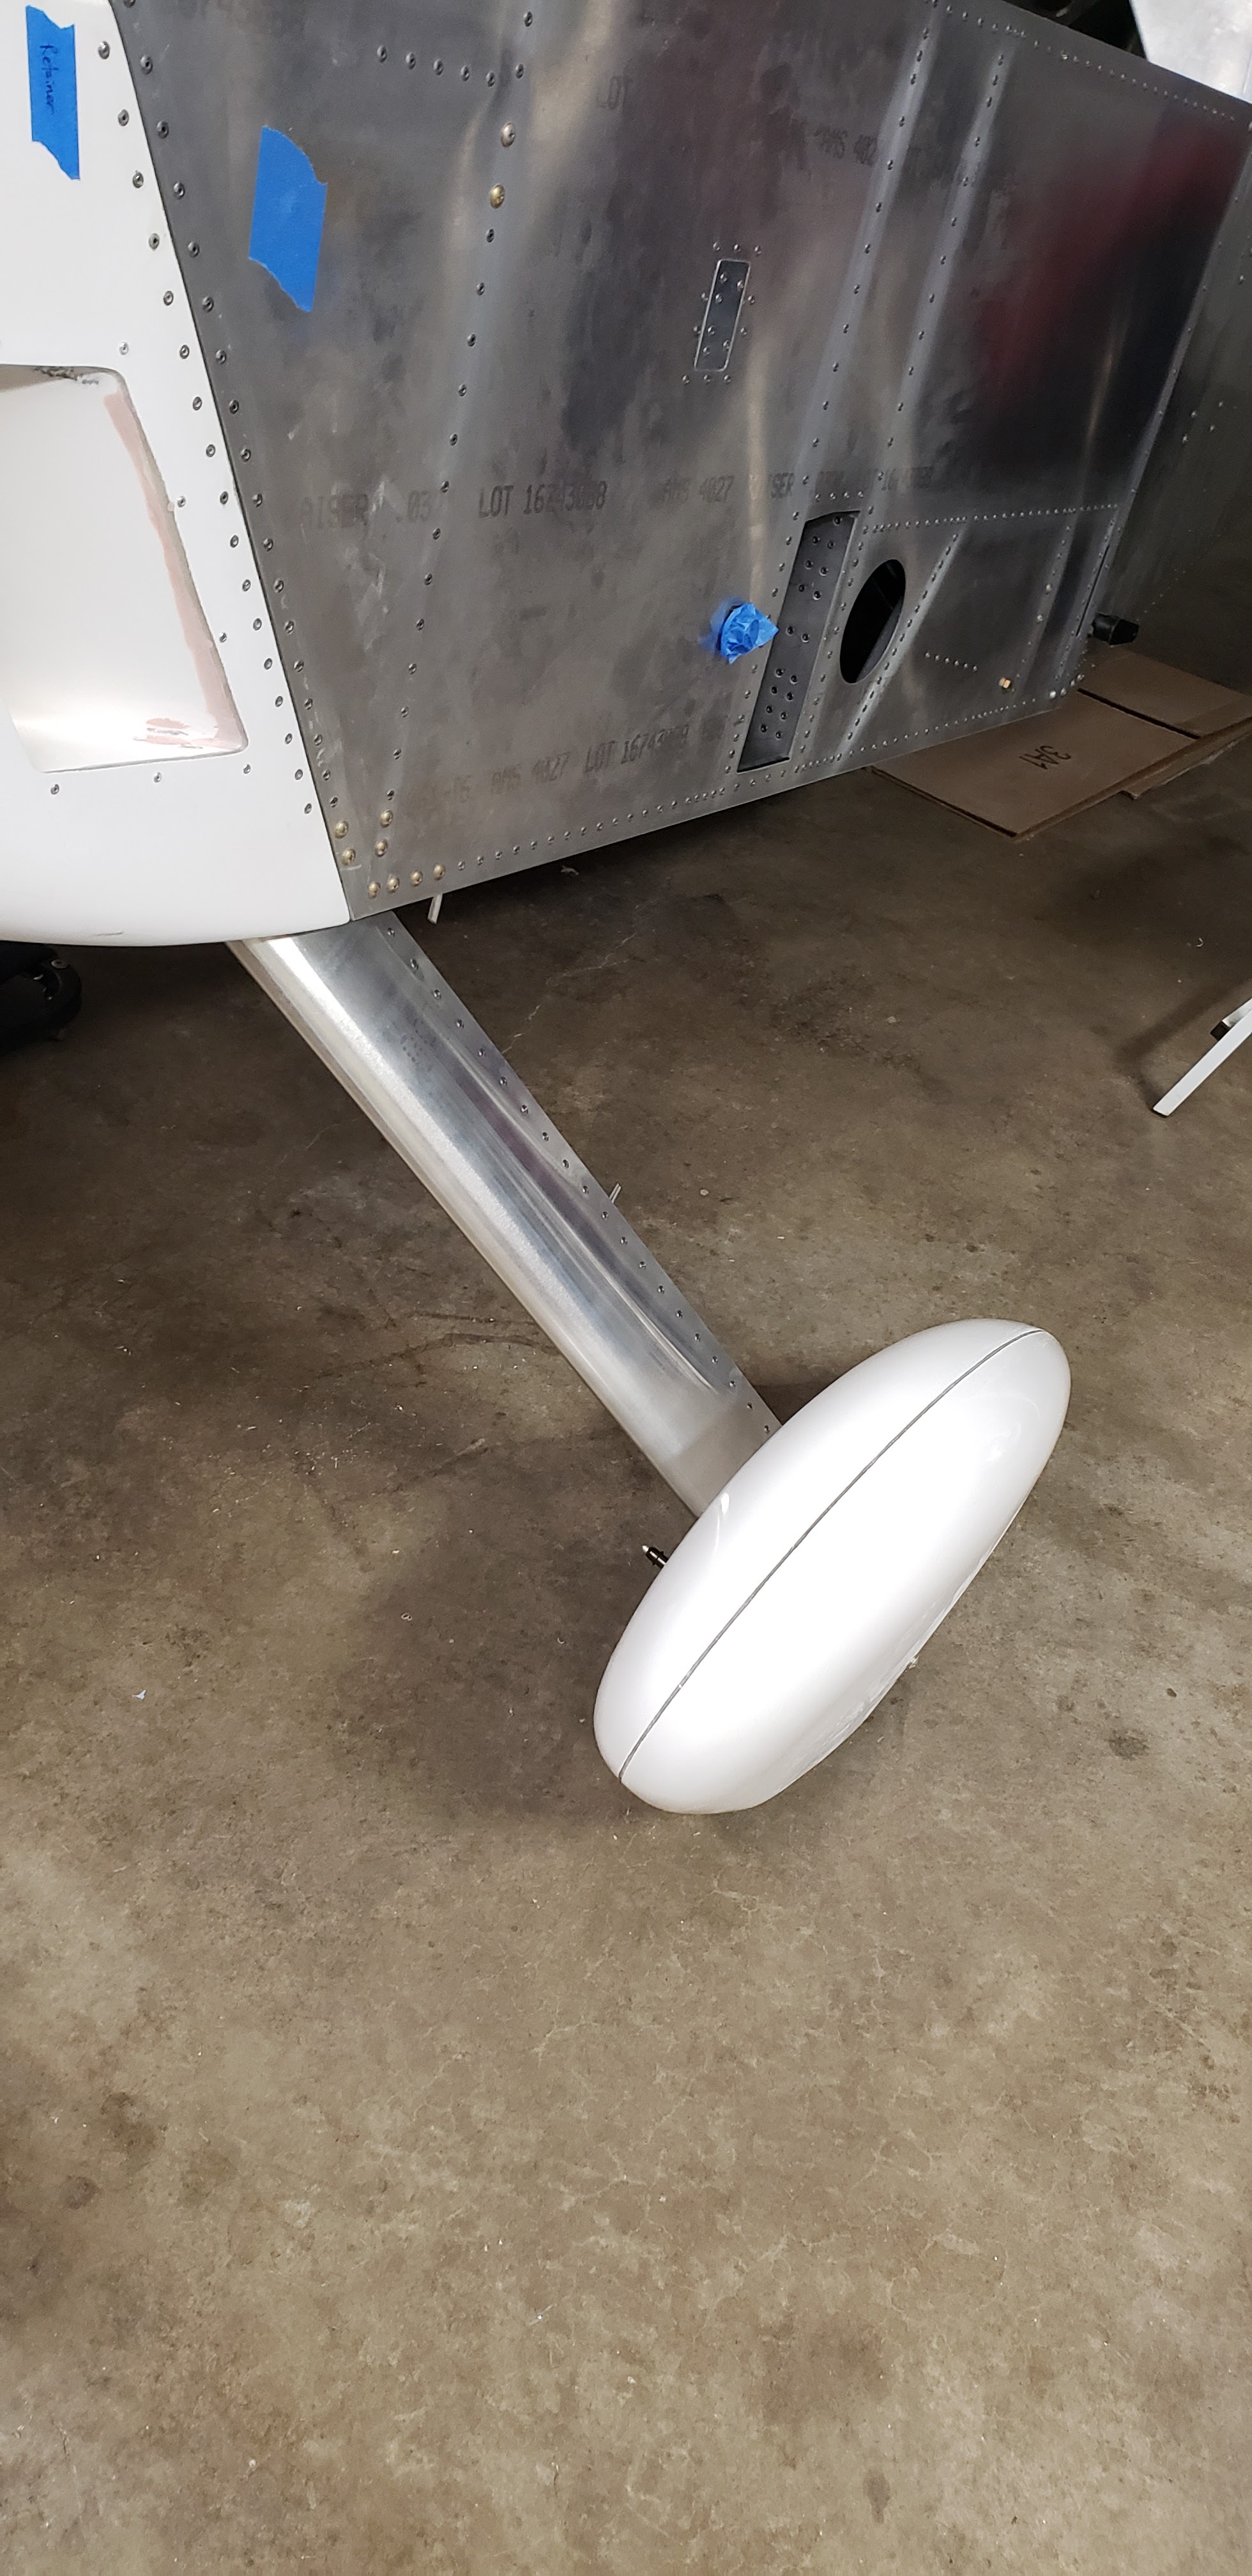
This was a little but of a project, but in the end I think it went pretty well.  I kind of expected to have a really hard time getting the fairings to fit nicely, but the dimensions in the plans actually came out really close!

I started by cutting out the pieces and then laying out all the dimensions called out in the plans.  This took a while all by itself.  


I also made the hinges, and then I roughly cut the ends of the sheets to the drawn-on profile, and also drilled the hinges to the sheets in the appropriate places while they were still flat.

This is how I bent the fairings.  First I took two scrap 2x4s and screwed them to my workbench.  I think I put them 1-1/4" apart, although I don't think that was super critical.  Anyway, then I took a chunk of 3/4" dowel and put a long decking screw through each end.  Then I lined up the dowel centered between the 2x4s and just started the screws into the tabletop.  Next I slid the sheet between the 2x4s and the dowel, got it lined up as nice as I could so the centerline was directly below the dowel, and then screwed in the deck screws at either end of the dowel.  This pushed the sheet down between the 2x4s and bent the edges most of the way up towards each other.  From there, I was able to cleco the hinges on, and press them together by hand until I could insert the hinge pin.  Then I removed the dowel and the bend was done!


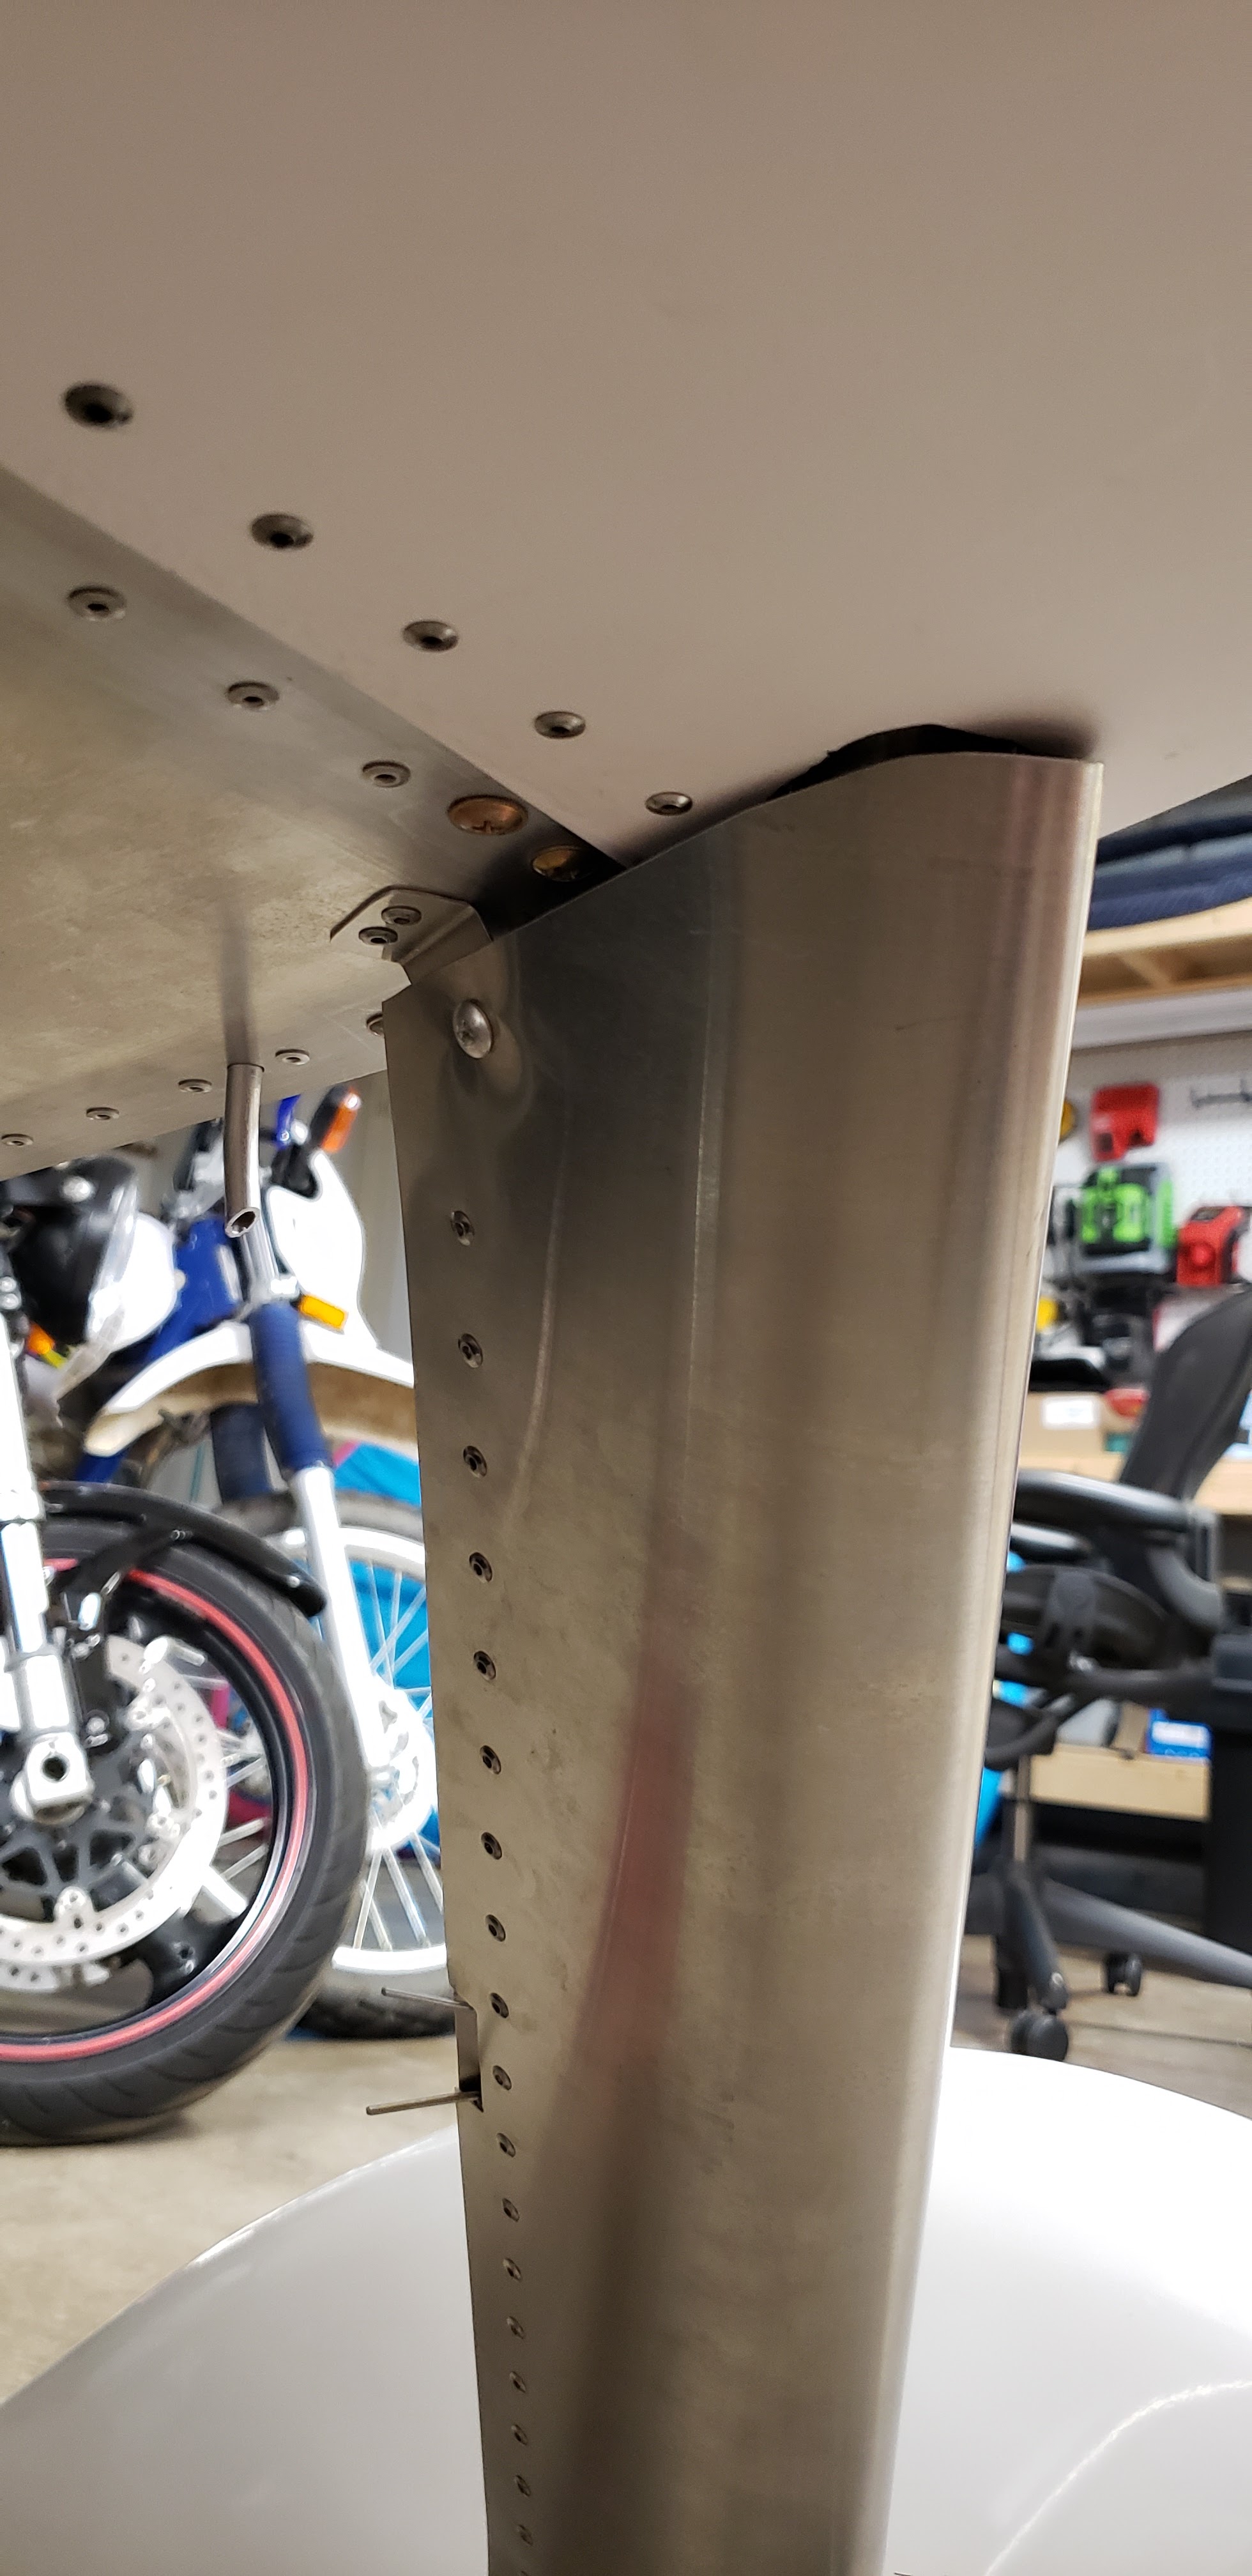
Doing the bend this way worked surprisingly well.  Anyway next I set about getting the fairing to fit on the plane.  I built the right side first, and test fit t around the gear leg.  It was a tight fit, so I gradually trimmed little bits off the top and bottom to try and make it fit reasonably close on both ends without interfering with anything.  Unfortunately I went too far and ended up with a pretty large gap as you can see in the next two photos!


I took the lessons learned from the right side, and got the left side to fit a lot better.  Then I went back and redid the right side.  I found that it was pretty hard to finagle the fairings into place with all the clecos, so as soon as things looked like they were going to work out I just went ahead and riveted the hinges on.


To keep the farings in place, the plans say to put one long hinge pin from the inside of the cockpit floor, through the floor, through the fairing hinge, and into the fiberglass wheel fairing.  I didn't want to do it that way because I'd never be able to install the pin by myself, plus the brake caliper was in the way on the wheel side anyway.  I decided to do what I think a lot of builders have done and have two pins go from the center outwards, with a little notch cut into the fairing for access.  I had the upper pin penetrate the floor, but I couldn't have the lower pin go through the wheel fairing because of the caliper.  Instead, I made a little tab with a nutplate for each side, and riveted it to the underside of the floor.  Now the fairings are retained by a screw and the upper hinge pin; I think that will be enough!


I drilled some tiny holes so I could safety wire the ends of the hinge pin together so neither of them can work their way out.


Monday, July 5, 2021

Fuel Vent Relocation (1)

 1 hour

Before I could install the gear leg fairings, I had to move the fuel vent outlet.  I pretty much guessed where to place it when I first ran the vent line a long time ago, and of course it ended up being in just the wrong spot.  I was hoping I could pull the aluminum line back up through the hole and finagle it through a new hole, but I with all the slight little bends and stuff in the line, I couldn't budge it back up into the cockpit.  I ended up having to cut the line inside the fuselage and then splice in a new little piece using a short piece of rubber fuel line.  It's not as clean as it was but I couldn't figure out any other way to do it!

Original vent location

Here's how I relocated it inside

New location that clears the fairing

I cut the end of the vent at a 45 and also drilled a tiny hole in the back side in case it somehow gets clogged from a bug or something


Monday, June 28, 2021

Interior Reassembly (2)

 2 hours

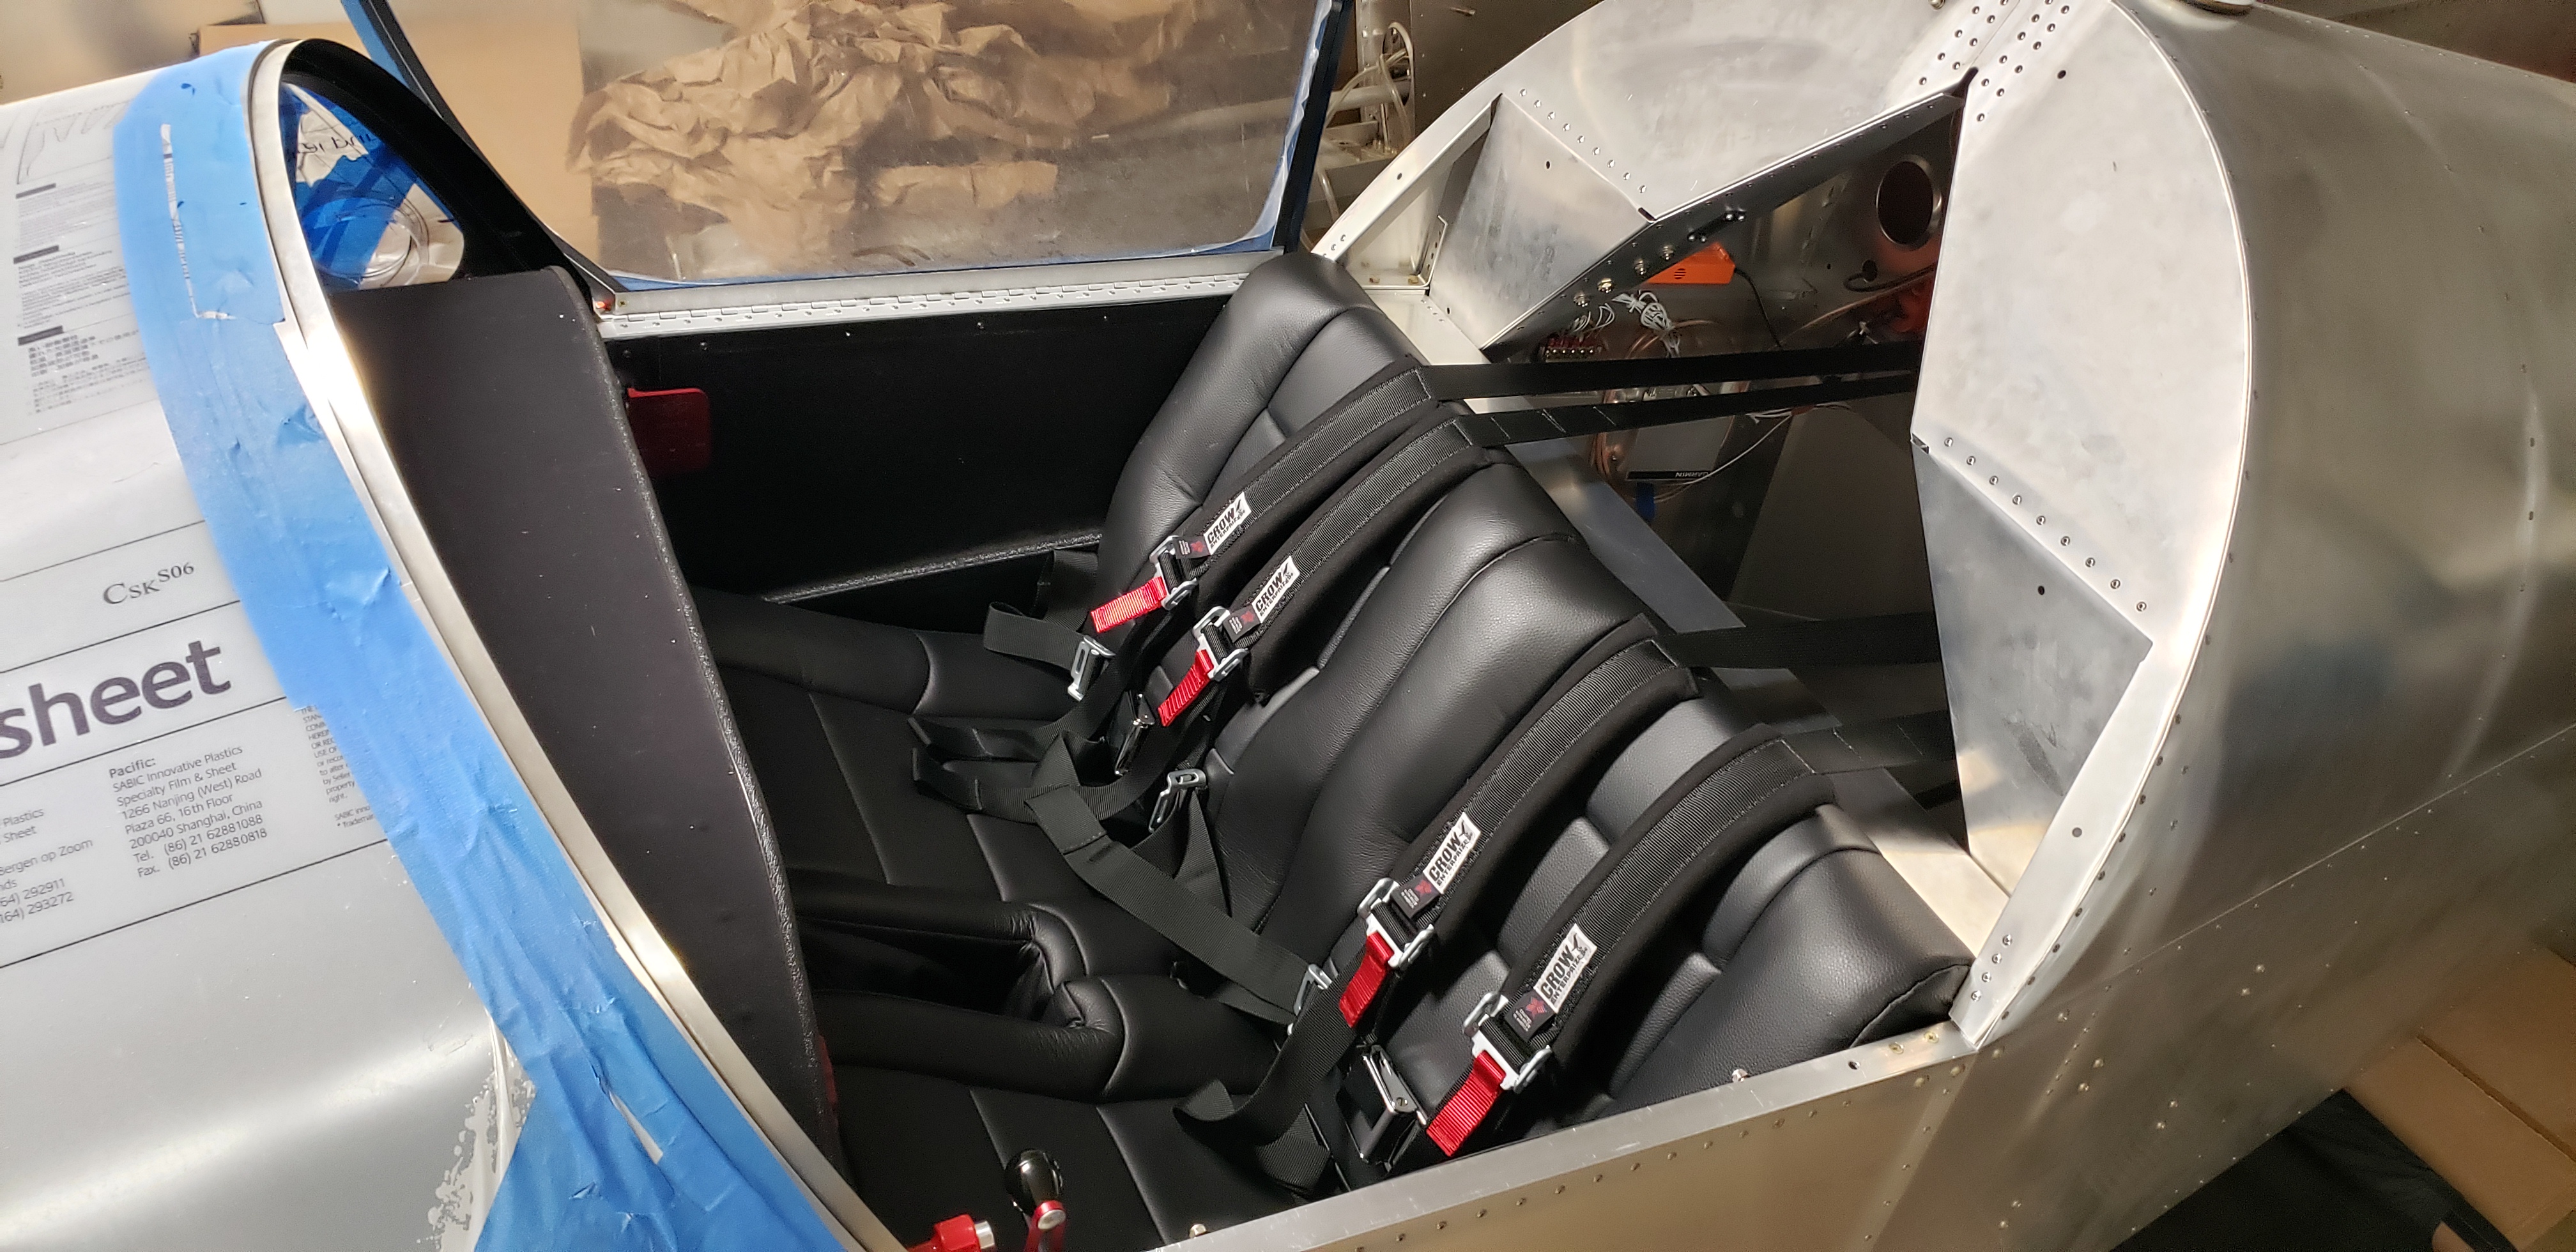
This was quick and easy and got a lot of parts off my shelves!  With the seat totally done, I went ahead and installed the cockpit side panels, stick boot, and seats.

I had to cut some extra clearance into the side panels for the big wire bundle, and the canopy switch on the other side.


I had to take the stick grip off to get the boot on, but besides that all the upholstery just velcros to the seat.


My little dude found it comfy enough so I think it's good to go.


Sunday, June 27, 2021

Wheel Pants (7)

 7 hours

I wasn't really looking forward to messing with these fiberglass wheel pants, but they weren't too bad overall I guess.  They mount with one screw into the end of the axle on the outboard side, and four into the little rectangular plate on the inboard side.  I noticed the ends of each axle were drilled but not tapped, so I started by tapping those two holes.  Then I took a closer look at the mounting plates that I built way back when I put the wheels and brakes on.  I pretty much blindly followed the plans when I made them, not really thinking ahead how they'd be used.  They're supposed to be parallel to the ground, but mine were at some random angle.


I thought about trying to use them that way, but the bottom corner would hang down below the fiberglass, including the nut plate, so that wouldn't work.  I ended up just removing each one and flipping it over, drilled a new hole to pin it to the caliper in a level position, and then reinstalled them.  Then they were level, but the plates blocked the brake bleeder on each side.


I removed them again and cut a notch so I could get a wrench on the bleed screw.  Now I can actually start on the wheel pants!


The plans call for a hole on each side, 11" back from the front, and 2.5" up from the bottom.  I drilled those, and then updrilled the hole on the inboard side with a 1-3/4" hole saw, and finally cut a notch to match the big hole.


That was enough to get the fairing over the wheel with the brake line removed, so I installed it that way, lined it up the best I could, and then located and drilled the four holes to align with the nut plates.  Those four holes were the trickiest part.  I used a small flashlight to light them up from inside, and then I could sort of see where they were from the outside.  A couple of the holes didn't turn out great, so later I will probably repair them and drill them again.


Anyway, the last step was to create enough clearance to be able to get the fairing on around the axle and brake line.  It took a few iterations but I just kept cutting little angles and removing material until I could install it.  I'm glad I hadn't filled the brake lines yet because it was very helpful to be able to remove them from the calipers!


Wednesday, June 23, 2021

Seat Installation (2)

 2 hours

Everything that lives under the seat is installed now, so I went ahead and riveted the seat on!