Showing posts with label Aft Fuselage. Show all posts

Wednesday, January 1, 2020

ELT Bracket (5)

5 hours

This is definitely something to take care of before riveting the aft fuselage floor in place.  In fact, for anyone reading this, an even better time to do it would be before the turtle deck is even installed!

Anyway, I will need an ELT eventually, but the plans leave you on your own for mounting it.  After a bit of research I decided I'd plan on using the ACK E-04 ELT.  However, ELT's and especially their batteries have a finite shelf life, and who knows when this plane will actually fly.  So instead of buying the whole ELT now I just bought the mounting tray that goes with it so I can figure out the mount now, and just strap the ELT to it later when it's closer to flying time.

I did what I've seen many others do, and planned to build a mount on top of the right upper longeron, behind the baggage compartment (in front of the aft seat belt mounting point).  This is a sturdy spot and still accessible for now.  I only riveted the aft floor around the access panel so far, so I was able to bend the forward half down and get a decent amount of room to work.


I started by just cutting out an arbitrarily sized piece of scrap sheet, with the angle of the aft fuselage side cut on one side of it (about 10 degrees).


Next I drilled that piece to the longeron and upper cross tie.  I added two pieces of scrap angle I had laying around as well.  This was an okay start.


 I also added a 1/8" thick strip to the top.


The mounting instructions for the ELT said it should not be able to move more than a tenth of an inch in any direction with 100 lbs of force applied.  I don't have a great way to measure that, but it seems pretty rigid.  From here I just pushed and pulled on it and examined where the mount seemed most flexible, and added reinforcements bit by bit until I couldn't really budge anything anymore.


I added two washers per screw to raise the tray up a bit, which will allow the mounting straps to clear the 1/8" thick reinforcement strip that I added to the top of my mounting sheet.


In total, what I added to the plane was 11 ounces.  Not too crazy, but I probably could have made it lighter with some less haphazard engineering I guess.


Here's what I ended up installing.


 In the plane!


Sunday, January 13, 2019

Aft Fuselage Floor (1)

1 hour

With the mixer installed I went ahead and reinstalled the aft fuselage floor.  Everything still lined up!

I riveted the nutplates around the mixer access panel but left the rest cleco'd for now, just in case I think of anything else I need to get at later.


Friday, December 28, 2018

Aft Fuselage Riveting (6.5)

6.5 hours

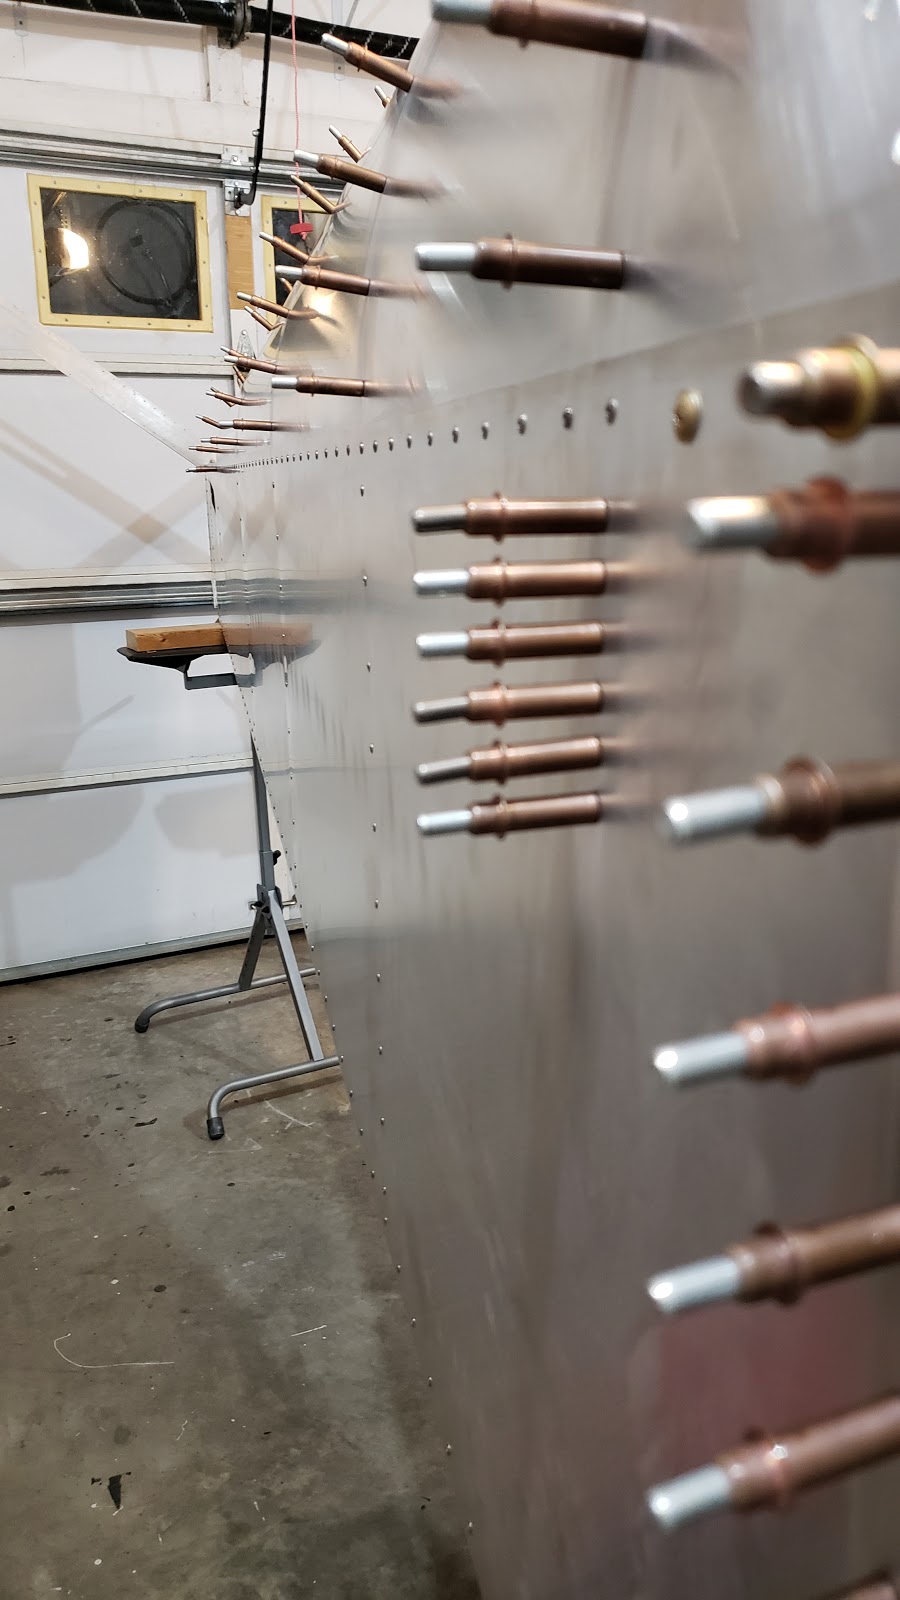
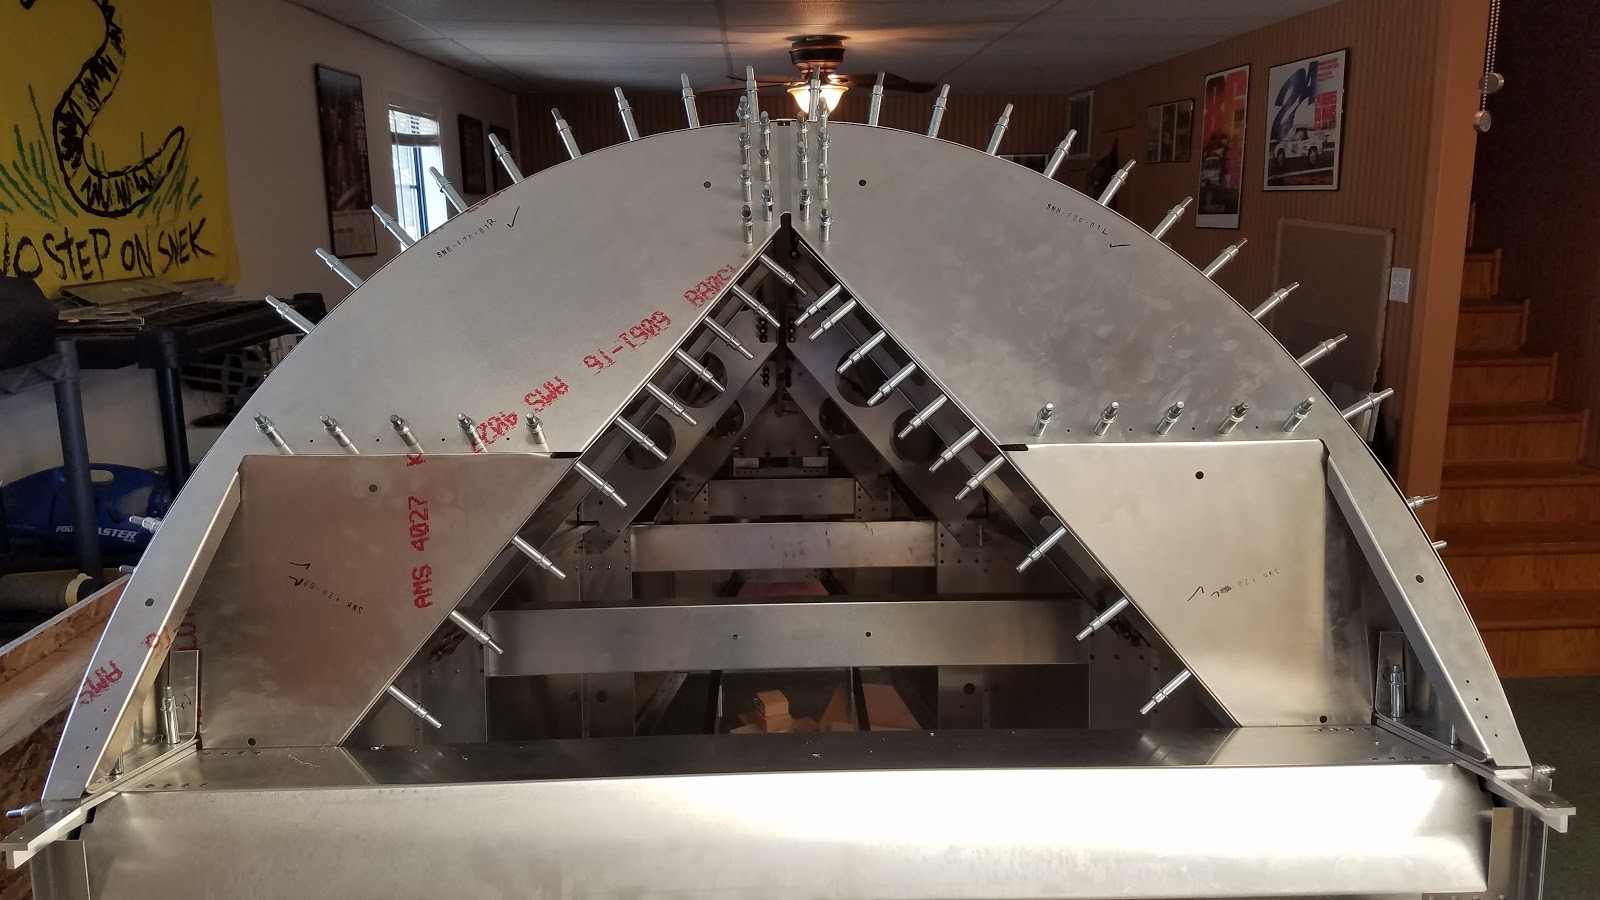
Now that the fuselage is in the garage I don't have to worry about fitting it through a door anymore, so I can go back and rivet all these parts I fit ages ago.  I started with the turtledeck.  It went back together pretty quick.  This was about 600 rivets in total!


Thursday, November 2, 2017

Deburring Turtle Deck Parts (2.5)

2.5 hours

I have the whole turtle deck and all the associated parts removed, disassembled, and deburred!  I also deburred all the holes I put in the fuselage side skins and longerons.
Normally the next thing to do would be reinstall everything and rivet, but if I did that the fuselage would no longer fit through my basement door.  So for now all these parts will just sit until I move everything outside later.

Sunday, October 29, 2017

Turtle Deck, part 5 (2)

2 hours

I got the last of the parts updrilled.  Now I have quite a pile of things that need to be deburred!


Turtle Deck, part 4 (4)

4 hours

Lots more progress on this thing.  I got the rest of the parts fit in the #1 former area, adjusted some of the flanges on formers 2-4 for a better fit, and got everything updrilled at the longerons and formers 2-5.

The only part that didn't really fit was this splice plate that joined the two upper formers.  Everything was pilot drilled, and if I clecoed the parts together it pulled the formers down away from the skin.  I had a chunk of plate laying around that was the same thickness, so I just made a new one by tracing the old one.  I transferred the holes from one side of the plate to the new part, then installed it and transferred the other side's holes from the former.


Thursday, October 26, 2017

Turtle Deck, part 3 (1.5)

1.5 hours

Starting on the #1 former, which is actually comprised of several parts.  The lower formers are the first ones to install, however I noticed that they are supposed to have a bend at the top edge to meet the upper formers, and mine were flat.  The plans didn't call out the bend, but I took my best estimate and put the bend line 3/4" down from the top, and bent the top back 30°.  I think it turned out correct!


Monday, October 23, 2017

Turtle Deck, part 2 (2)

2 hours

I got formers #3 and 4 installed.  It was a pain!  I thought I could get them through the access hole in the floor, but it ended up being pretty much impossible as far as I could tell.  I ended up just pulling the lower skin out from under the fuselage so I could get more access from underneath.  It was still tough to reach a lot of the parts!  Eventually I got all the holes drilled for the #3 and 4 formers.  I think I will try to adjust some of the flutes in the formers a little to try and get a better fit to the curve of the skin in a few places, before I updrill the holes.


Sunday, October 22, 2017

Turtle Deck (2.5)

2.5 hours

Time to start installing the turtle deck.  I started by laying out the skin flat on the floor and marking a line 1" in from each edge to mark the required overlap with the side skins.  Then I moved the fuselage to the floor so I had room in set the skin on top.  I carefully clamped the left side in place and and then drilled the holes through the side skin, turtle deck skin, and longeron.


Then I bent the skin over and sandwiched it between the side skin and longeron.  I clamped it in place like the other side and drilled all the holes again.  I thought this was going to be hard to bend like the wing leading edges, but thankfully it was much easier!


Then I took the pallet off my sawhorses and moved the fuselage on top so I could poke my head through the access hatch in the floor and start working on the formers.  I got #5 and #2 installed, which are the easy ones since you can reach in from the ends to get at them!