Showing posts with label Tail. Show all posts

Saturday, February 15, 2020

Tail Fairing Completion (1)

1 hour

Going back to finish up attaching the tail fairing.  Where I left off I had attempted to attach it with sheet metal screws, but they all stripped out way too easily.  I drilled out all of the holes and installed 6-32 nutplates, and now I can snug the fairing up nice and tight against the stabilators.  It's still not perfectly flat, but I think it's good enough for now.


Saturday, December 28, 2019

Tail Fairing Attachment (1)

1 hour

I did not like how the plans called for attaching the stabilator fairing with nothing but sheet metal screws, especially around the curved part at the front.  I definitely needed a way to pull the front part tight, and threading into the annealed fairing with a sheet metal screw I'm sure would yield close to no clamping force without stripping out.

I ordered some single lug nutplates and installed them on the fairing.  This allowed me to screw the front end of the fairing tightly in place, which helped it to match the curve at the back of the turtle deck.  It's not perfect, but I think it's good enough at least for now.


 Next I drilled the rest of the holes through the fairing and stabilator.  The plans called for #4 sheet metal screws for these holes, which I installed.  Unfortunately, they all stripped right out!  So that didn't work.  I'm going to try larger sheet metal screws, and if that doesn't work I'll just install nutplates like I did at the front.


Tuesday, December 17, 2019

Tail Fairing (3)

3 hours

The tail area is getting pretty close to complete, but one of the big items remaining was this fairing.  This is a piece that just covers the area between the two stabilators.

I started by laying out the flat pattern per the plans and cutting it out.


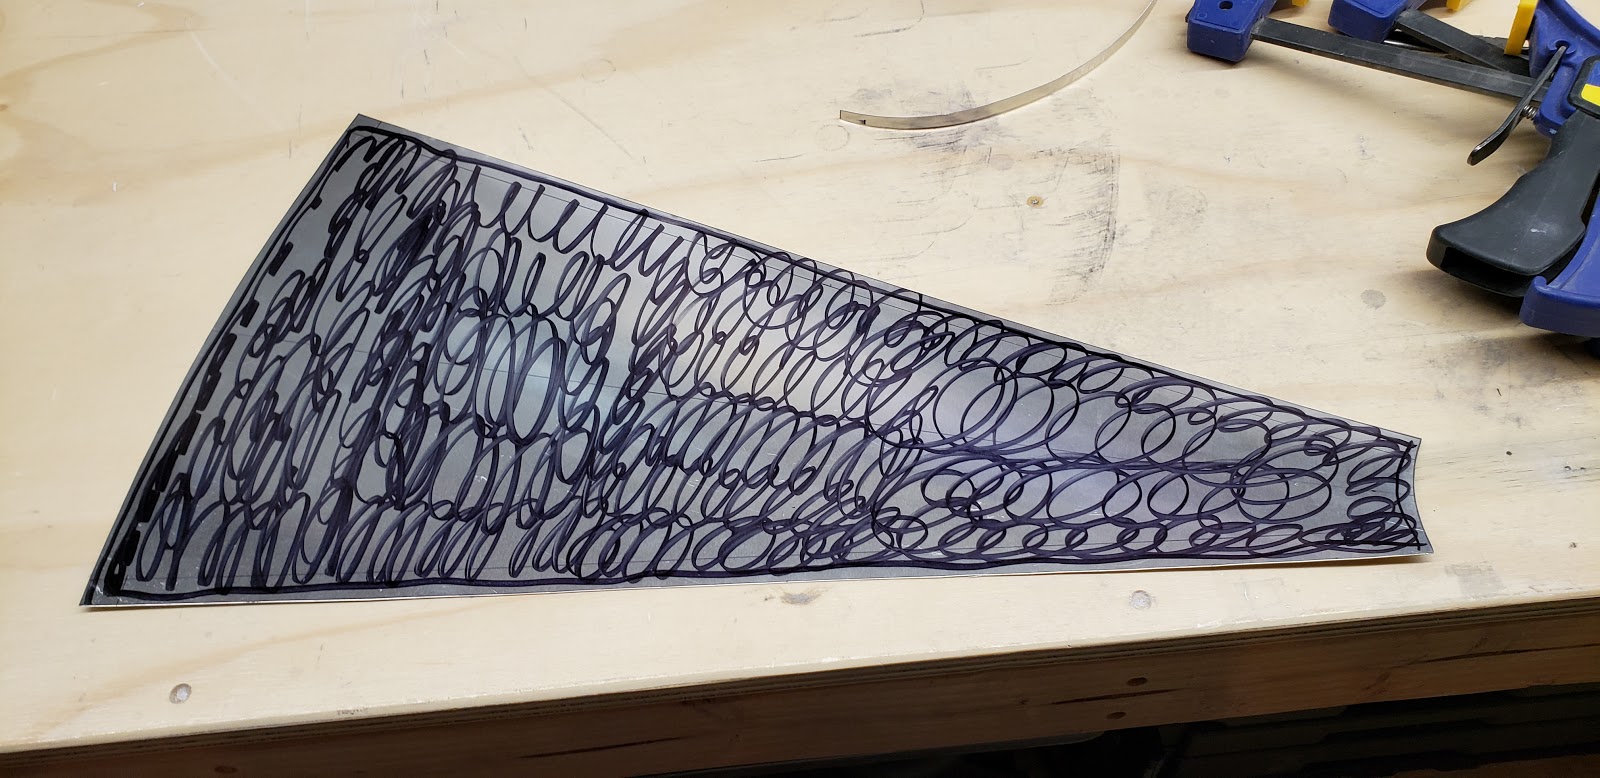
Since this part is not structural, I did what a lot of builders do and annealed the sheet metal to make it much easier to form into shape.  The technique that seems to work for this is to draw all over one side with a sharpie, then heat the metal from the other side with a torch until the sharpie disappears.


Once it cooled down, it was indeed very easy to bend.  It's kind of like a thick beer can.  Anyway, I bent the flanges first, using the edge of my workbench as a straightedge.  I could easily bend the flange down with nothing but my hands, and then I used a rubber hammer to pound it nice and flat.


Next I applied the curve.  The bottom of a 5-gallon bucket was about the right size to form the big end, and an aerosol spray can was the right size for the small end.  The area in between just kind of worked out once I got each end curved.

The part turned out pretty nice, but unfortunately it was just a bit too wide to mate up with the aft end of my turtledeck.


The part was easy to make, so rather than mangle this one trying to force it to fit I just started over.  This time I made a quick template out of a strip of cardstock to figure out how wide the big end should be.  I came up with 270mm, which is about 12mm narrower than the first part.


I made a new fairing, which went much faster then the first one, and the fit ended up much better.  I still need to figure out fasteners to attach the fairing.  The plans just call for sheet metal screws, but I think I will use small nutplates at least on the forward end where the fairing fits under the turtledeck.  I want to be able to tighten the screws there decently tight to hold the fairing inside that curve, and the annealed metal is so soft I think sheet metal screws would just strip out pretty easily.  So I'll come back to that.


Saturday, December 14, 2019

Tail Details (4)

4 hours

Wrapping up a bunch of little items in the tail area.  I cleaned up the clearances I filed on the rudder stops, and also replaced a few rivets on the stop plates with flush rivets to avoid any contact with the rudder.  Then I installed the rudder and safety-wired the hinge pin in place.


Next I filed some extra clearance into the hole on the right side that the rudder cable passes through.  The left side was ok, but I had to enlarge the right side quite a bit to avoid having the cable contact the skin.


According to the plans, you insert the ruddervator hinge pins in from the top.  But, if you do that, then once the stabilator tips are riveted on then you can't remove the ruddervators without drilling out all those rivets.  I know I'm going to eventually want to remove the ruddervators so I can paint everything, so I wanted to avoid that.

There's nothing blocking the hinge pins from going in from the bottom, so I tried installing them that way and didn't have any trouble.  The only concern then would be securing the pins so they couldn't ever fall out.  I talked to Sonex, and they said if I can secure the pins without interfering with any control surfaces then that should be fine.

So my solution to this was to replace the top two bolts on the tail post with drilled head bolts, and safety-wire the end of each pin to a bolt.  Now the ruddervators are removable without touching the stabilator tips, and the pins aren't going to go anywhere.


With that settled I went ahead and riveted the tips on.


Finally, I installed all the final ruddervator pushrod and rudder cable hardware, and then started working on the little fairings that cover the cables and pushrods.

The fairings are plastic and come in kind of a rough form.  A few minutes on the bandsaw and sander and they were ready to go.


I laid out a few holes on each one, then drilled them to the side skins.  I just used some leftover Avex aluminum rivets I had from the wing tips to attach them.  Of course I ended up being short exactly one rivet, so I'll come back to that last one later!


Saturday, November 30, 2019

Stabilator Tips (4)

4 hours

Here's a job I've been putting off since I built the stabilators a few years ago!  Ultimately, like so many other jobs I dreaded, it wasn't too difficult once I got started.  It was definitely easier than the fiberglass wing tips at least.

The fiberglass pieces that come with the kit are a bit too large.  The front edge is tapered, so the plans have you cut the bottom off the create to correct overall length.  I couldn't really come up with a good way to measure this, so I just snuck up on it.  I think I ended up cutting off about an inch on each piece.  I used a Dremel cutoff wheel and a belt sander to do it.

The closer piece in this photo is cut to length, and behind that is the other one not trimmed yet.


Next I laid out the holes and drilled each tip to its stabilator.


The other cut I had to make was the clearance on the aft side of each one for the ruddervator.  I carefully snuck up on this cut too, since I wanted to end up with a nice even gap between each tip and ruddervator.  Once I did the initial cut I just used the belt sander to remove a little bit at a time and did several test fits until it looked good.


Each tip gets a rib to reinforce the aft part.  They're the same ribs that are used in the ruddervators, with the forward edge cut off.  You might notice that on the lower assembly in this photo, the rib doesn't reach as far towards the aft point as the other one.  The fiberglass on that one was built up extra thick in the corner, which blocked the rib.  I just got it as close as possible, then cut the forward end of the rib off to make it even with the other one.


One final test fit, and then I riveted the reinforcement ribs in!


Sunday, November 24, 2019

Ruddervator Rigging (2)

2 hours

Continuing on with setting up the tail control surfaces.  All I had to do here was set the lengths of the pushrods going from the mixer to each ruddervator.  In order to set the right length, the plans say to hold the stick all the way aft and set each ruddervator to 10 degrees up relative to the tops of the stabilators.

I used bungee cords to hold the stick all the way back, and then I made a 10 degree template out of a piece of cardboard.  That made it pretty easy to set each pushrod to the right length.

I'll have to take the stabilators back off again anyway because I still have to do the fiberglass stabilator tips, but now that everything is set up they're be quick to put back on.


Saturday, November 23, 2019

Rudder Rigging (2)

2 hours

This was pretty simple.  I put the rudder on with its piano hinge and centered it, centered the control mixer, and then adjusted the cable lengths to keep both parts in the right place.

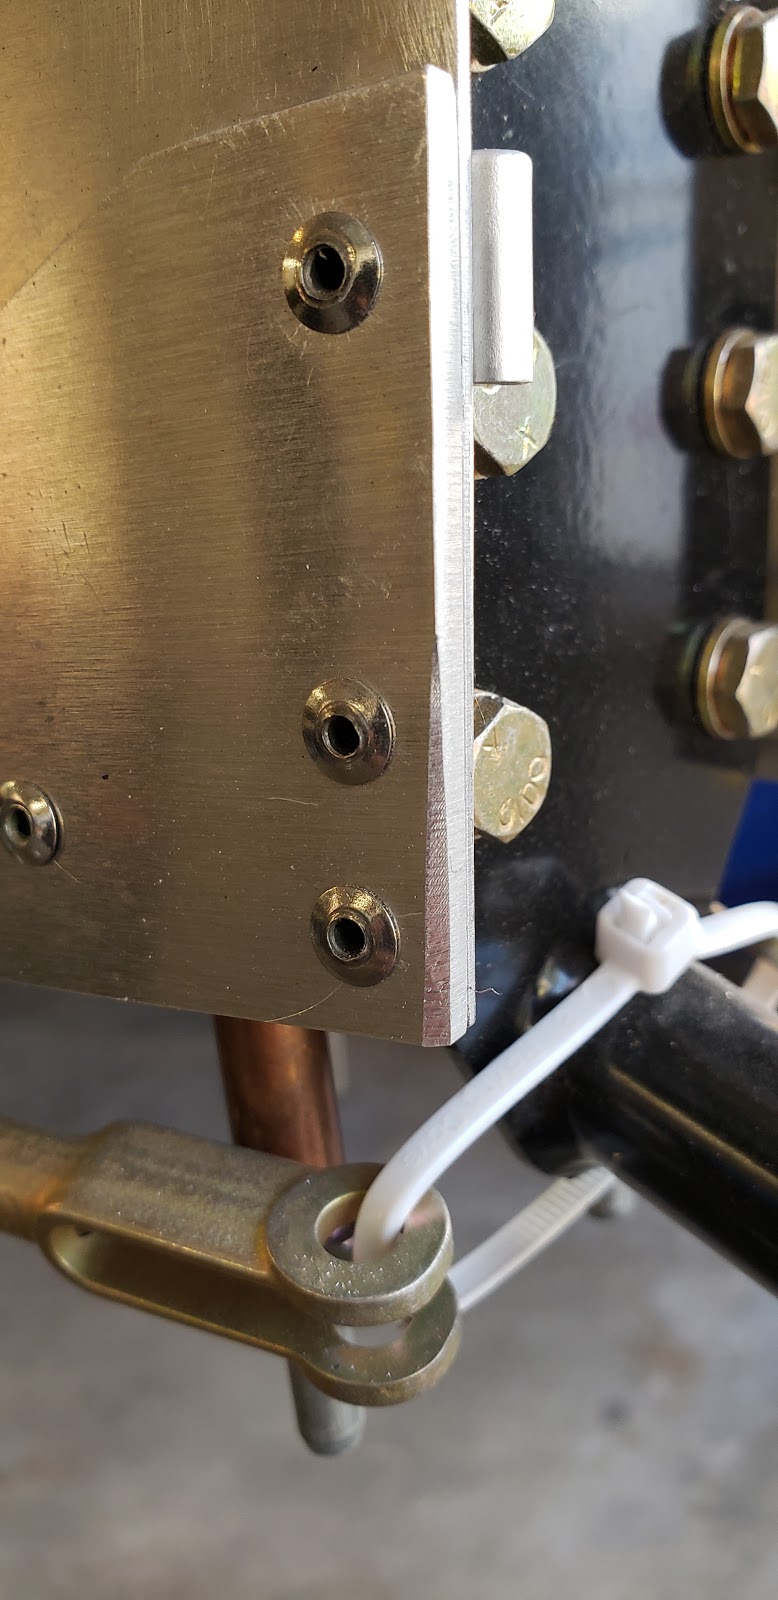
The only issue I ran into was the rudder drive horn interfered with the corners of of the stop plates at the bottom corners of the tail.  I filed some relief into the corners of the drive horn on each side to fix the interference.  However, the drive horn happens to land on the rivets on the stop plate instead of the flat surfaces of the plates themselves.  I'm not sure if that matters, but if it does I think I will just drill those rivets out and replace them with flush rivets.  I'll figure that out later.


You can see here where the drive horn was running into the corner of the stop plate:


I cleaned up that edge which also helped with the interference.


Working on filing relief into the drive horn:


It's pretty good now but I'll probably do a little more later.


Up front, the next task was to link the rudder pedals to the mixer by completing the cable adjusters I started earlier.  The plans say to put the rudder at the left stop, and the left rudder pedal 3/8" from the floor.  I used a 3/8" drill bit as a spacer, pulled the cable tight, marked it, drilled the hole, and trimmed the cable adjuster.  Then I centered the mixer, centered the pedals, and did the same thing on the right side.  I didn't have the right bolts on hand, but besides installing the hardware this part is done!