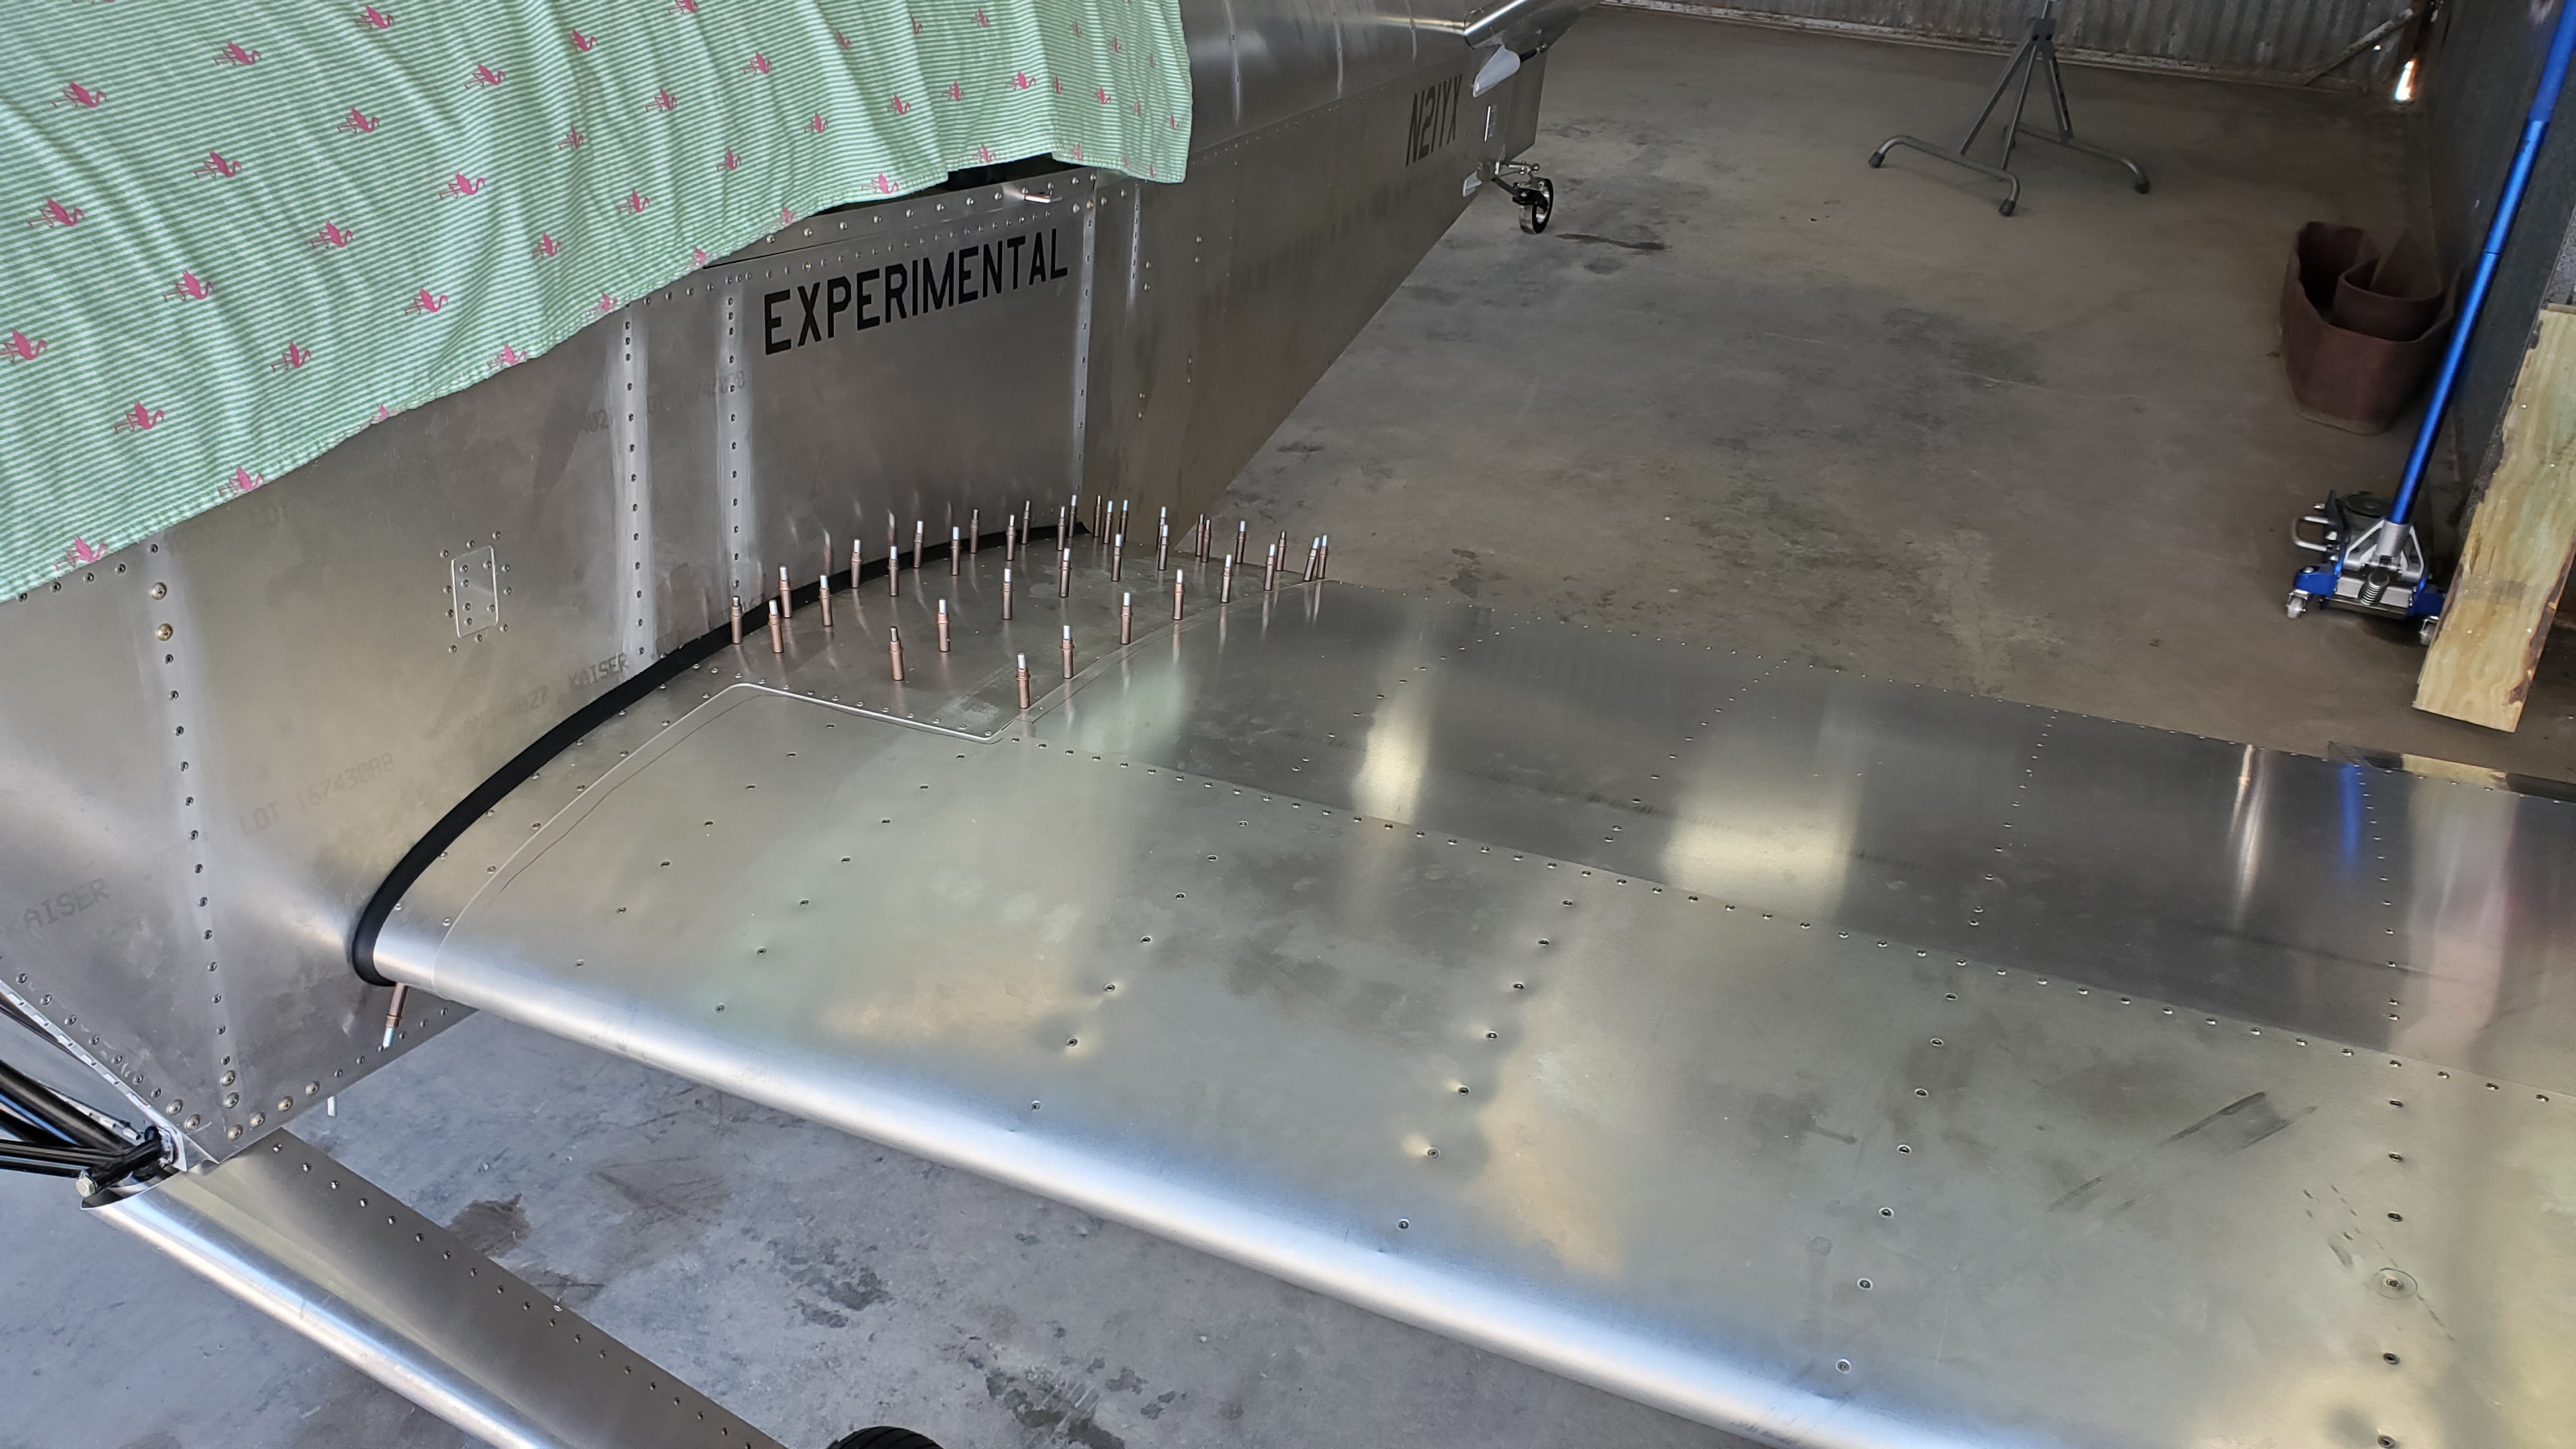
Well it took a few months but I got my replacement left wing! I did an insurance claim and just ordered a whole quick-build left wing box assembly from Sonex. It was expensive and took a while to get, but I wouldn't have been able to build a new wing that fast anyway with everything else I have going on this Spring.
Anyway, part of the challenge was just getting the wing from the factory to me. They had some issues with their normal freight carrier, so in the interest of time I got Sonex to ship the wing in a PODS container, which was a lot more expensive than normal but the other option was to just wait an indefinite amount of time and I needed to get on with it!
So what I replaced was just the wing box. The flap and aileron were good, as well as the pushrods, wiring, landing light, and wingtip light. Below is a list of all the tasks that I did, and how many hours they each took. This was kind of my to-do list, and then I just wrote down how long each thing took as I went.
Remove both wings - 1.5
Remove flap, aileron, and pushrods - 0.5
Drill out and remove wingtip rib - 0.5
Remove landing light & parts - 0.5
Disconnect & remove wiring from leading edge - 0.5
Match new wing to right wing and drill 2x main spar holes - 3
Run wiring through leading edge conduit - 1
Install wire connectors - 0.5
Install inspection cover w/ nutplates - .5
Install flap hinge - 1
Install flap - 0.5
Install aileron hinge - 1
Rivet trailing edge - 1.5
Install long aileron pushrod - 0.5
Install both wings on fuselage w/ 2x main spar pins - 3.5
Rig and drill aft spar hole to carry-through - 0.5
Connect and adjust flap pushrods - 1
Install aileron & short pushrod - 0.5
Connect and adjust aileron pushrods - 2
Install inspection covers - 5 minutes
Put interior back together - 0.5
Fit wingtip light to wingtip rib - 1
Cut hole in leading edge for landing light - 2
Install landing light & connect wires - 3
Trim & install wingtip rib - 3.5
Trim and install wing walk doubler with gasket - 3
Install grip tape on wing walk - 0.5
Fix & install gear leg fairings - 1
Drain fuel
Redo weight & balance - 1
Once I got the new wing to the hangar I just took a week off of work and cranked it all out! Here are some pictures.
Picking up the wing from the PODS depot.
I just rented a trailer to bring it back.
In the hangar!
To drill the holes in the new main spar, I bolted the new left wing to the existing right wing through the same three 1/4" holes used for mating the spars normally. Then I used the 3/8" drill guide to drill through the right wing and then through the left wing, then updrilled that to 1/2". Then I knew that the new left spar matched the right spar, which matches the fuselage.
Running the wires through the leading edge was kind of a pain but doable.
Riveting the trailing edge and the flap and aileron hinges.
I found it really hard to get the main spar holes to line up in the fuselage well enough to get the pins inserted. I don't think this has much to do with the new wing, it was super hard when we installed the wings the last time too. This time I went and got some 1/2" rod and ground down the end to make a sort of tapered pin to help with alignment.
It was easy to forget about the wiring connections at the wing roots. If I don't tuck the wires inside the wing nicely then they get pinched and the wing won't go all the way in.
After much wrangling the wings are on again!
Working on fitting the new wingtip.
I had a much easier time now on my third wingtip than I did before. I didn't spend too excessively much time trying to make the fiberglass match up perfectly to the profile of the leading edge skin. I know now it'll never really be perfect and I can just fill the little gaps with SuperFil anyway and then it'll look just fine.
I contemplated skipping the landing light for now and trying to retrofit it later, but I decided that having the wingtip off will make it a lot easier to do now.
I didn't have the template that came with the landing light kit, but I was able to just trace the hole on the old left wing to make myself a new template to cut out.
This was really the only thing that really failed during this whole wing replacement. In the process of fitting the landing light and installing and removing the lens a bunch of times I broke the lens in half. For now I just excessively taped it back together, and I'll make a new one later.
Fitting the wing walk doubler with a 3/16" gap for the wing root gasket.
Once I got everything installed I drained all the fuel out and weighed the plane again... I'm glad I did because I found a huge error with my previous measurement. I think the tires were flexing the scales and they weren't reading the full weight. The previous result was kind of unbelievably light so this is probably much more correct. The empty weight now is 725 lbs!
This was a bit of a process! Some of it was self induced though I guess, Anyway I connected the inboard ends of the aileron pushrods to the stick and set about getting everything adjusted. I started by adjusting the long pushrods until the aileron neutral positions matched the flaps. That was actually pretty easy, but I ran into three issues. First, the rod end bearings would run out of swivel travel with the stick all the way back, so the ailerons couldn't be moved with the elevator all the way up. Next, the stick still ran into the hole in the seat pan before the ailerons ran out of travel. Finally, the autopilot roll servo pushrod interfered with the long aileron pushrod and one of the seat ribs in certain positions.
To solve the rod end bearing interference, I first tried holding the long pushrod in certain positions as I tightened the jam nuts, hoping to not waste any travel. That didn't really work, so eventually I went home and made some dished washers like I did for the elevator, and installed them at the outboard bell crank.
The washers helped, and then I tightened the outboard jam nuts first and the inboard ones second, making sure the pushrods were rotated all the way aft with the stick forward. That made enough room for the rod end bearings to swivel as the stick was pulled aft so they wouldn't bind at either end anymore.
Next, since the stick ran into the seat pan before anything else, I thought there must have been something else wrong. I decided to recheck the adjustment of the short pushrods. To do that, you set the ailerons to neutral, and then check that the outboard edge of the bell crank is at a 25 degree angle to the wing rib next to it. I started by clamping the ailerons to the flaps so they'd be held in the right place.
I made a little 25 degree gauge out of scrap.
To adjust the short pushrods, first I had to loosen the jam nuts, which were inside the wing with the ailerons installed. I found that I could disconnect both ends, turn the pushrod on an angle, and then I could just barely get at the jam nut from the outside.
Finally I could use my gauge. I ended up shortening the left one two turns, and leaving the right one as it was.
Then I had to reset the neutral position on the left aileron by adjusting the long pushrod again. I found that the small adjustment I made on the short pushrod required a pretty big adjustment on the long pushrod! After all that, the aileron travel was no different, so the only thing left to do was enlarge the hole in the seat pan.
I ended up cutting 5/8" from each side. Then I carefully vacuumed all the debris out from under the seat and around the stick! I found that before I enlarged the hole, the ailerons could were able to travel about 15.7 degrees up from neural, and 9.8 degrees down. Now they can move 18 degrees up and 11.2 degrees down.
Next I had to make some adjustments to the roll servo pushrod. With everything installed and the newly increased aileron travel, I found that the little servo pushrod scraped the underside of a seat rib hole at full aileron deflection, and the long aileron pushrod ran into the outboard rod end bearing on the servo pushrod at full up elevator.
To solve the first issue, I used a tubing bender to just put a slight bend at the inboard end of the pushrod. That made enough space above the pushrod to eliminate any interference.
The other change I made was to move the outboard end of the pushrod from the front to the back side of the servo arm. That got it out of the way of the big pushrod with the stick all the way aft. I used dished washers again on both ends of the servo pushrod to maximize its range of motion, and now nothing interferes anymore and the pushrod doesn't bind up anywhere!
It's time to finally get the control surfaces set up! I started with the flaps.
The flaps attach to the flap drive tube with a short pushrod on each flap. The first challenge I ran into was that as soon as I tried to connect the pushrods it was obvious that they were too long. I think the plans specified a 3" piece of threaded rod, plus the rod end bearings on each end. After a bunch of trial and error I figured out a good length was actually more like 1-7/8". Anyway that took a while but once I got that figured out I was able to connect the pushrods and start working on adjusting them.
The process of adjusting the pushrods was pretty much just setting the flaps in the neutral position with the actuator all the way up. That's pretty much it I guess, and then the downward travel is just whatever you get from the actuator's travel. Anyhow, while setting the top of the travel I found that the flaps would just barely contact the back of the wing right at the top of their range, which would then cause the fuse to pop before the actuator stopped. I upped the flaps fuse from 5 amps to 7.5 amps, and then I ended up just setting them as far up as I could without popping it. With some measuring I found that position to be about 0.3 degrees down from where the plans specified. I think that's probably close enough and as good as I can get it, plus with the flaps up I can easily lift them a little farther just with the slop in the actuator, so if that isn't aerodynamically neutral the air will probably just push them there anyway.
I also realized that with the pushrods installed you can't access it at all to adjust the length! The only way to really get at it, and especially to tighten the jam nut, was to let the flap hang straight down and then pivot the pushrod parallel to the flap so it also dangled below the fuselage. In order to get the pushrod into that position, I had to file a little notch in the bottom of the flap skin to let the pushrod go by.
Then it was reasonably possible to tighten the jam nuts.
Finally, after a many iterations of adjustments, tests, and popped fuses, I got the flaps to match each other, go pretty much all the way up, and they appear to travel about 27 degrees down from neutral. I've read on the forums that around 27 degrees is pretty common so I think it'll work.
Now that the wings are on there is more stuff I can get done!
I riveted the wing root doublers on, except one rivet that I'll save for my kid since it's the last one.
I added some grip tape to the wing walk area. It's 3M Safety Walk, 4" wide, and I used a little less than 5 feet of it total.
I also made a no step label for the flap, using the Cricut again and some black vinyl.
Finally, I put some body filler around the wingtips where were some small gaps between the fiberglass and the wing skin, mostly around the leading edges.