Showing posts with label Cowl. Show all posts

Friday, November 26, 2021

More Cowl Adjustments (9)

9 hours

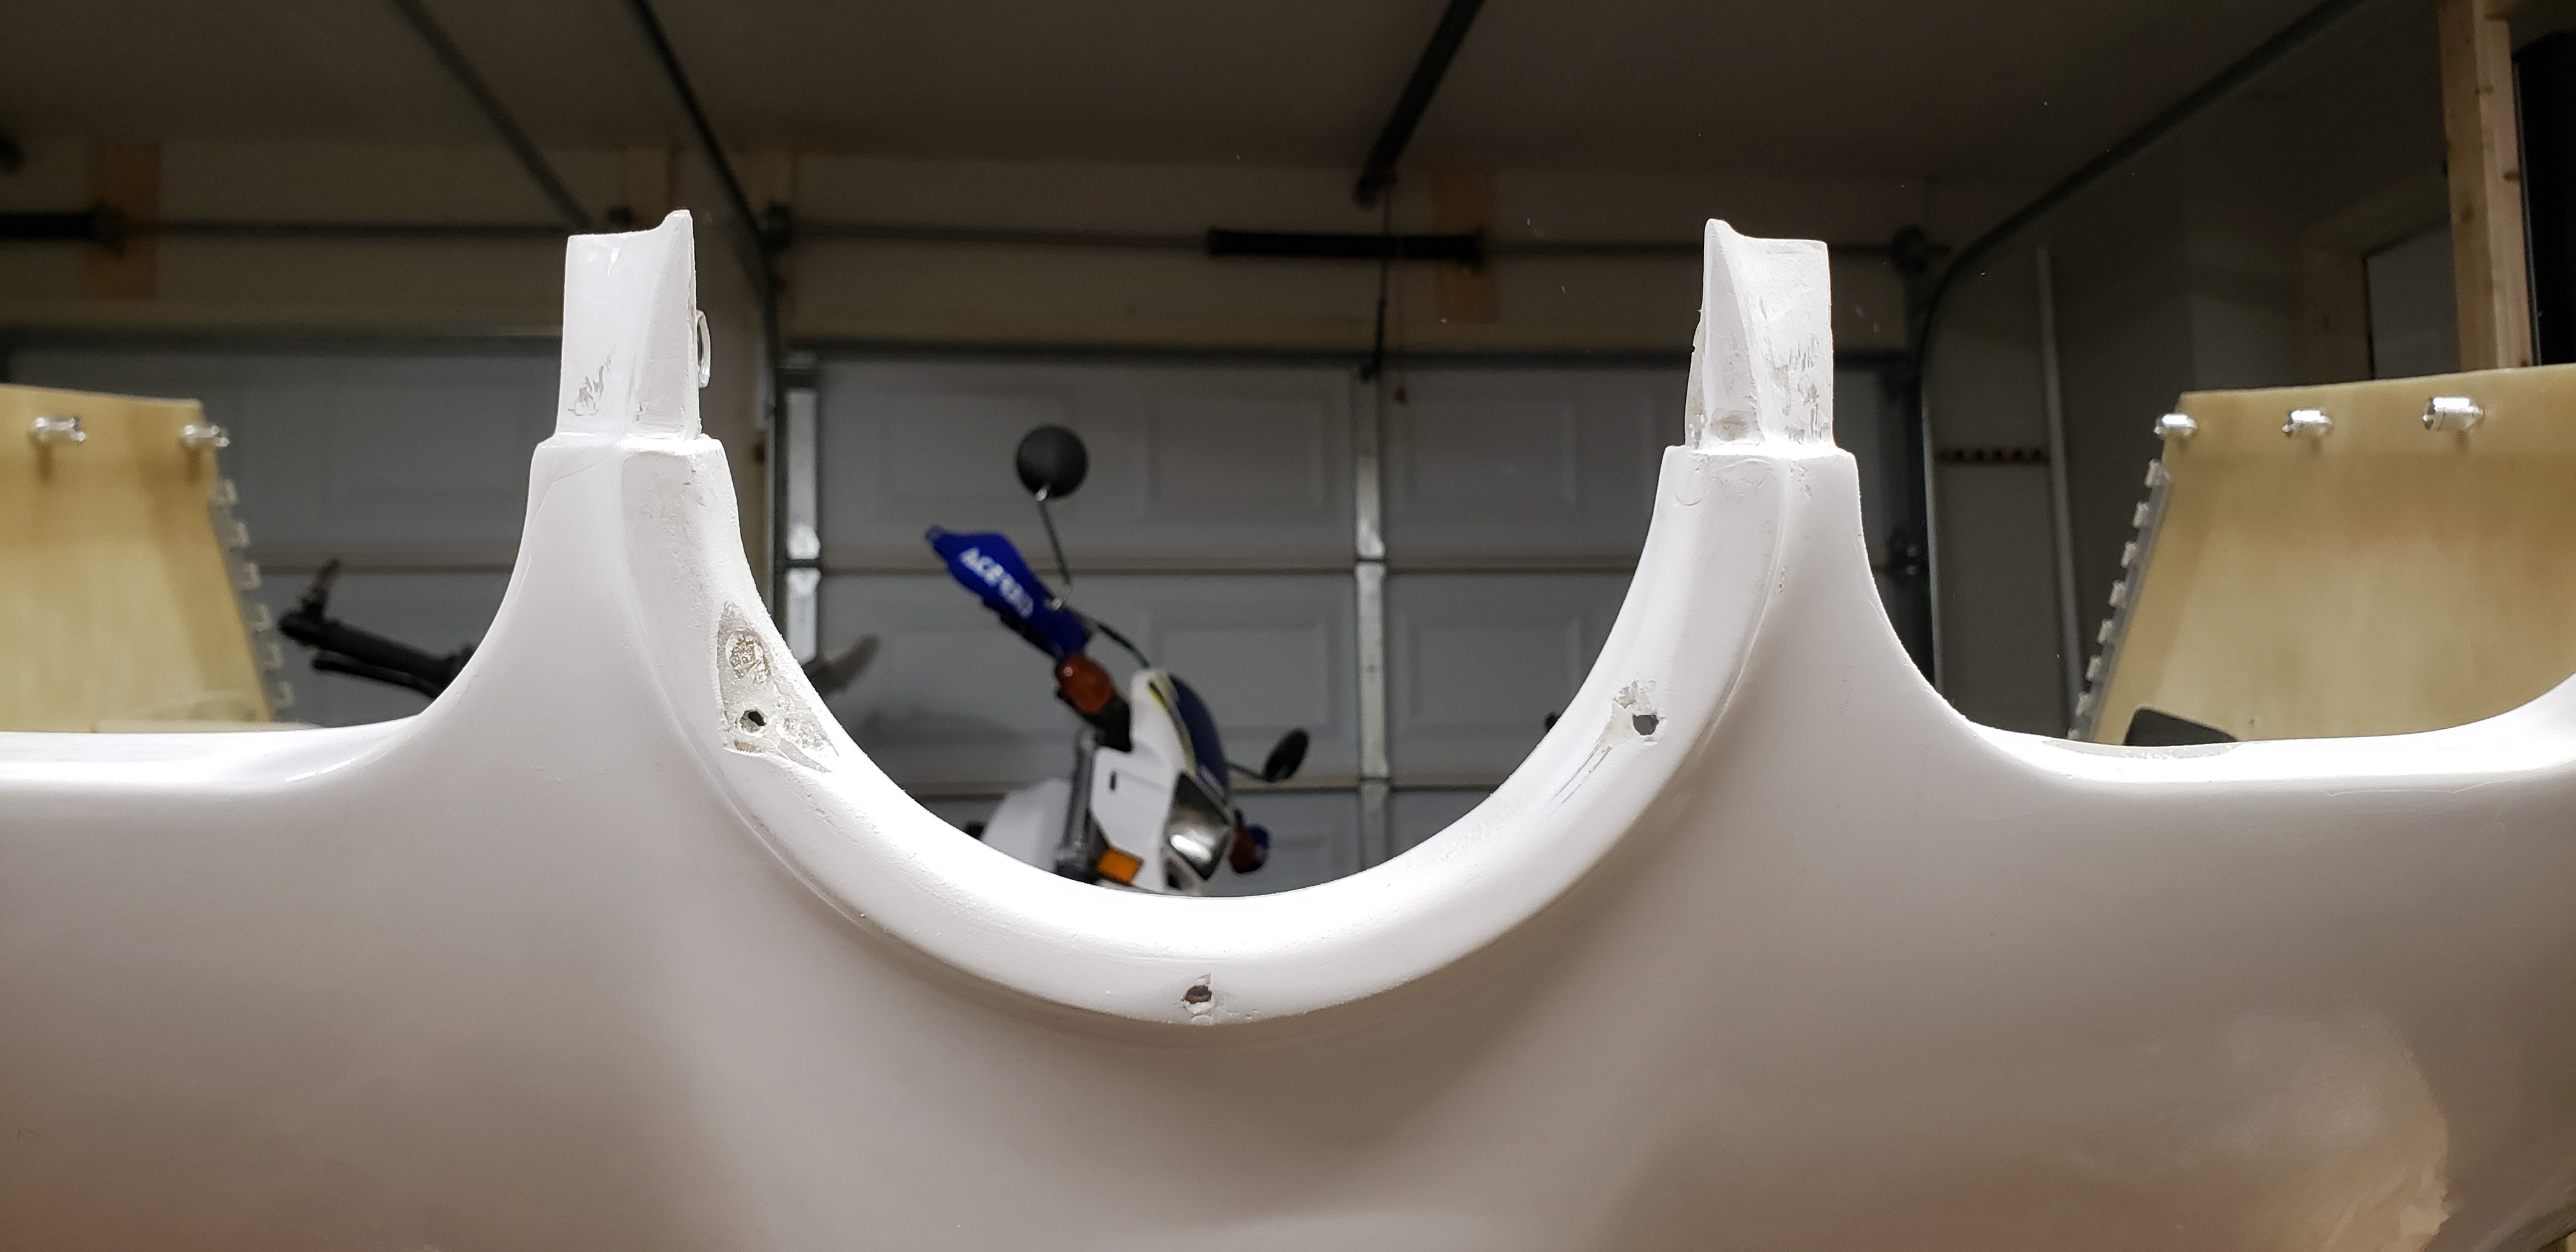
OK, now I'm really getting down to the last few things (I think).  I can not fathom any way to get the upper cowl on and off, the way the plans have it attach, with the prop installed.  So, I decided to slightly modify the aft edge of the cowl so it doesn't have to be wedged under the lip on the front of the windshield skirt.  Then hopefully it can be installed and removed vertically and stay out of the space that the prop is occupying.

Here is my inspiration.  This is an RV-8, and this picture is from the Skybolt website (which is where I got all my cowl fasteners anyway):


So, I will cut the aft 1/2" or so off of the fiberglass, remove the female Skybolt receptacles, install a bunch of those little tabs, put the receptacles on the tabs, and then the cowl will just sit on top of the tabs with the fasteners holding it down.

First, I removed the prop so I could get the cowl on.  Then I traced the front edge of the windshield skirt onto the cowl, and removed it.  Then I drilled out all of the receptacles, and then cut along my line to remove the aft edge of the cowl.


The little pins that hold the clip out on these fasteners while they're adjusted were all long gone, so I made some replacements out of safety wire.  I later found out that these fell out a little too easily, and the stems from 3/32" rivets actually worked much better.


Next I made a bunch of tabs, and drilled them for the receptacles.


I went across the windshield skirt, and attached a tab at each spot that previously had a receptacle.


It was tricky to drill the cowl to the existing holes in the tabs.  I located some of them by putting a flashlight underneath and spotting the hole through the fiberglass, but I had to do a few by just measuring and hoping I hit the hole in the tab when I drilled through my mark.  Eventually I got all of them though.


I don't have a good picture of it, but I ended up making little 1/16" thick strips as spacers to put between each tab and the underside of the skirt.  That brought the upper surface of each tab down enough to make the top of the fiberglass pretty close to flush with the skirt.  It was also totally required in order for all the fasteners that held the upper and lower cowl pieces together to still fit!

The only real issue remaining is this gap in each corner.  I don't think there's any way I can flex the cowl enough to follow that contour.  I think I will just add some filler or something later to build up the fiberglass enough to cover these gaps.


After many, many iterations, I got all the fasteners to line up correctly, and now the cowl can be dropped straight down into place without needing any extra room at the front.  I reinstalled the prop and called it good enough for now!


Here's a good depiction of the extremely minimal space between the cowl and prop.


I will come back later and address these little gaps in the corners.


Sunday, October 24, 2021

Cowl Fine Tuning (2)

2 hours

I had already cut a notch into the right side gear leg fairing for this, but after installing the cowl I realized I needed to make a little more room in order to install and remove the lower cowl pin with the gear leg fairings on.


I also filed down some sharp edges and corners that were close to the prop, since I found it tricky to get the cowl on and off without poking the backside of the prop with the cowl.  You can see here where the front of the cowl sits compared to the prop hub.  The temporary spacer I have installed moves the prop forward 1/2" and it's already kind of challenging, so once that spacer is gone I'll have to be even more careful when installing and removing the cowl in order to not scratch up the prop!


Sunday, November 22, 2020

Cowl Fiberglass Fixes (5)

 5 hours

The cowl was pretty much installed but I still had some areas to work on.  First, I sanded down and filled in the holes I had drilled through the prop hub area when I initially fit the cowl.  While working in that area I also found a bunch of little voids in the surface of the fiberglass that I also cleaned up and filled in.


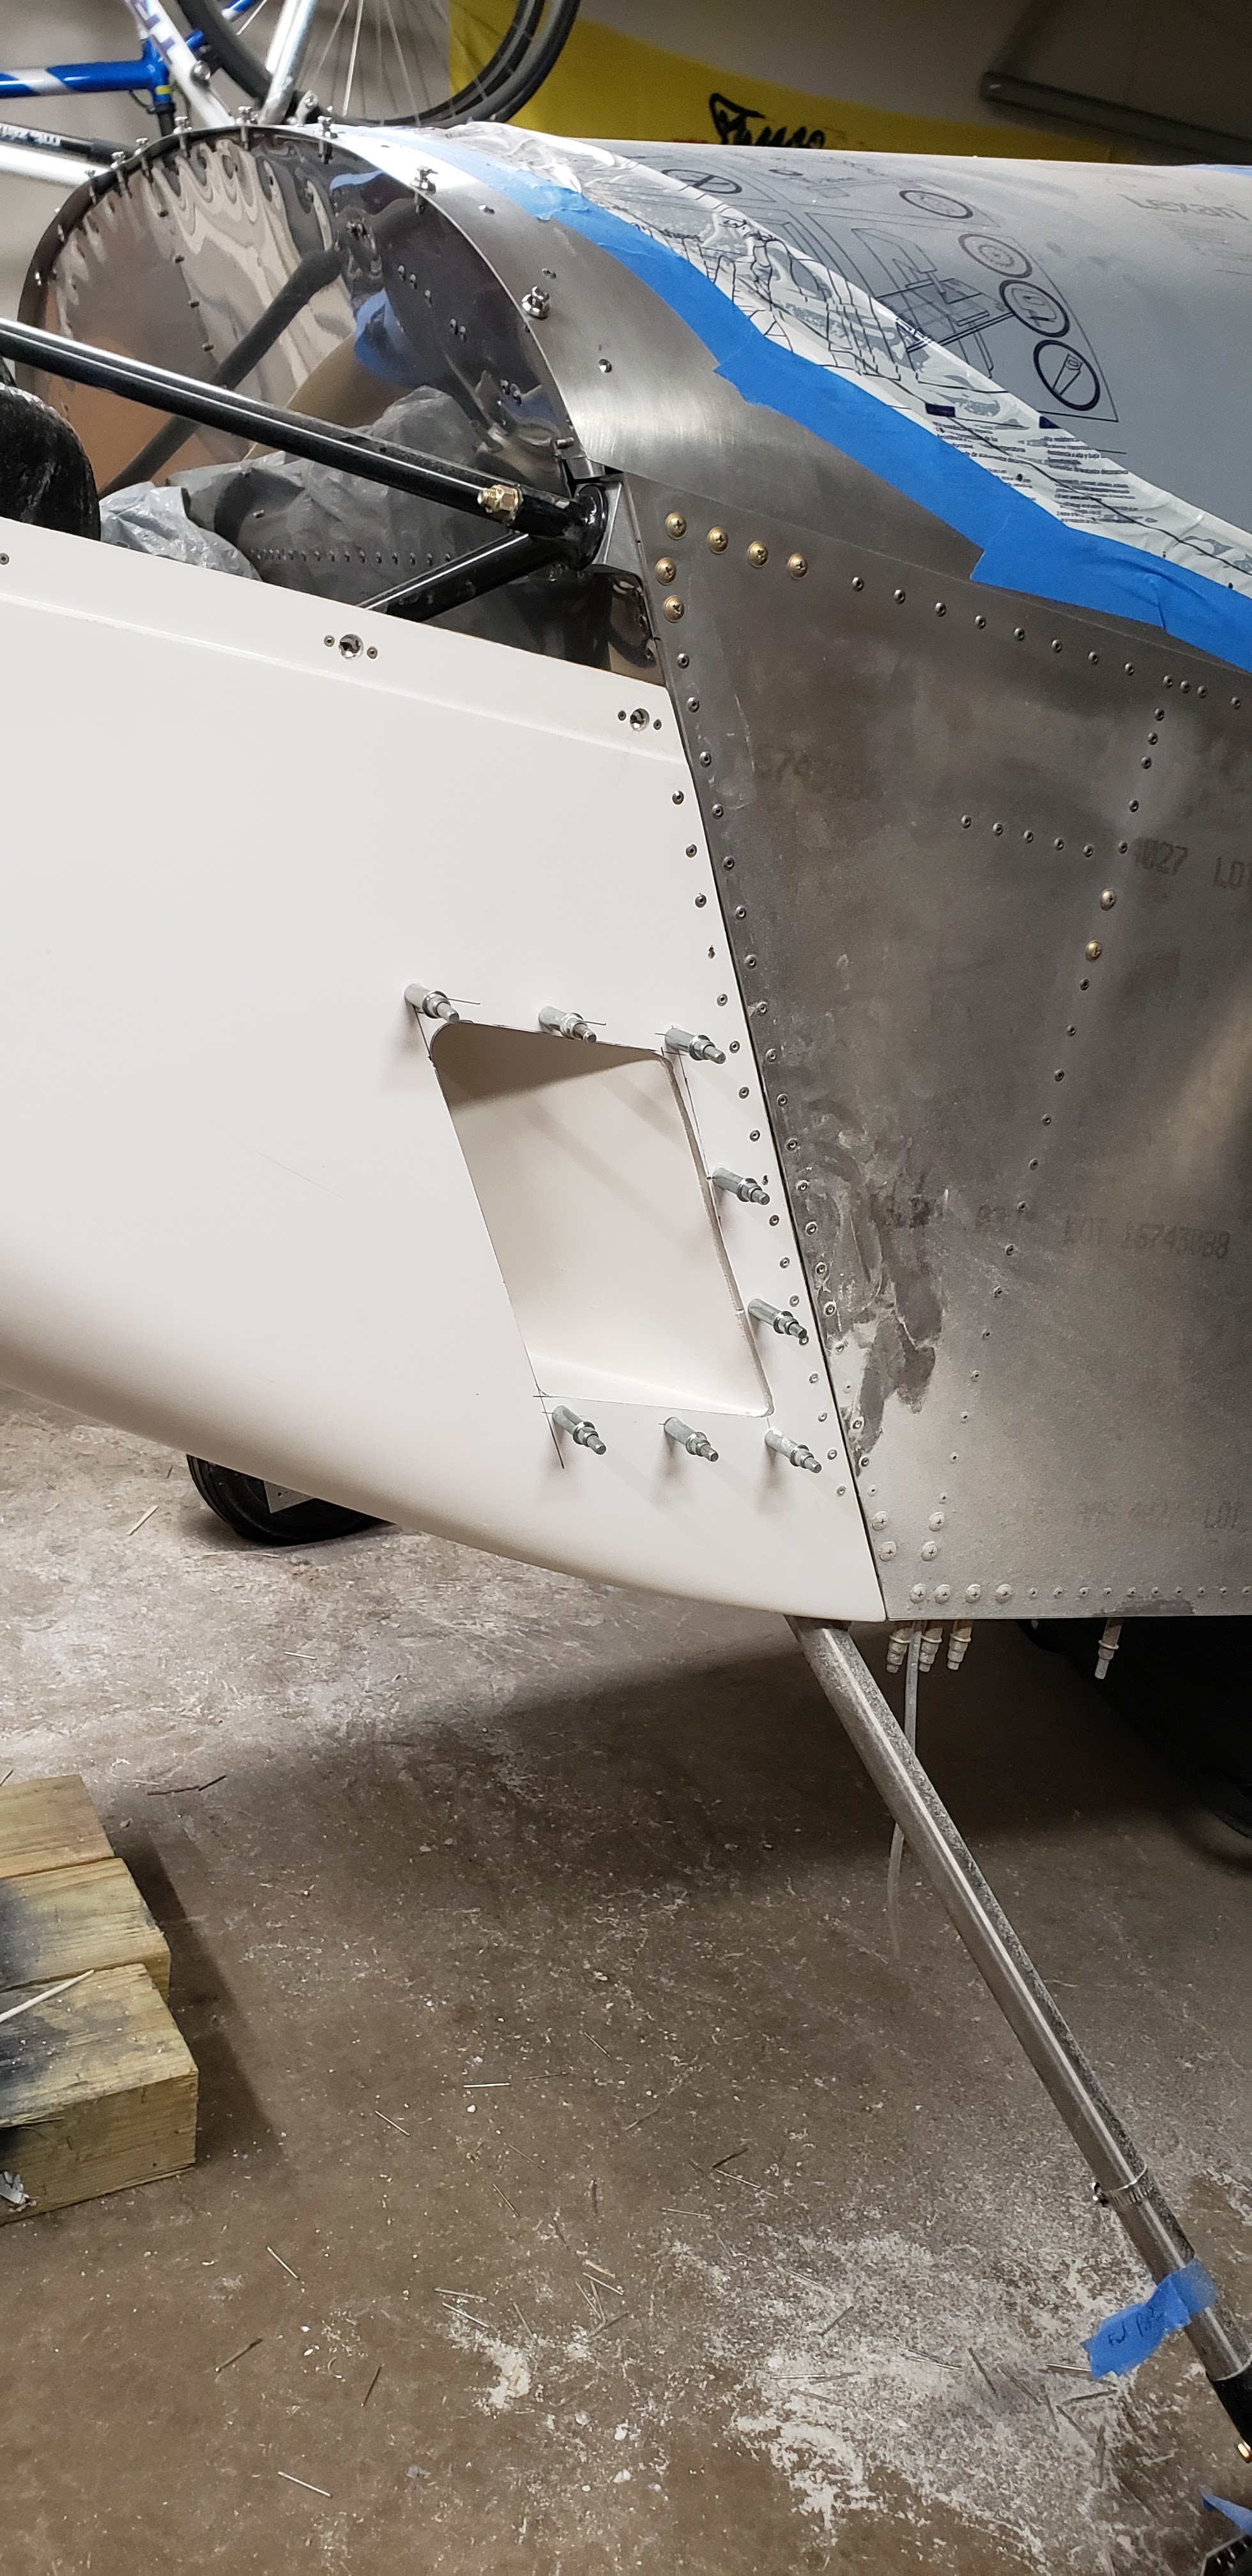
Next I installed the side scoops.  I wanted a convenient battery charge port, so I figured a good spot would be in the top of the left scoop.  It's easy to reach but you can't see it unless you're looking for it!  I attached the scoops to the cowl with some epoxy and aluminum rivets.  I added a little bondo to smooth over the edges where it met the cowl too.


Here's the battery charge port in use:


Next was the exhaust exit.  I just did my best to line up a spot on the inside of the cowl that would match the exhaust pipe and drilled a 3" hole with a hole saw.  It lined up close enough!  Then I adjusted the wrap on the pipe so it didn't hang out the bottom of the cowl.


The last thing was a hole for the coolant and oil vent tubes to go through.  I marked a spot where the vents ended up and cut about a 1"x2" opening.  I think with that done, the lower cowl is done!


Sunday, June 28, 2020

Cowl Side Vents (2.5)

2.5 hours

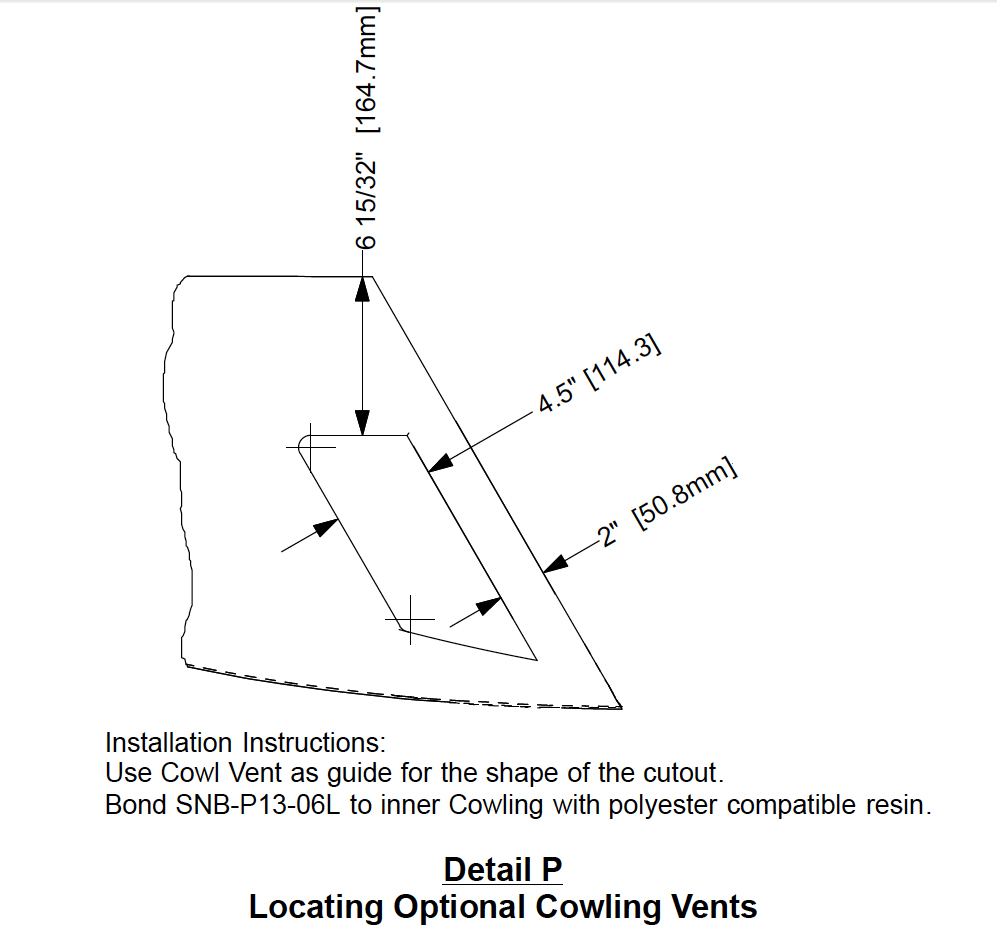
While the cowl was still nicely attached to the plane I went ahead and got the side vents mostly fit.  The vents aren't mentioned in my version of the plans at all, but Sonex published a revision with the required info on the website: https://www.sonexaircraft.com/documents/plan_sheets/SNB-WXB-P13_Detail_P.jpg

Installation is pretty straightforward; I just cut the top and aft edge of the holes first, then cleco'd the vents in place.  Then I cut the bottom and forward edges to fit the vents.  The plans say to just glue the vents in place.  I think I will glue them and use the clecos to clamp them in place white the glue sets.  If it seems sturdy I'll just patch the little holes, and if I decide I don't fully trust the glue I'll put rivets through those holes as backup.


Luckily it doesn't interfere with where I plan to install the battery!


Cowl Fasteners (6)

6 hours

Now that all the cowl pieces physically fit together and I have all the holes drilled and cleco'd, it's time to figure out what actual fasteners I'm going to use to attach the upper cowl.

The plans call for simple nutplates but also recommend Southco fasteners as an option.  I did not want to use nutplates and screws because I didn't like the idea of having loose hardware that I could potentially drop somewhere in the engine bay and lose.  Plus they would take forever to remove or install every time I needed to take the cowl off/on.  I'm also not super impressed with Southco after messing around with one on the fuel door.  After some research I decided to go with Skybolt Camloc fasteners.  These things are more expensive than Soutchco but they're super nice and easy to install.

Skybolt has a LOT of options for fasteners, so it took me some research to figure out what I actually needed.  Their PDF catalog is a lot easier to browse than their website, so I found that to be helpful: http://skybolt.com/wp-content/uploads/2019/04/Skybolt-Catalog-v5.1_Print-aerospace-fasteners-1.pdf

Pages 10 and 11 of the PDF pretty much gave me all the info I needed.  I ended up going with SK26S51-SET1 for all the cowl fasteners.  This one has adjustable depth receptacles so you can use them on a wide range of panel thicknesses.  I also bought some extra SK2600-SW washers.  Those washers allow the stud part of the fastener to retract when open, which makes the parts easier to disassemble.  The washers that come in the fastener set hold the studs in place which only works if you can pull the parts you're fastening straight apart from each other.

Anyway, for each fastener I bought one of each of these parts:

I also bought a couple of drilling templates which turned out to be super handy:

I bought everything directly from Skybolt.  Here's the heap of parts I got in the mail:


The rivet pattern for the receptacles is exactly the same as for regular nutplates.  The little drilling jig made it real easy to drill the rivet holes in the correct places relative to the fastener holes I already had drilled.


Here's what the recaptacle looks like riveted in place.  I used CCC-32 rivets.


The stud part gets inserted into the other part to be fastened.  They sell special pliers to compress the spring inside the stud to make it easier to install, but I found I could just use a small open-end wrench and my thumb to install them without any special tools.


Once both parts are installed they go together really nicely.  You just line everything up and give them each a quarter turn to lock them in place.


I did several iterations of installing the upper cowl, checking the fit, installing a few fasteners, and repeating, in order to make sure everything was still lining up nicely.  Eventually I got them all installed.  Due to all the bonus fasteners I had to use along the upper edge, I ended up using a total of 24 fasteners, versus the 15 called for in the plans.  So that was pretty expensive!  But it turned out really nice so whatever.


Anyway moving on.  I also bought one more extra fastener for the fuel door.  Way back when I installed the Soutchco fastener for the door, I installed the receptacle 90 degrees off because the windshield blocked me from installing it the correct way.  It didn't occur to me that when I did that, it made it so the flat part of the wingnut stud stuck out perpendicular to the airflow.  It really bugged me, but I could not find a stud with the wingnut part rotated 90 degrees!  However, Skybolt sells one with a wingnut that folds down.  So I replaced the Southco with one of these: https://store.skybolt.com/sk2600fw-set1-p3644.aspx

It's way nicer than the Southco anyway, and now it folds down and looks like I meant to do it that way all along.


Oh yeah, I also riveted the three piano hinges on the lower cowl during this time as well.