12 hours
This was a little but of a project, but in the end I think it went pretty well. I kind of expected to have a really hard time getting the fairings to fit nicely, but the dimensions in the plans actually came out really close!
I started by cutting out the pieces and then laying out all the dimensions called out in the plans. This took a while all by itself.
I also made the hinges, and then I roughly cut the ends of the sheets to the drawn-on profile, and also drilled the hinges to the sheets in the appropriate places while they were still flat.
This is how I bent the fairings. First I took two scrap 2x4s and screwed them to my workbench. I think I put them 1-1/4" apart, although I don't think that was super critical. Anyway, then I took a chunk of 3/4" dowel and put a long decking screw through each end. Then I lined up the dowel centered between the 2x4s and just started the screws into the tabletop. Next I slid the sheet between the 2x4s and the dowel, got it lined up as nice as I could so the centerline was directly below the dowel, and then screwed in the deck screws at either end of the dowel. This pushed the sheet down between the 2x4s and bent the edges most of the way up towards each other. From there, I was able to cleco the hinges on, and press them together by hand until I could insert the hinge pin. Then I removed the dowel and the bend was done!


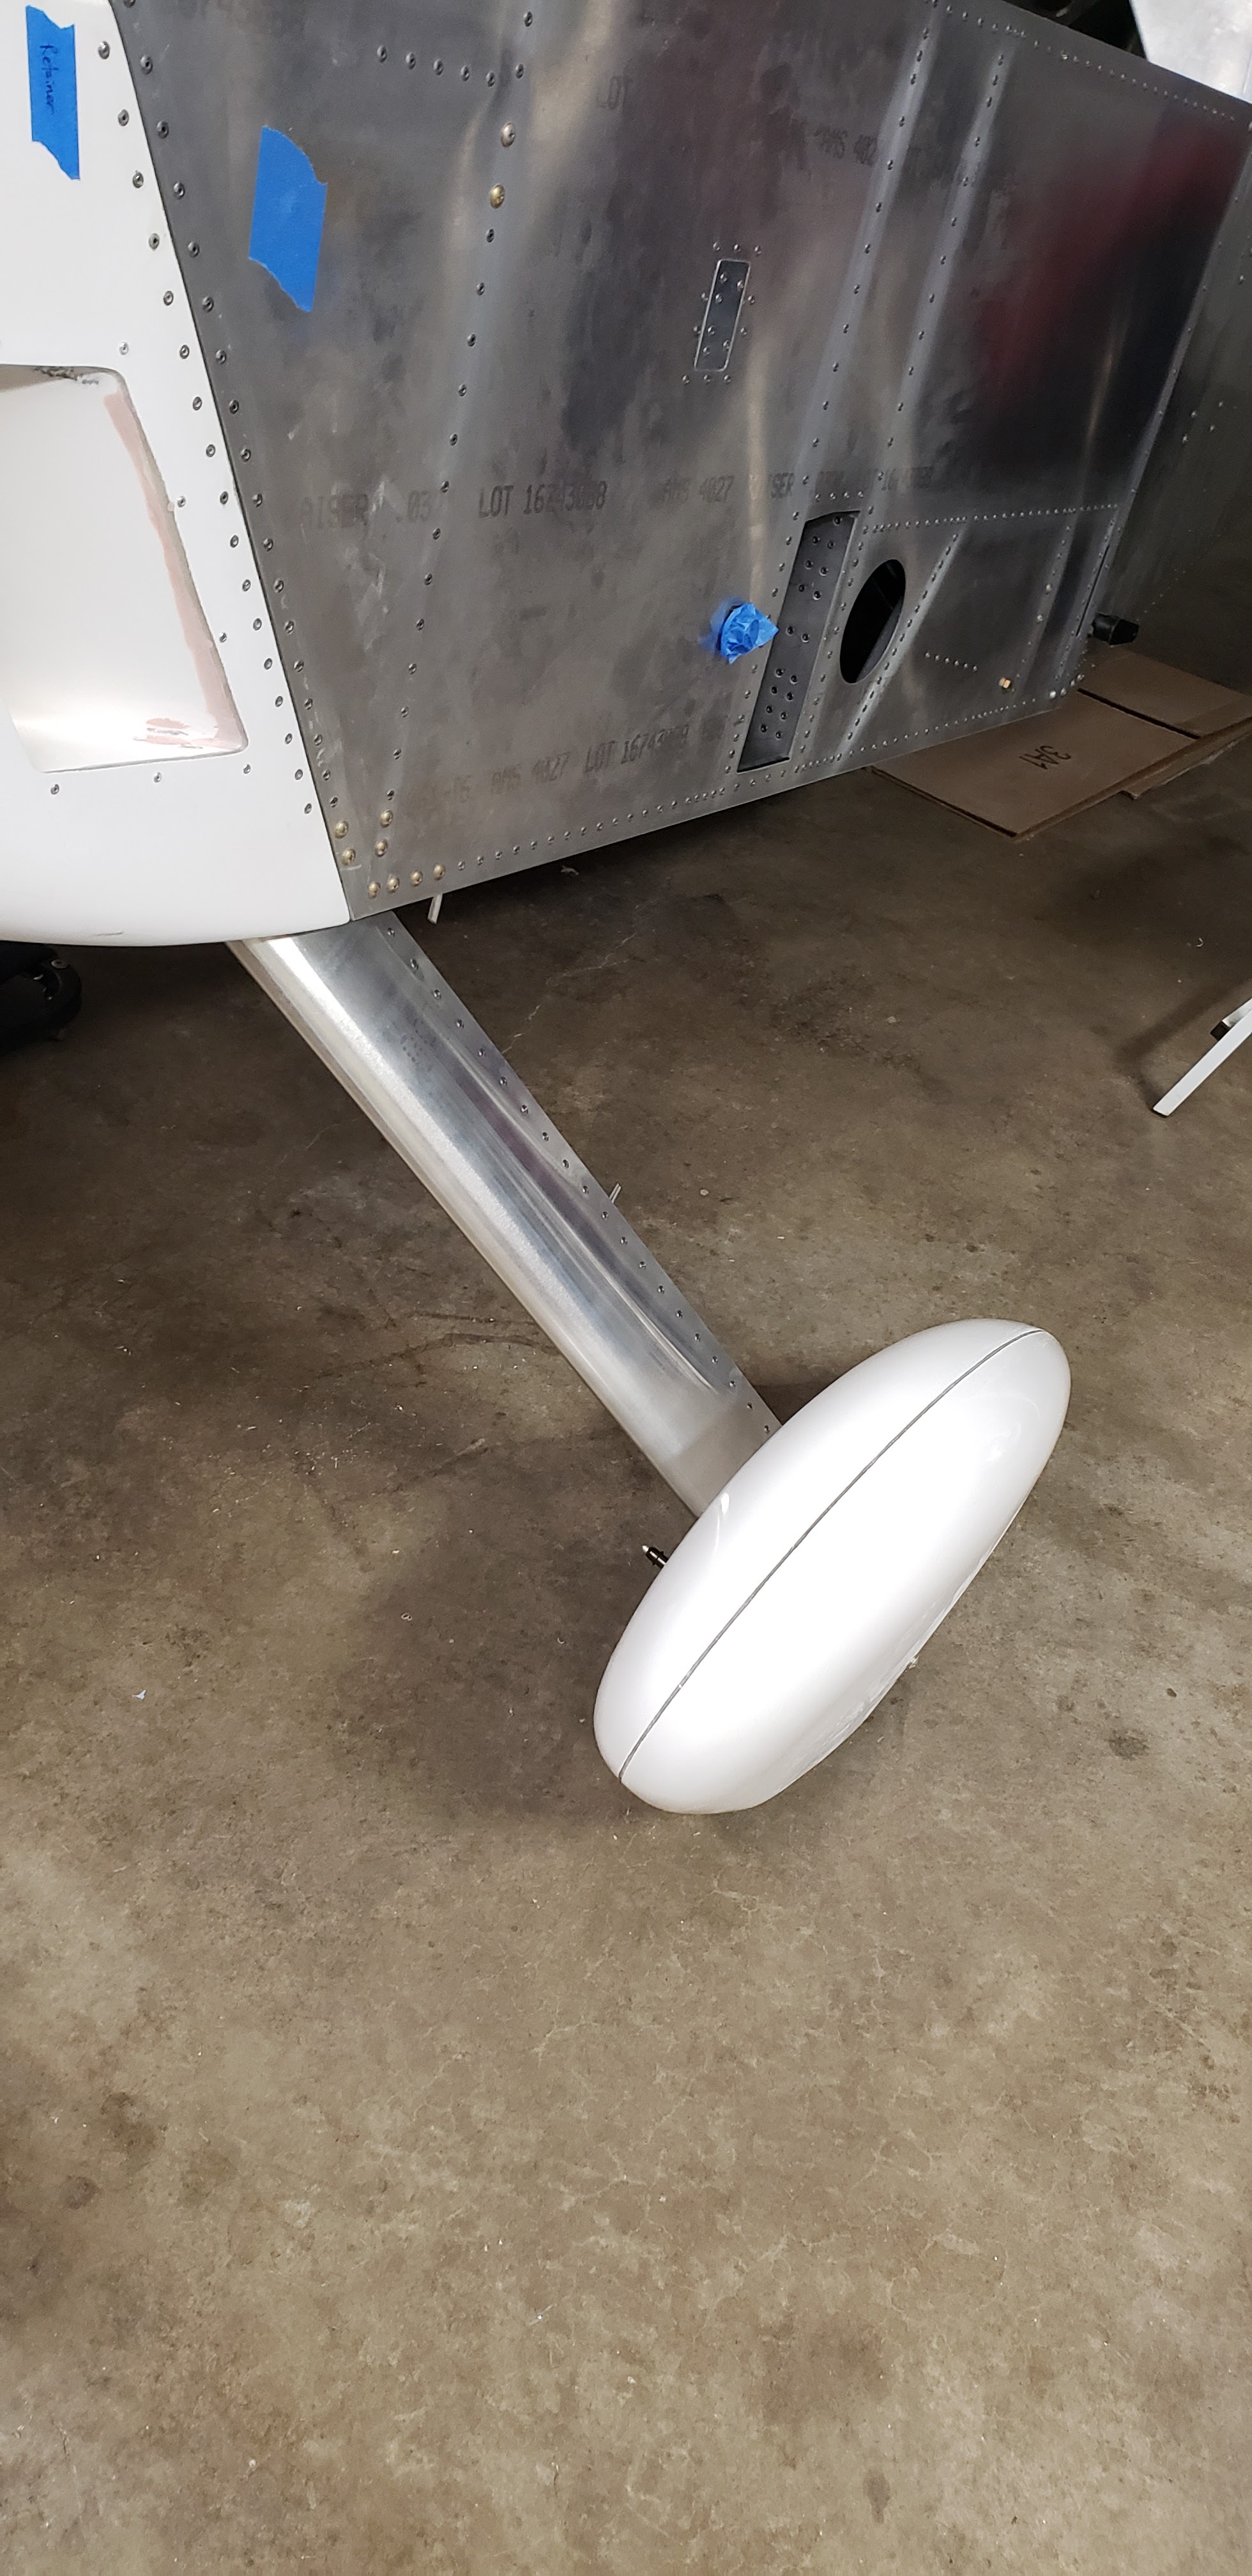
Doing the bend this way worked surprisingly well. Anyway next I set about getting the fairing to fit on the plane. I built the right side first, and test fit t around the gear leg. It was a tight fit, so I gradually trimmed little bits off the top and bottom to try and make it fit reasonably close on both ends without interfering with anything. Unfortunately I went too far and ended up with a pretty large gap as you can see in the next two photos!
I took the lessons learned from the right side, and got the left side to fit a lot better. Then I went back and redid the right side. I found that it was pretty hard to finagle the fairings into place with all the clecos, so as soon as things looked like they were going to work out I just went ahead and riveted the hinges on.


To keep the farings in place, the plans say to put one long hinge pin from the inside of the cockpit floor, through the floor, through the fairing hinge, and into the fiberglass wheel fairing. I didn't want to do it that way because I'd never be able to install the pin by myself, plus the brake caliper was in the way on the wheel side anyway. I decided to do what I think a lot of builders have done and have two pins go from the center outwards, with a little notch cut into the fairing for access. I had the upper pin penetrate the floor, but I couldn't have the lower pin go through the wheel fairing because of the caliper. Instead, I made a little tab with a nutplate for each side, and riveted it to the underside of the floor. Now the fairings are retained by a screw and the upper hinge pin; I think that will be enough!
I drilled some tiny holes so I could safety wire the ends of the hinge pin together so neither of them can work their way out.