10 hours
All along I had planned on using a Garmin GDU 450 (7") display for my primary instrument. However, in the process of trying to lay out the panel, I made the mistake of printing the templates for both the GDU 450 and the GDU 460 (10") display. I discovered that if I could make the panel just about 1" taller the larger screen would fit! Once I realized that I couldn't really let go of the idea, so I started figuring out how I could make it work.
I started by just going ahead and ordering the GDU 460 mounting kit. The kit includes the connectors as well as the little backing plate, which makes a perfect template for the display. I found a piece of leftover "C" channel way back from the tail kit, and tried clamping that to the bottom of the stock panel. It took me a little head scratching to visualize how to make the extension work, but gradually I was able to pretty much make it up as I went. Here's the first mockup:
I ended up making the extension more like 1.25" tall, so that I could fit a row of switches on it. Here's what I cut out of that piece of channel. The top side still has the original 90-degree bend, which is cleco'd to the bottom of the panel.
I bend the bottom edge back 90 degrees, just by clamping more scraps to it and hammering it into shape.
The bottom edge doesn't look especially straight in this picture; I made some minor adjustments later!
I bent the little corner tabs in, but I realized I probably cut a little too much material off since it left a gap. I made a little strip for each corner to tie the bottom and sides together. I had no idea if this was all going to work or not but the final piece is pretty rigid!
Here's how the extension is attached to the panel. The large gap between clecos is where the Garmin display will go.
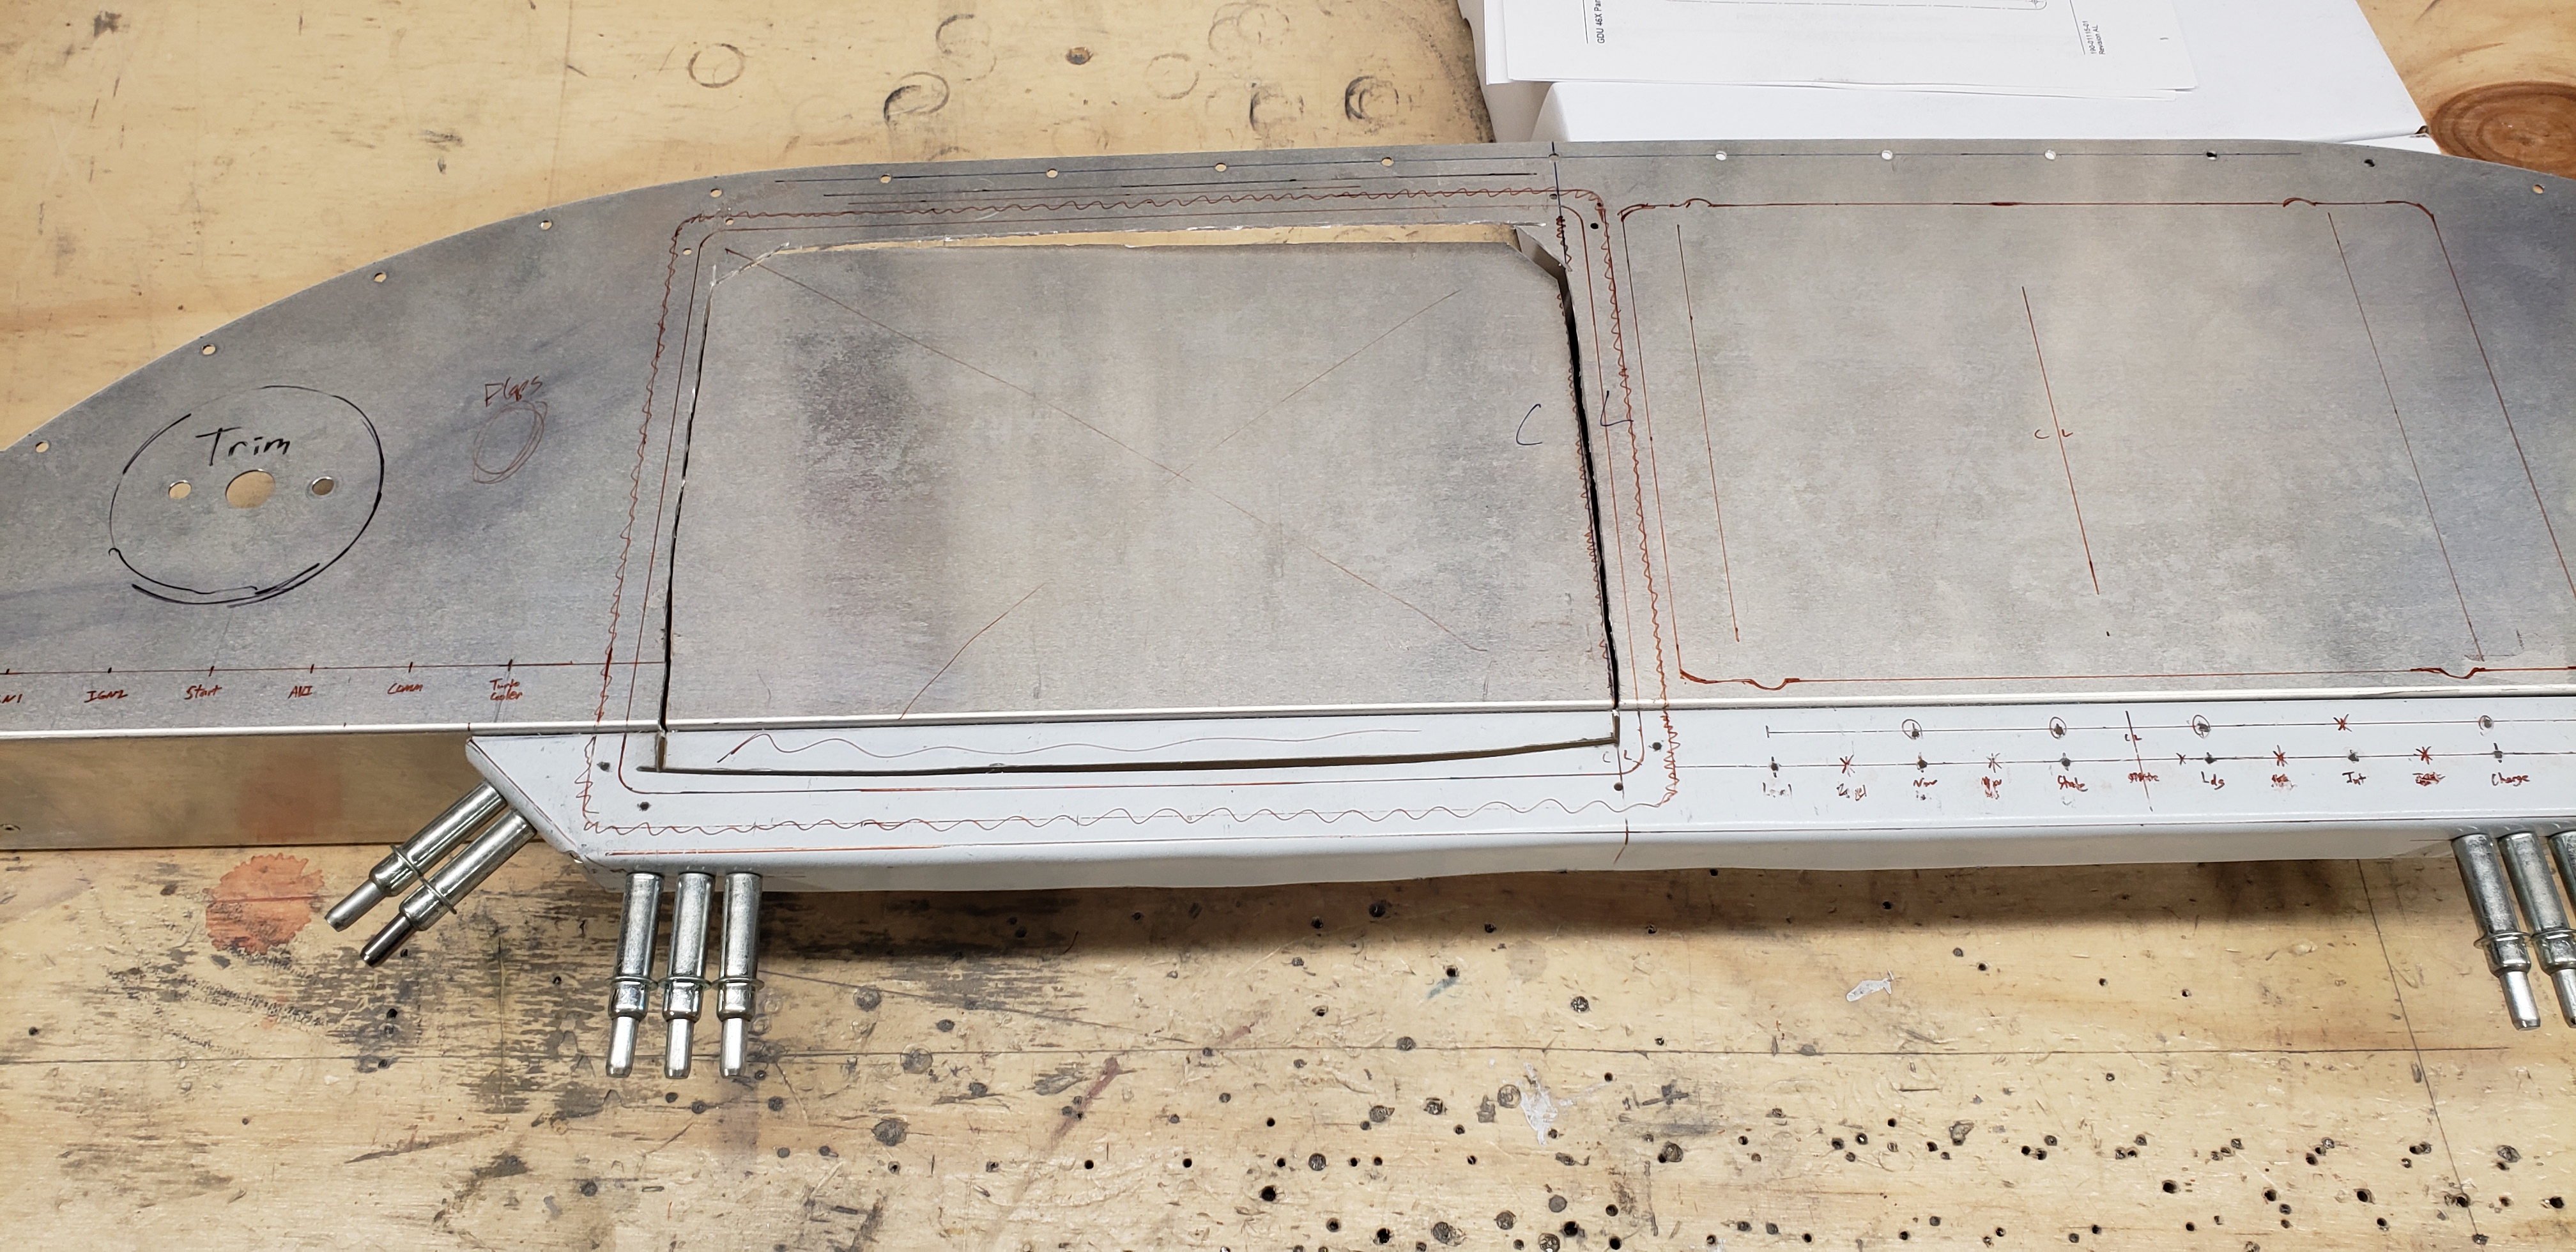
Initial cut for the big screen:
Here's the hole pretty much finalized:
Here's the backing plate attached to the panel. I also cut out the bottom of the original panel to a little farther than the depth of the display (about 1.75"), plus a little slot on each side so I could install the backing plate across both pieces.
Before I riveted it to the panel I checked how heavy my little creation is. 3 ounces; I think it'll be worth the weight!

The other large item on the panel will be a flush mount for an iPad Mini. I picked up a Guardian mount and laid out and cut the hole for it next.
Next came switches. On the left side I mostly copied the factory B-model layout. The switches I installed, from left to right, are Master Battery/Alternator, Ignition 1 (mags), Ignition 2 (coils), Engine Start, Avionics Bus (all the Garmin stuff), Comm Bus (radio & transponder), and Turbo Cooler. I spaced each switch 1" apart and placed them as close to the bottom as I thought they'd fit.
Below the iPad I have: Autopilot Level Button (not installed yet in this picture), Nav/Pos Lights, Strobe Lights, Landing Lights, Interior Lights (dimmer switch), and what I'm calling "Charging," which will power the iPad dock, USB charging ports, and a remote ADSB-in if I end up using one of those. I spaced these switches 1.5" apart, because the dimmer switch is big and it also seemed to fit the space there better.
I still have a few things to install on the left side (flaps switch, alternator circuit breaker, and maybe some indicator lights), and to the right of the iPad (USB ports, copilot PTT button, seat heat switch, maybe the ELT control panel, and the required passenger warning placard), but I don't have any of that stuff yet so that's it for now!