Wednesday, May 13, 2020

Case Assembly 3

3 hours

I finally have all the main bearings so the crank dropped right in!


I noticed some slight interference between the crank and the case in just one spot:


I colored all over that area with a sharpie and then turned the crank to see where it scraped the ink off.  Then I pulled the crank out, covered everything up, and ground the high spots off in that area with a Dremel tool.


Then I cleaned everything up again and reinstalled the crank along with the cam.


Next I installed the flywheel and measured the gap between it and the rear bearing in order to determine how many shims to install later to set the end play.


Finally, I took the flywheel back off and applied the specified sealant all around the case halves, and put them together!


The one issue I had was that the lifters on the left side really wanted to slide out when I flipped that half of the case over.  I couldn't find any suitable tools to hold them, but by some ridiculous contortion of my hands and arms I managed to hold each one with my fingers while I mated the case.  If I ever do this again I'll plan ahead and find four clothespins!


Wednesday, May 6, 2020

Crankshaft Assembly (0.5)

0.5 hours

The crankshaft showed up, but unfortunately the split main bearing that came with it was damaged.  Sonex is sending a new one so I'll have to wait a couple days to install the crank.

I bought the pre-assembled crankshaft, so there wasn't much to do here, but while I waited for the new bearing I went ahead and installed all the connecting rods.  I guess I forgot to take a picture of that but here's what came with the assembled crankshaft!


Tuesday, May 5, 2020

More Engine Case Prep (3)

3 hours

Still waiting for my crankshaft, but there were a few more little tasks I could get done in the meantime.

I installed all the various little covers and plugs that come with the kit.  One note, the instructions tell you to drill and tap one of the plates for the M14-1.5 oil temp sender.  My plate was already drilled and tapped so double check before you go buy an M14 tap like I did!


Next I installed the oil pressure control plungers.  Both of them stuck quite a bit in the case initially, so I polished them over several iterations with 1000 and 1500 grit sandpaper until they moved freely before installing them for good.  I found that if one really gets stuck, you can very carefully thread a tap into the open bottom of the plunger just a tiny bit to grab it and pull it back out.  The tap that came with my Time-Sert kit was actually the perfect size for this.


I also assembled the cam gear onto the camshaft.  The torque spec is 20 ft-lbs for each bolt, which I found kind of hard to do by myself.  I ended up having my wife turn the wrench so I could hold the gear against the workbench with both hands.


Finally, I installed the cam bearings in the case.  Just like the manual says, there's no machining to accommodate the locating tab on one of the bearings on the right case half, so I carefully just filed the tab off.


Thursday, April 30, 2020

Spark Plug Holes Time-Serts (2)

2 hours

I've read that spark plugs will eventually tear up the threads on the cylinder heads, so putting Time-Serts in the holes is a common fix/upgrade.  Might as well just preemptively do it now!

I had never done a Time-Sert before, but it's pretty simple.  You drill out the original threads, put a small counterbore on the hole, tap it with bigger threads, and then install the threaded insert.  The kit comes with a specific tool for each step.

I did a test on a chunk of scrap before I tore into my nice brand new heads.


The hardest part of this was drilling out the original threads.  The drill bit is pretty big, too big for and of my handheld drills, but it has a square drive on the end of it like a tap.  You can drive it with a socket, which is what I did, but I don't really recommend that in retrospect.  It was kind of hard to control.  Just get or borrow a larger drill!

The other challenge is making sure you get the tap started nice and straight.  The tap in the kit has very little taper on it, so it's fairly easy to get it started crooked.  Each spark plug hole is on an angle, so that doesn't help.

Anyway, I just took my time and eventually got all 8 holes done.  I also got a couple work meetings done while I was at it.


Wednesday, April 29, 2020

Aerovee Turbo Engine Prep (10)

10 hours

I finally have an engine!  It's just going to take some work before I can run it.


I picked up the engine kit from the shipping center in town.  It came in three fairly large boxes, but they all pretty easily fit in my wife's small SUV with the back seats folded down.  I got everything back to the garage and went through all the many boxes and packages to take inventory.  As far as I can tell I got everything, except the crankshaft and carburetor, which were backordered.

While I wait for the crankshaft, I'll get as much prep work out of the way as possible.  I started with the engine case.  You can just assemble the engine and run it without painting anything, but it honestly looks pretty gross out of the box!  The casting is pretty rough on the outside.


I spent some time with a little scotch-brite flapper wheel in my drill and cleaned off as much of the outside as I could, and then went through the inside with a small file and removed any loose machining burrs that I could find.  The inside was not too bad.  I also drilled and tapped the specified spot on the front of the case for a 1/4" NPT oil line fitting.


Once I had the case reasonably cleaned up, and I was done doing anything that would create dust or chips, I cleaned both halves inside and out with mineral spirits and compressed air as well as I could.  Then I ran them through the dishwasher twice for good measure.


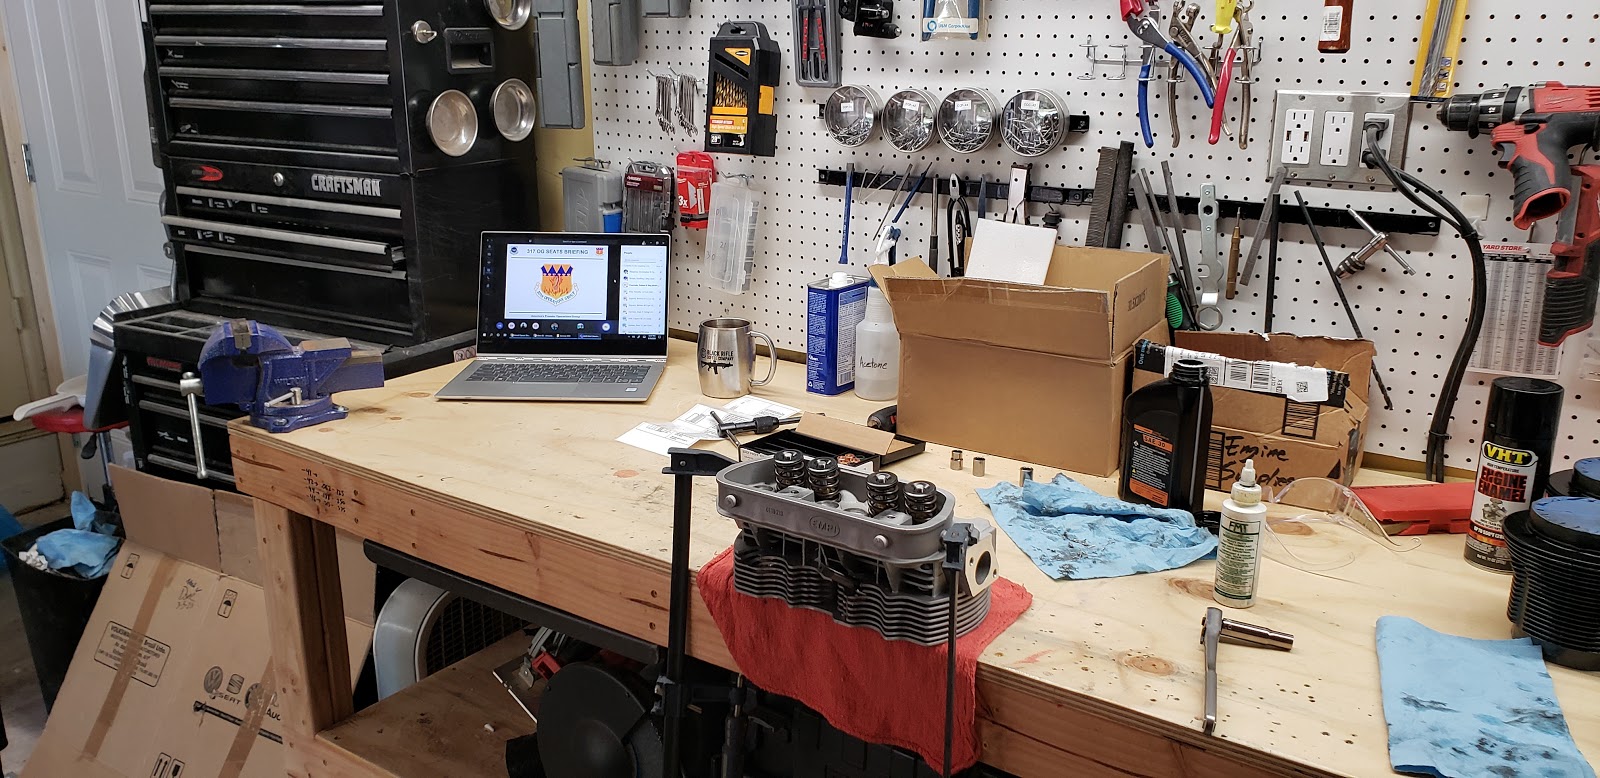
While the case was inside getting itself washed, I cleaned off, masked, primed, and painted the cylinders.  I used VHT engine enamel from AutoZone.


Once the case had cooled off I masked all the machined and/or threaded areas before painting it.  This was probably the most tedious part.


Next I primed and painted the case with the same paint as the cylinders.


Once the paint was dry I removed all the masking tape and cured it in the oven according to the instructions (200 degrees for an hour).  At this point my wife had just about had it with me using the kitchen appliances.


The paint turned out pretty good in the end!


Once the paint had fully dried on the cylinders, I filed off the paint on the edgess of each fin.  I thought this would look cool, like how a lot of Harley Davidson engines look.  It does look pretty good from a couple feet away, but I hadn't considered that most of the fins are not all on the same plane.  So I had to pretty much file each fin, which was tedious.  I'll hit it with some VHT clear coat if I can ever find it in stock anywhere.


Saturday, April 11, 2020

Wingtip Lights (2)

2 hours

This is crazy but I put these fiberglass wingtips on like 2.5 years ago.  I need to wrap this thing up!  Anyway where I left off here was I had changed the hole location on the right wingtip to improve visibility of the lights from above, and then I fiberglassed over the previous hole.


So today I sanded down the fiberglass and blobs of resin around the hole, and then used Bondo to make the area smooth.  Here's the first Bondo application:


While that cured I installed the nutplates on the other wing to mount the light.  I used K100-6's to mount the little fairings to the wing, and K1000-4's to mount the lights to the fairings.


Back to the right wing, I ended up doing two Bondo applications, sanding with 80, 150, and 220 grit sandpaper in between.  Here's the Bondo done and sanded, and nutplates installed:


Done!  So that was a 2-hour job I procrastinated for over 2 years...  that's pretty impressive even for me.


Sunday, March 1, 2020

Tailwheel Steering Linkage & Service Bulletin (0.5)

0.5 hours

I disliked the stock tailwheel steering linkage as soon as I looked at it.  It's a steel tube, with a flat tab welded on each end that you're supposed to drill to the arm on the tailwheel caster and the rudder drive horn.  The problems with this are:

1) Once you drill the holes it's not adjustable for alignment.
2) You can't tighten the bolts very tight or it squeezes the tab against whatever you're bolting it too, so it doesn't pivot.  You have to leave the bolts slightly loose, which will cause it to rattle around and enlarge the holes over time.
3) The rudder drive horn and caster arm aren't quite parallel, so you have to bend the steering linkage for the tabs to mate up.

I gave it a try anyway, and I didn't really like the results.  I got the alignment as straight as I could and drilled the holes, but I was mainly concerned about items 2 and 3.  I messed around with trying to bend the linkage slightly to get the tabs to mate up nicely, but it still didn't work that well.  I could either leave the bolts quite loose, which resulted in really sloppy steering, or I could snug them up, which created an excess of friction in the rudder.


I didn't like it, so I took it off and considered making my own linkage with some aluminum rod and rod end bearings, but I found that I could just buy exactly what I needed for not much more that I would've spent making it:

http://www.ansoneng.com/sample-page/products-summary/6-pneumatic-tailwheel-to-suit-sonex/

I ordered the tailwheel linkage and it arrived ready to install:


I had to enlarge the mounting holes from 3/16" to 1/4", and then it bolted right up.  I got the alignment as close as I could by eyeballing it, and now I'll be able to make adjustments later if necessary.  Much better!  I definitely recommend doing something like this for anyone else reading this.  Either make your own or just order one from Peter Anson.  The price was well worth the headache saved, and even coming all the way from Australia the shipping was pretty cheap and fast.


While I was looking at the tailwheel I also took care of service bulletin #SNX-SB-008, which replaces the machine screws that attach the steering arm to the top of the tailwheel caster.  I just removed the screws, drilled out the holes, and installed the longer screws and prevailing-torque nuts called for in the bulletin.  Details here: https://www.sonexaircraft.com/service-bulletins/