2.5 hours
Starting on the fuel tank... This thing had been stashed in the garage rafters since I first took delivery so I had to go dig it out first. I did an initial test fit installation, and found it fairly easy to install except I couldn't get it quite far enough forward for the tank stop angle to fit.
I removed the tank and sanded some of the excess flashing off around the edges with coarse sandpaper. I'm not sure if it helped any but at least it looks a little nicer (not that anyone will ever see it).
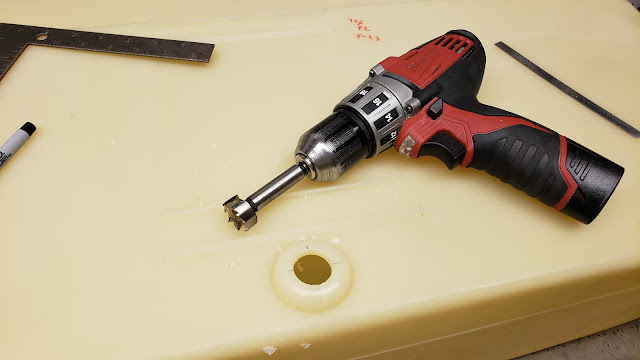
Anyway, while the tank was out I drilled three holes for the fittings which I'll install later. It's not on the plans (it's on the "oops fitting" instruction sheet on the Sonex website), but the larger fitting needs a 1" hole and the smaller ones need a 9/16" hole. I used a 1" forstner bit and a 9/16" spade bit since that's what I had. Both worked just fine on the plastic tank material.
I reinstalled the tank for another test fit. This time I got both tank straps nice and tight, and that allowed me to scoot the tank just a bit farther forward than the last time. Now the tank stop angle fits just right.
The last thing I did tonight was try to improve the unevenness of the front part of the glare shield. It's very lopsided from manufacturing or shipping or whatever, but I think it can be mostly corrected.
Luckily I had two tank stop angles in my parts heap, so I will use the extra one as a glare shield stiffener. I measured 15" forward from the tank stop angle holes and drilled the angle to the glare shield there. I cut the height of the angle down to 1/2" and tapered it to about 1/4" near the ends in an attempt to clear the tank. I'll see how the clearance looks on the next test fit. I definitely don't want it rubbing on the top of the tank, but even if I have to cut more metal off I think it'll still help.


No comments:
Post a Comment