2 hours
This was a task I was kind of dreading because I heard drilling titanium is a pain and drilling perpendicularly into the side of a cylinder is tricky anyway. The plans don't really direct you to do this until you install the landing gear on the fuselage, but I think doing it now is way easier. Since the tailwheel spring bracket isn't attached to the tail post yet, I could clamp it up in the dirll press which helped a lot. Anyway here's what I did:
First I clamped the steel bracket in my drill press vice. The square flange on the end helped to clamp it down straight. Then I drilled a 1/8" pilot hole through one side.

Next I inserted the spring rod to the correct depth, and made a Sharpie mark on the rod through the hole. Then I clamped the rod in the vice, and very carefully made just the start of a hole on my mark. I choked way up on the drill bit in the chuck to minimize any flexing.


Then I put the rod back into the bracket, lined up the holes, and clamped them together. The bracket is thin enough that I could clamp them pretty snug with this little bar clamp with rubber feet. I got everything lined up with the drill again and clamped it back up.

Then I drilled the 1/8" pilot hole through the whole assembly. In retrospect I should have just started with a larger bit, and someone on the forums even told me to do that but I forgot. The 1/8" bit worked fine, but it just took a while to get through the titanium. I had to go slow and use plenty of cutting oil! I got it updrilled to 3/16" and then clecoed it together.

Next I took the bracket off of the tailwheel that the rod goes into, and carefully drilled a pilot hole through one side of it. I forgot to get a picture of that part. Anyway, then I assembled it back onto the wheel, inserted the rod into it, and set everything flat on the table. Now I had to start being real careful. The goal was to have the bracket vertical and the wheel nice and square on the surface. I used a square to get everything as straight as I could.

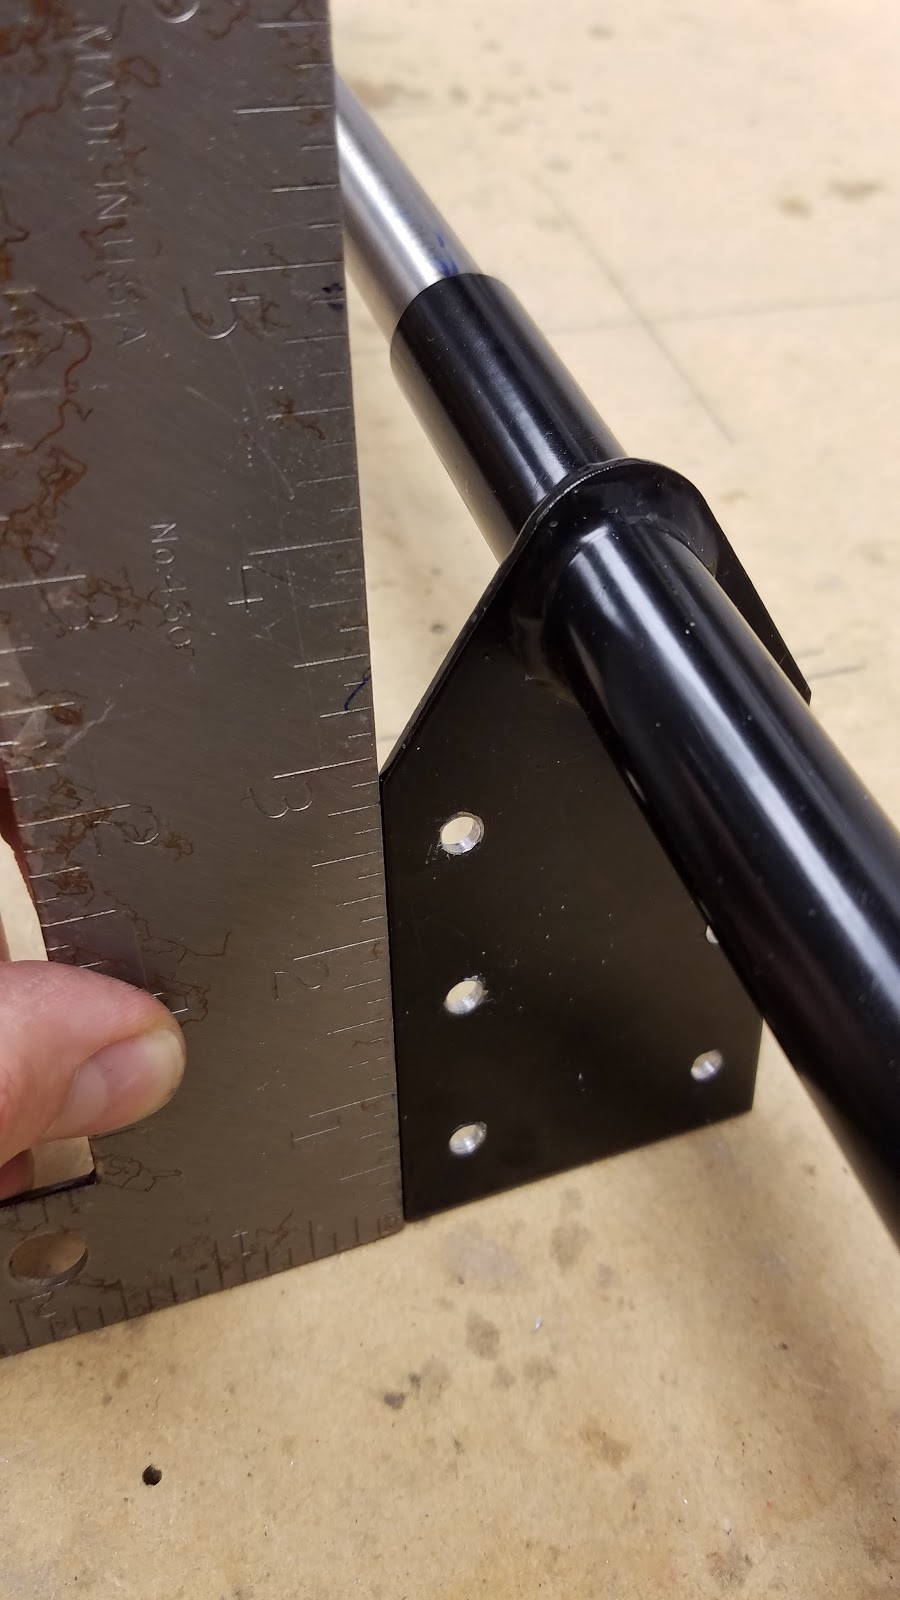
Once I was pretty confident in my alignment job, I marked the rod through the hole in the tailwheel bracket, removed the bracket from the wheel, and clamped it all back on the drill press again. Then I carried the pilot hole slightly into the rod. Luckily this bracket fits real tight on the rod so it was easy to hold still while drilling, since I couldn't figure out a good way to clamp it. Once I had a good mark on the rod, I pulled the bracket of and drilled the rest of the way through to avoid tearing the bracket up during the long drilling operation.

I clecoed everything back together, reinstalled the wheel, and checked the alignment again. Everything looked good, so I went back and updrilled both holes to their final size of 1/4".
I don't have the correct bolts yet, but I threw a couple random AN4 bolts in to do a final check on the whole thing. As far as I can tell it turned out pretty well!

No comments:
Post a Comment