Friday, September 28, 2018

Rudder Pedals (4)

4 hours

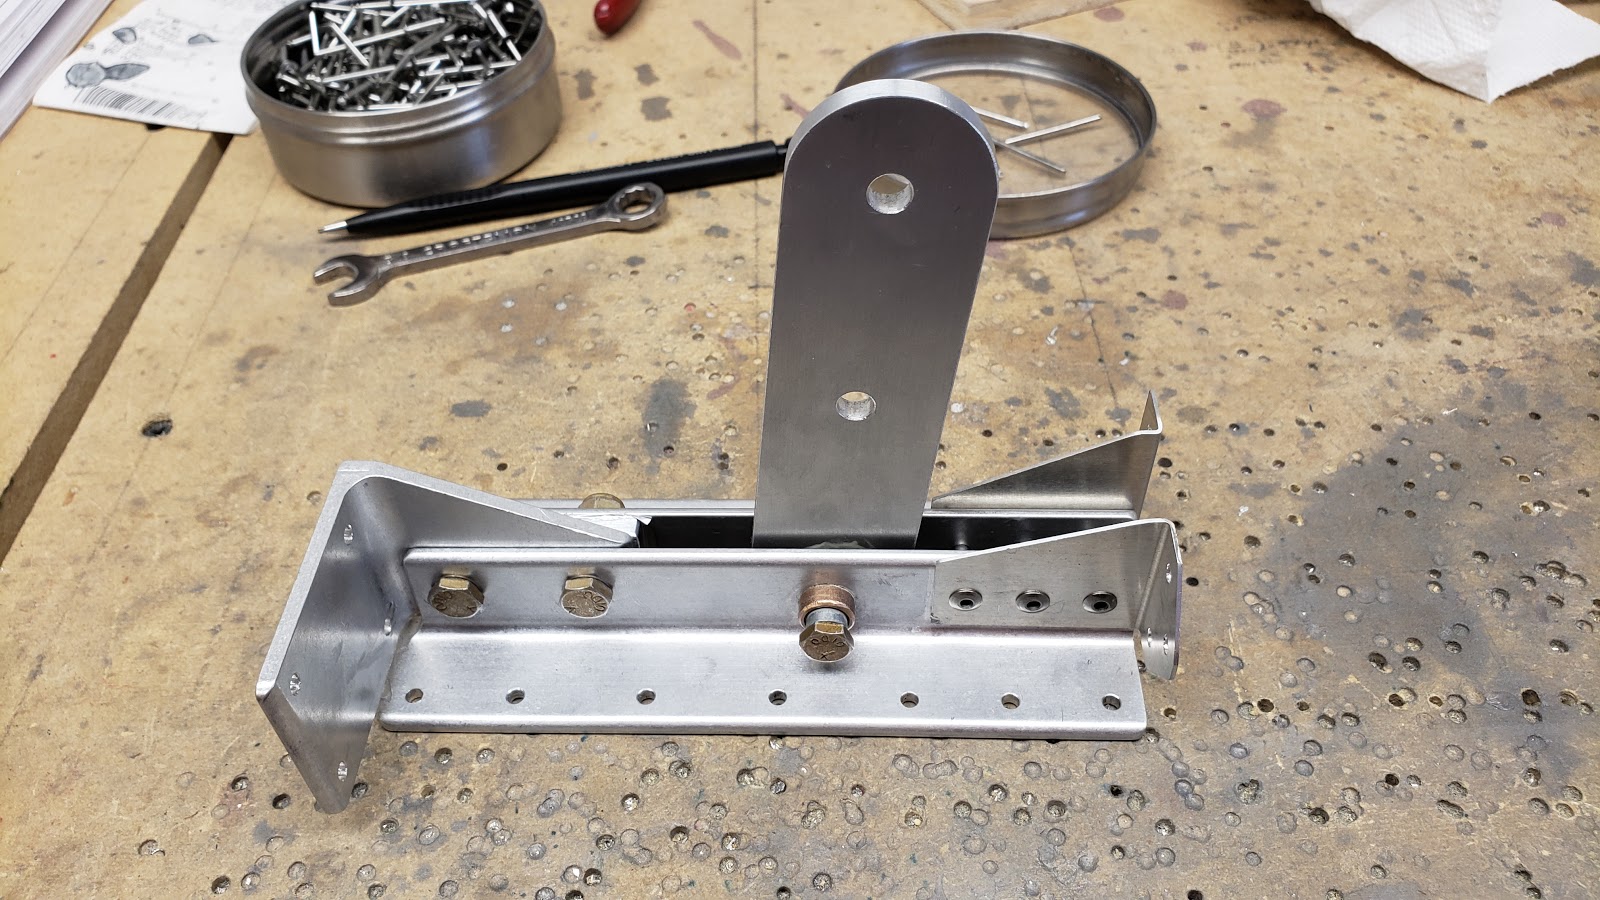
Coming back to the rudder pedals, I had the blocks built so I went ahead and installed them.  Turned out neither pair of pedals could move at all once I got them bolted in, so I had some tweaking to do.  I remembered that I was supposed to sand the powdercoating off the pedal tubes where they met the blocks, so I did that, but they were still way too tight.  The tubes measured about 1.002" in diameter, but the holes from my 1" forstner bit were only about 0.980".  I needed to enlarge the holes for it to work.

My solution was to pick up this thing from AutoZone:


I bolted the mounting blocks together, put them in the vice, and went to town on each hole with this little honing tool.  I gave it about 15 seconds on each hole, then measured the diameter.  It took probably a cumulative 5 minutes of sanding per hole, but once I got them enlarged to about 1.005" the fit seemed pretty good.  This would have taken hours to do by hand!  Finally, I used my edge deburring too to put a big chamfer on the holes that needed clearance for the welds on the pedal assemblies.


Anyway, with the blocks modified, I lubricated everything with white lithium grease and managed to get the pedals installed.  It required three hands to get everything in place and bolted, but I got it done with only two hands and some mild cursing.  They're finally in and able to move freely!


Windshield & Canopy Bows + Other Parts (2.5)

2.5 hours

Now I'm really jumping around, but a coworker lent me her rivet squeezer which I knew I'd need to set the solid rivets on the canopy bows.  The bows on the B-model are pretty nice machined parts that come in three pieces per bow.  Each joint uses two 3/16" solid flush rivets, which means these were the first solid rivets I had to do on the whole plane so far now that I think about it.  Anyway they'll be visible from the cockpit so I wanted to make sure they turned out nice.

The rivet hand-powered squeezer that I borrowed worked well, but I couldn't quite generate enough force with it to fully set the big 3/16" rivets.  It got them set far enough to hold the parts firmly together though, so I set them the rest of the way with a hammer and ground-down bolt like the method on the Sonex website.  The end result was pretty good!


Wednesday, September 26, 2018

Rudder Cable Adjusters (0.5)

0.5 hours

Getting on even more of a tangent, once I did the rudder pedal mount blocks I figured I'd just close out that plans page and crank out these little plates.


Rudder Pedal Mount Blocks (1)

1 hour

Jumping around a bit, but spending so much time near those rudder pedal mounting brackets made me want to get the pedals installed while I had access to that area.  First I had to make these blocks.  I had this nice chunk of 3/4" phenolic material, which was just enough.  


I cut out four rectangles to make the four halves I'd need, then drilled each 3/16" bolt hole so I could bolt the pairs together and make sure everything stayed lined up.


Then I hit the sides with the belt sander to smooth out the seams, and drilled the 1" holes with a forstner bit.   It made just a bit of a mess.........


Tuesday, September 25, 2018

Glare Shield Installation, part 2 (2)

2 hours

Continuing with the glare shield installation.  I got the glare shield drilled to the firewall angle, which was kind of a pain because the flange at the top of the firewall blocked most of it.  I pretty much had to do one hole at a time, cleco'ing and un-cleco'ing all the holes around it to allow me to bend the firewall forward and get at the hole, while still keeping everything positioned.

While I was at it, I went ahead and fixed a goof I made a long time ago when I trimmed the upper firewall, that left a big gap above each engine mount block,  I used some scrap stainless steel sheet and whipped up two little squares to fit around the angle and fill the gap.  I'll seal this all up with fireproof RTV later when I install everything for good.


After that was figured out, I drilled the rest of the underside of the glare shield to the upper longerons.  Most of the holes were easy to access with long bits, but there were five on each side that were blocked by the rudder pedal mount brackets.  This ended up being a huge pain.

I could have probably done a real nice job if I felt like ordering some tools, but I didn't feel like waiting so I made do with what I could find at Home Depot.  What I picked up was this angle adapter and a couple hex drive 3/32" and 1/8" bits.


This setup resulted in the shortest total length I could come up with without having to order anything online.  I found some hex drive "stubbby bits" on Amazon, but these just barely fit and I didn't feel like waiting!


This angle adapter was a little hard to hold straight, and it got pretty hot after a few holes, but it did what I needed it to.  Anyway, after all that I eventually got the whole glare shield drilled and updrilled.


Monday, September 24, 2018

Glare Shield Installation (3)

3 hours

It took me some head scratching to figure out how to tackle this thing.  I decided that the only way to access everything was to first remove the floor, so I started with that.  I'm really glad I haven't riveted the floor on yet or this glare shield would be a ridiculous pain to install!


Then I installed the glare shield, and from underneath just drilled it to the upper longerons in a few places to hold it.


Then I crammed the little firewall angle into place.  I had to test fit it and trim the ends a few times before it finally fit.  In order to drill the angle to the firewall, I traced the bottom edge of the flange on the back of the firewall, then removed the upper firewall (since I hadn't riveted it yet... thankfully again), and measured up 1/4" from my trace marks to mark the holes.  I drilled those, then reinstalled the upper firewall, and drilled through my holes into the angle.  I think it ended up working pretty well.


Then I fit the panel, which was straightforward except I had to trim the ends a tiny bit to fit inside the glare shield.


I still need to drill the glare shield to the firewall angle and the rest of the upper longerons, but that's just about it for this thing!

Saturday, September 15, 2018

Glareshield/Firewall Angle (1)

1 hour

This was another exercise in forming a curve via fluting.  In this instance there wasn't another part to form it to match, they just give a full-scale profile on the plans page to match up to.  Annoyingly, they only give you the right half of the profile, and tell you to make the other half a mirror image.  This caused me to scratch my head for a minute, until I realized I could flip the page over and hold the part up to the back of the page and still see the outline of the shape that was needed.  Anyway, I got it formed without too much struggle.


Friday, September 14, 2018

Rear Wing Spar Carry-Through Assembly (3)

3 hours

This hefty beam is what will connect the rear spar of each wing to each other through the fuselage.  Most of the parts came with pilot holes so it was straightforward to build!


Elevator Idler (1.5)

1.5 hours

I finally got this idler assembly fine tuned so it can move freely.  I just rolled up a piece of 1000 grit sandpaper and chucked it into a drill, and used that to hone the inside of the bushings a little bit so the arm could rotate a little easier.  Then I used six layers of aluminum foil sandwiched between the brackets as a shim to free it up a little more.

I installed the assembly and riveted the front side, but I'm leaving the floor and rear end detached for now.


Thursday, September 13, 2018

Wheel Assemblies (0.5)

0.5 hours

I want to start working on the landing gear soon, so I figured I would see how these little wheels go together.  The two-piece wheels are very easy to install tires on since you can just take the wheels apart, but them through the tire, and bolt them together.  I got the tires/tubes installed, bolted the wheels together with the tiny brake rotors, and cautiously inflated the tires to 30psi.  They appear to be good to go.


Saturday, September 8, 2018

Panel (2)

2 hours

The next page of the plans leads to fitting the instrument panel and the glareshield.

The panel requires a little straight piece of angle to be formed to match the curve of the panel, creating a rib that will support the glareshield.  This was another task that I wasn't sure how to approach, but once I got started it ended up being pretty easy.

I just laid out where the holes would be, then added little flutes between them to form the curve.  It was tedious because I had to constantly cleco to and remove it from the panel to check how the curves matched up, but eventually I think it turned out well.


Seat Installation (6)

6 hours

Today I spent a bunch of time getting the seat installed.  It actually went together pretty quick and easy.  The seat pan gets drilled to the formers  and rear horizontal angle that I just installed, and the top of the wing spar channel.  It won't be riveted until later though.  The seat back is installed with piano hinges to the seat pan and the upper cross tie box, to make it easily removable.  Everything is drilled to size and cleaned up, which is as far as it needs to go for now!