10 hours
I finally have an engine! It's just going to take some work before I can run it.
I picked up the engine kit from the shipping center in town. It came in three fairly large boxes, but they all pretty easily fit in my wife's small SUV with the back seats folded down. I got everything back to the garage and went through all the many boxes and packages to take inventory. As far as I can tell I got everything, except the crankshaft and carburetor, which were backordered.
While I wait for the crankshaft, I'll get as much prep work out of the way as possible. I started with the engine case. You can just assemble the engine and run it without painting anything, but it honestly looks pretty gross out of the box! The casting is pretty rough on the outside.
I spent some time with a little scotch-brite flapper wheel in my drill and cleaned off as much of the outside as I could, and then went through the inside with a small file and removed any loose machining burrs that I could find. The inside was not too bad. I also drilled and tapped the specified spot on the front of the case for a 1/4" NPT oil line fitting.
Once I had the case reasonably cleaned up, and I was done doing anything that would create dust or chips, I cleaned both halves inside and out with mineral spirits and compressed air as well as I could. Then I ran them through the dishwasher twice for good measure.
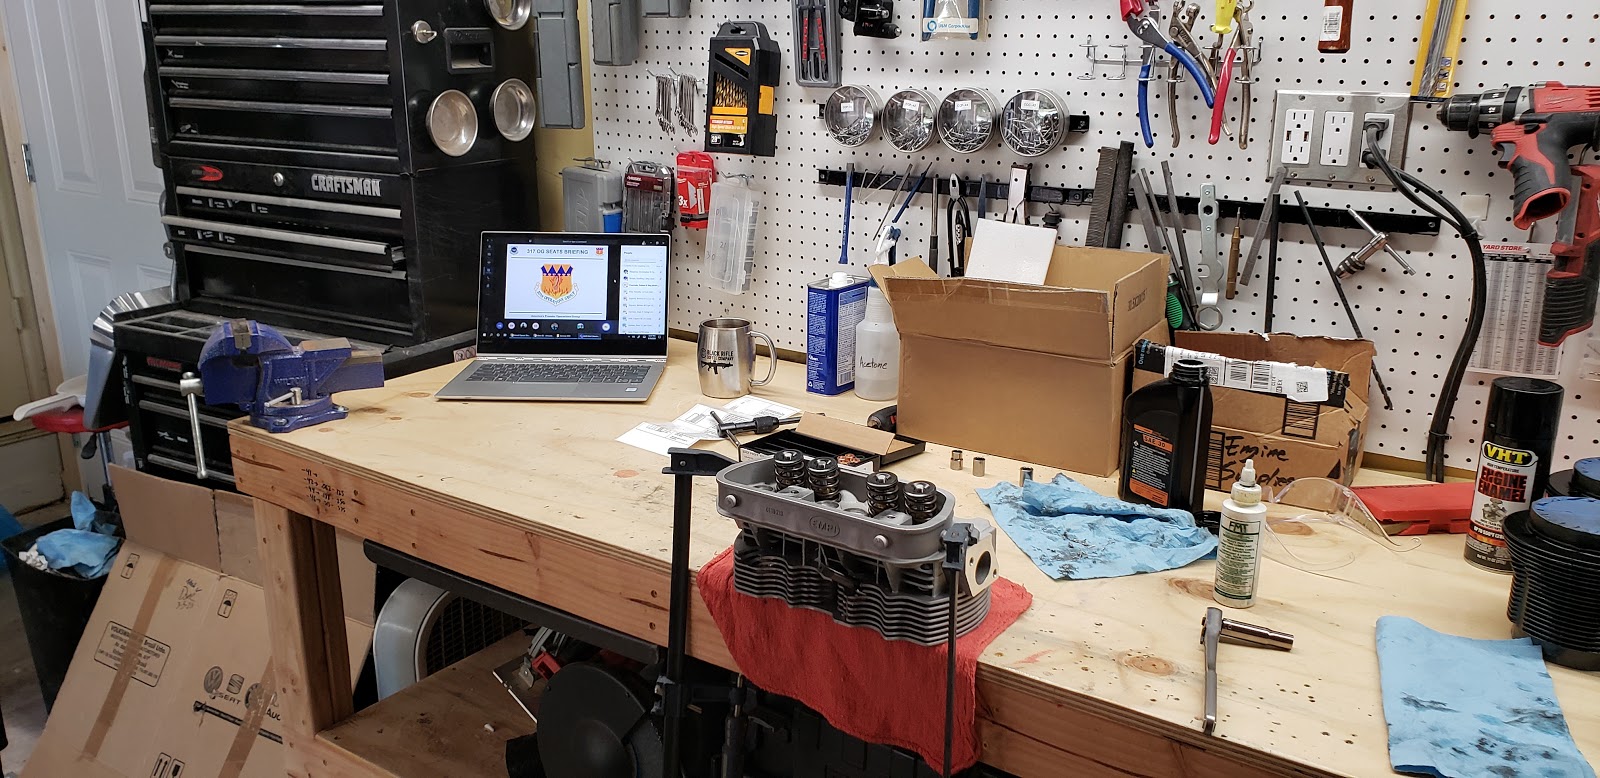
While the case was inside getting itself washed, I cleaned off, masked, primed, and painted the cylinders. I used VHT engine enamel from AutoZone.
Once the case had cooled off I masked all the machined and/or threaded areas before painting it. This was probably the most tedious part.
Next I primed and painted the case with the same paint as the cylinders.
Once the paint was dry I removed all the masking tape and cured it in the oven according to the instructions (200 degrees for an hour). At this point my wife had just about had it with me using the kitchen appliances.
The paint turned out pretty good in the end!
Once the paint had fully dried on the cylinders, I filed off the paint on the edgess of each fin. I thought this would look cool, like how a lot of Harley Davidson engines look. It does look pretty good from a couple feet away, but I hadn't considered that most of the fins are not all on the same plane. So I had to pretty much file each fin, which was tedious. I'll hit it with some VHT clear coat if I can ever find it in stock anywhere.