Saturday, December 2, 2017

Tuesday, November 28, 2017

Aft Spar Tunnel Web Riveting (0.5)

0.5 hours

Not much time to work over the last few days but I did get some more CCC-46 rivets in the mail from Sonex.  So the aft spar tunnel web is now riveted in!


Tuesday, November 21, 2017

Aft Cabin Details (1.5)

1.5 hours

I spent some time today digging through my boxes and finding all the parts for the next page of the plans.  The main thing that actually needs to be built on this page is the idler assembly that will transfer the elevator inputs from the stick to the mixer.

I got it mostly built but there's still quite a but of friction, so I'll have to keep adjusting it a bit more until it moves freely without any slop.  This is pretty much just like the aileron bellcranks that I did several months ago.


Sunday, November 19, 2017

Control Stick & Mixer (2)

2 hours

I borrowed this taper pin reamer from another user on sonexbuilders.net, so I could finally finish these parts.  It appears to be kind of easy to drill too far with the reamer, so that the tapered pin would go all the way through the parts!  So I had to be careful.  I was also able to drill the holes for both the #1 and #2 size pins all with the #1 reamer, so you really only need the one tool.

Anyway both of these assemblies turned out pretty neat and went together without too much trouble.


Forward Fuselage, part 8 (0.5)

0.5 hours

I got the last few rivets installed on the lower firewall and the little gussets.  I was going to rivet the aft spar tunnel assembly in place, but I realized I only had 10 of the required CCC-46 rivets!  I emailed Sonex to see if they'll send me some more, and they quickly got some more rivets in the mail, so I can finish riveting these parts later.


Forward Fuselage, part 7 (2)

2 hours

I installed all the bolts at the forward end of the fuselage.  I put the bolts in at the front lower corners even though they go through the floor skin, but I just used plain hardware store (not nylock) nuts so they'll be easier to remove later.  I only did this because I'm running out of 3/16" clecos.  If I didn't mention this before, I'm not going to permanently install the floor skin until much later!


At the junction of the forward and aft fuselage, I prepared all the holes for bolts but didn't install them yet.  I'll need to split the fuselage apart later to get this thing out of the basement.


After that I riveted on the firewall except for the bottom edge (since that overlaps with the floor skin).


Thursday, November 16, 2017

Forward Fuselage, part 6 (4)

4 hours

I got the floor and side panels all deburred and reassembled.  The firewall wasn't ready yet, so I just put the engine mount back on to hold everything in place for now.


After that I went ahead and riveted the aft spar tunnel web together.  This is a lot of flush rivets!!


Finally, I deburred the firewall, riveted the stiffener and lower hinge, and reinstalled it to the fuselage.


Wednesday, November 15, 2017

Forward Fuselage, part 5 (4.5)

4.5 hours
 
Continuing on the aft spar tunnel web, I got all the new holes updrilled and dimpled/countersunk.  It'll be a lot of flush rivets!


Next I had to go back and countersink the holes on the aft side panel vertical, where this thing will attach to.  Since the verticals are already riveted to the side panels, I had to use my hand drill instead of the drill press.  I could still use the microstop to do the inboard holes, but the outboard holes were too close to the wall.  I used this extension that came with my hand deburr tool and it worked perfectly.  I forgot I even had that extension until I saw Ryan Roth's blog entry where he did the exact same thing!


Next I updrilled the floor and firewall, and removed all the big sheets for deburring!


Tuesday, November 14, 2017

Forward Fuselage, part 4 (5.5)

5.5 hours

Lots more progress on the forward fuselage box.

I added the hinge at the bottom of the firewall, although it did not match up with the bottom hole of the firewall stiffener like the plans indicated.  Not a huge deal, I just added another hole to locate the hinge in the right place.
 

 I also spent some time updrilling and deburring a bunch of smaller parts like the stiffeners and gussets.  Next I got to work on the spar tunnel area, which is by far the most complicated part!

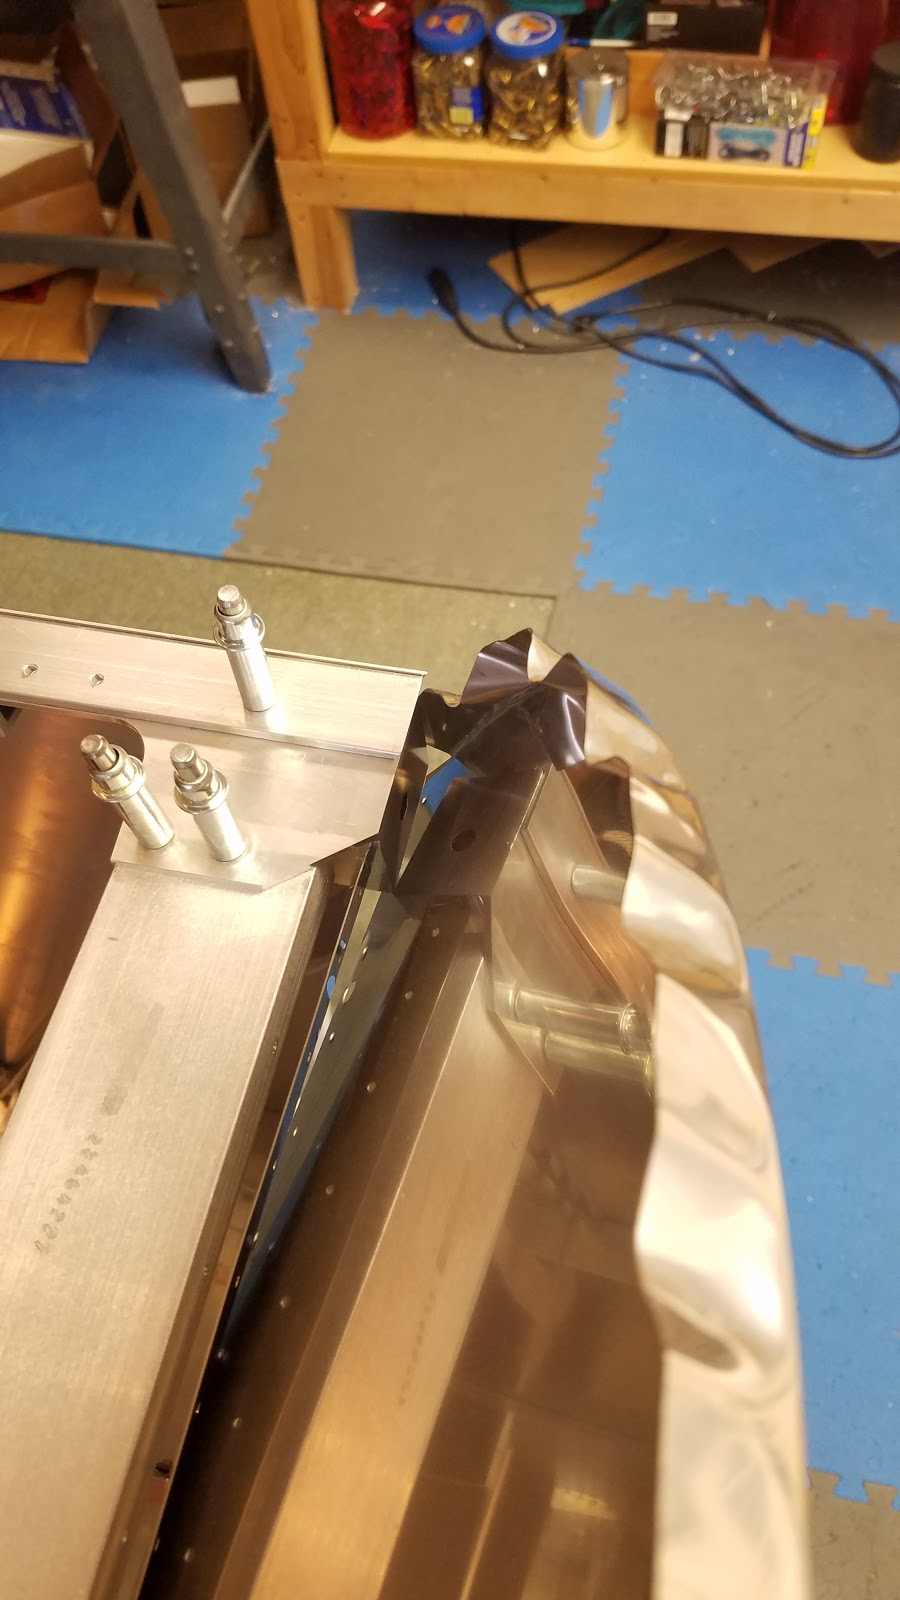
While fitting the spar tunnel parts I used this bar clamp to keep the top of the fuselage at 40" wide.


Like the rear spar tunnel web, which I mostly pre-assembled earlier, the forward tunnel web gets flush riveted to the side panel verticals and the associated reinforcing plates. Once I got everything fit inside the fuselage, I took the whole assembly out to updrill and dimple/sountersink as required.


Next, I added a bunch more holes to the aft spar web.  I guess the plans didn't have me do this initially since it's different if you're doing a tri-gear or standard gear airplane.  Since I'm doing the standard gear version, all I had to do here was continue the pattern of holes across the whole assembly.  If I was installing tri-gear, the main gear brackets would get installed around this area.


Sunday, November 12, 2017

Forward Fuselage, part 3 (4)

4 hours

Continuing to add more and more parts, starting with the firewall and floor stiffeners installed as well as all the little gussets.


Next I drilled the spar tunnel to the floor.  I was a little concerned about making sure it was perfectly straight, but by some ridiculous coincidence I noticed I could put my yardstick against it and install clecos in the empty holes behind it, and that held everything straight.


Finally, I installed the upper firewall.  Although the plans didn't mention it, I guess I needed to trim the lower corners off to clear the engine mount blocks.  Not too big of a deal; after some trial and error I got everything to fit and clecoed in place.


Engine Mount Test Fit (0.5)

0.5 hours

Before I got too far along locking the front of the fuselage in place, I wanted to make sure the engine mount would fit up to it later.  Conveniently this thing just showed up last week.  It fit just fine, plus it makes a good handle now that the fuselage is getting big!


With the engine mount attached, I got my wife to help me flip everything over on the table.  Then I realized I'd still need to get at the bottom of everything, so we put the fuselage on the floor, took the table off the sawhorses, and finally set the fuselage back up just on the sawhorse.