I finally ran the engine! Here is a video of the first start:
The engine started right up and seemed to run pretty well, although I didn't take it much higher than idle on the first run.
I only noted a couple of issues:
1. The throttle lever didn't have enough friction even with the friction knob tightened pretty ridiculously tight, so if I took my hand off the throttle it would slide back to idle pretty quickly.
2. The RPM reading on the G3X was super erratic and jumped around like +/-200 RPM constantly.
Here's a video from a later run that shows how the RPM jumped around:
I think the issue is the RPM sensor trying to count the flywheel teeth. I was afraid it would have trouble since I couldn't get it as close to the flywheel as I wanted to, and I also didn't even consider the huge magnetron trigger magnet that must interfere with the sensor. I will have to move that RPM sensor somewhere else to get a clean signal!
But, for now at least I'm happy the engine runs without any major disasters.
I'm ready to run the engine! However, I'm still waiting for the Prince P-Tip propeller that I ordered last November!! In the meantime, I was able to borrow a wooden Sterba prop from a local guy who had used it on another VW engine in the past. It has the correct bolt pattern, but it lacks the counterbores for the drive lugs on the Aerovee prop hub. I had a friend waterjet me a quick 1/2" thick spacer to cover up the drive lugs, and then I was able to install this prop.
I would not fly with it like this (the prop is the wrong pitch anyway), but I think this will be good enough for some ground runs so I can start tuning while I wait for my Prince prop.
One of the tests I still needed to do was to make sure the gravity fed fuel system would be able to supply enough fuel to run the engine at max power. The guidelines I read stated that you should ensure the fuel system can supply 150% of the fuel required for max power, so for my 100 hp engine that would be roughly 15 gallons per hour. It also said that a nose-up attitude is typically the worst case for fuel flow, since the carburetor is higher and the outlet from the tank is lower.
Anyway, I raised the nose as high as I safely could by myself, by jacking up each wheel and putting a ramp underneath. That got me to 10.7 degrees nose up. I put 10 gallons in the tank (which was way overkill I realized), disconnected the fuel line at the carb, and opened the valve to drain the fuel back into the gas can. I timed how long it took, and also kept an eye on the fuel flow readout on the G3X.
I observed that at 10 gallons in the tank, the flow rate was 28.8 GPH, and it gradually decreased as the quantity went down. At 1 gallon remaining, it was still flowing at 25.4 GPH, and it never went below 24 GPH until the tank was totally empty. Good enough!!
This was a bit of a process! Some of it was self induced though I guess, Anyway I connected the inboard ends of the aileron pushrods to the stick and set about getting everything adjusted. I started by adjusting the long pushrods until the aileron neutral positions matched the flaps. That was actually pretty easy, but I ran into three issues. First, the rod end bearings would run out of swivel travel with the stick all the way back, so the ailerons couldn't be moved with the elevator all the way up. Next, the stick still ran into the hole in the seat pan before the ailerons ran out of travel. Finally, the autopilot roll servo pushrod interfered with the long aileron pushrod and one of the seat ribs in certain positions.
To solve the rod end bearing interference, I first tried holding the long pushrod in certain positions as I tightened the jam nuts, hoping to not waste any travel. That didn't really work, so eventually I went home and made some dished washers like I did for the elevator, and installed them at the outboard bell crank.
The washers helped, and then I tightened the outboard jam nuts first and the inboard ones second, making sure the pushrods were rotated all the way aft with the stick forward. That made enough room for the rod end bearings to swivel as the stick was pulled aft so they wouldn't bind at either end anymore.
Next, since the stick ran into the seat pan before anything else, I thought there must have been something else wrong. I decided to recheck the adjustment of the short pushrods. To do that, you set the ailerons to neutral, and then check that the outboard edge of the bell crank is at a 25 degree angle to the wing rib next to it. I started by clamping the ailerons to the flaps so they'd be held in the right place.
I made a little 25 degree gauge out of scrap.
To adjust the short pushrods, first I had to loosen the jam nuts, which were inside the wing with the ailerons installed. I found that I could disconnect both ends, turn the pushrod on an angle, and then I could just barely get at the jam nut from the outside.
Finally I could use my gauge. I ended up shortening the left one two turns, and leaving the right one as it was.
Then I had to reset the neutral position on the left aileron by adjusting the long pushrod again. I found that the small adjustment I made on the short pushrod required a pretty big adjustment on the long pushrod! After all that, the aileron travel was no different, so the only thing left to do was enlarge the hole in the seat pan.
I ended up cutting 5/8" from each side. Then I carefully vacuumed all the debris out from under the seat and around the stick! I found that before I enlarged the hole, the ailerons could were able to travel about 15.7 degrees up from neural, and 9.8 degrees down. Now they can move 18 degrees up and 11.2 degrees down.
Next I had to make some adjustments to the roll servo pushrod. With everything installed and the newly increased aileron travel, I found that the little servo pushrod scraped the underside of a seat rib hole at full aileron deflection, and the long aileron pushrod ran into the outboard rod end bearing on the servo pushrod at full up elevator.
To solve the first issue, I used a tubing bender to just put a slight bend at the inboard end of the pushrod. That made enough space above the pushrod to eliminate any interference.
The other change I made was to move the outboard end of the pushrod from the front to the back side of the servo arm. That got it out of the way of the big pushrod with the stick all the way aft. I used dished washers again on both ends of the servo pushrod to maximize its range of motion, and now nothing interferes anymore and the pushrod doesn't bind up anywhere!
It's time to finally get the control surfaces set up! I started with the flaps.
The flaps attach to the flap drive tube with a short pushrod on each flap. The first challenge I ran into was that as soon as I tried to connect the pushrods it was obvious that they were too long. I think the plans specified a 3" piece of threaded rod, plus the rod end bearings on each end. After a bunch of trial and error I figured out a good length was actually more like 1-7/8". Anyway that took a while but once I got that figured out I was able to connect the pushrods and start working on adjusting them.
The process of adjusting the pushrods was pretty much just setting the flaps in the neutral position with the actuator all the way up. That's pretty much it I guess, and then the downward travel is just whatever you get from the actuator's travel. Anyhow, while setting the top of the travel I found that the flaps would just barely contact the back of the wing right at the top of their range, which would then cause the fuse to pop before the actuator stopped. I upped the flaps fuse from 5 amps to 7.5 amps, and then I ended up just setting them as far up as I could without popping it. With some measuring I found that position to be about 0.3 degrees down from where the plans specified. I think that's probably close enough and as good as I can get it, plus with the flaps up I can easily lift them a little farther just with the slop in the actuator, so if that isn't aerodynamically neutral the air will probably just push them there anyway.
I also realized that with the pushrods installed you can't access it at all to adjust the length! The only way to really get at it, and especially to tighten the jam nut, was to let the flap hang straight down and then pivot the pushrod parallel to the flap so it also dangled below the fuselage. In order to get the pushrod into that position, I had to file a little notch in the bottom of the flap skin to let the pushrod go by.
Then it was reasonably possible to tighten the jam nuts.
Finally, after a many iterations of adjustments, tests, and popped fuses, I got the flaps to match each other, go pretty much all the way up, and they appear to travel about 27 degrees down from neutral. I've read on the forums that around 27 degrees is pretty common so I think it'll work.
Now that the wings are on there is more stuff I can get done!
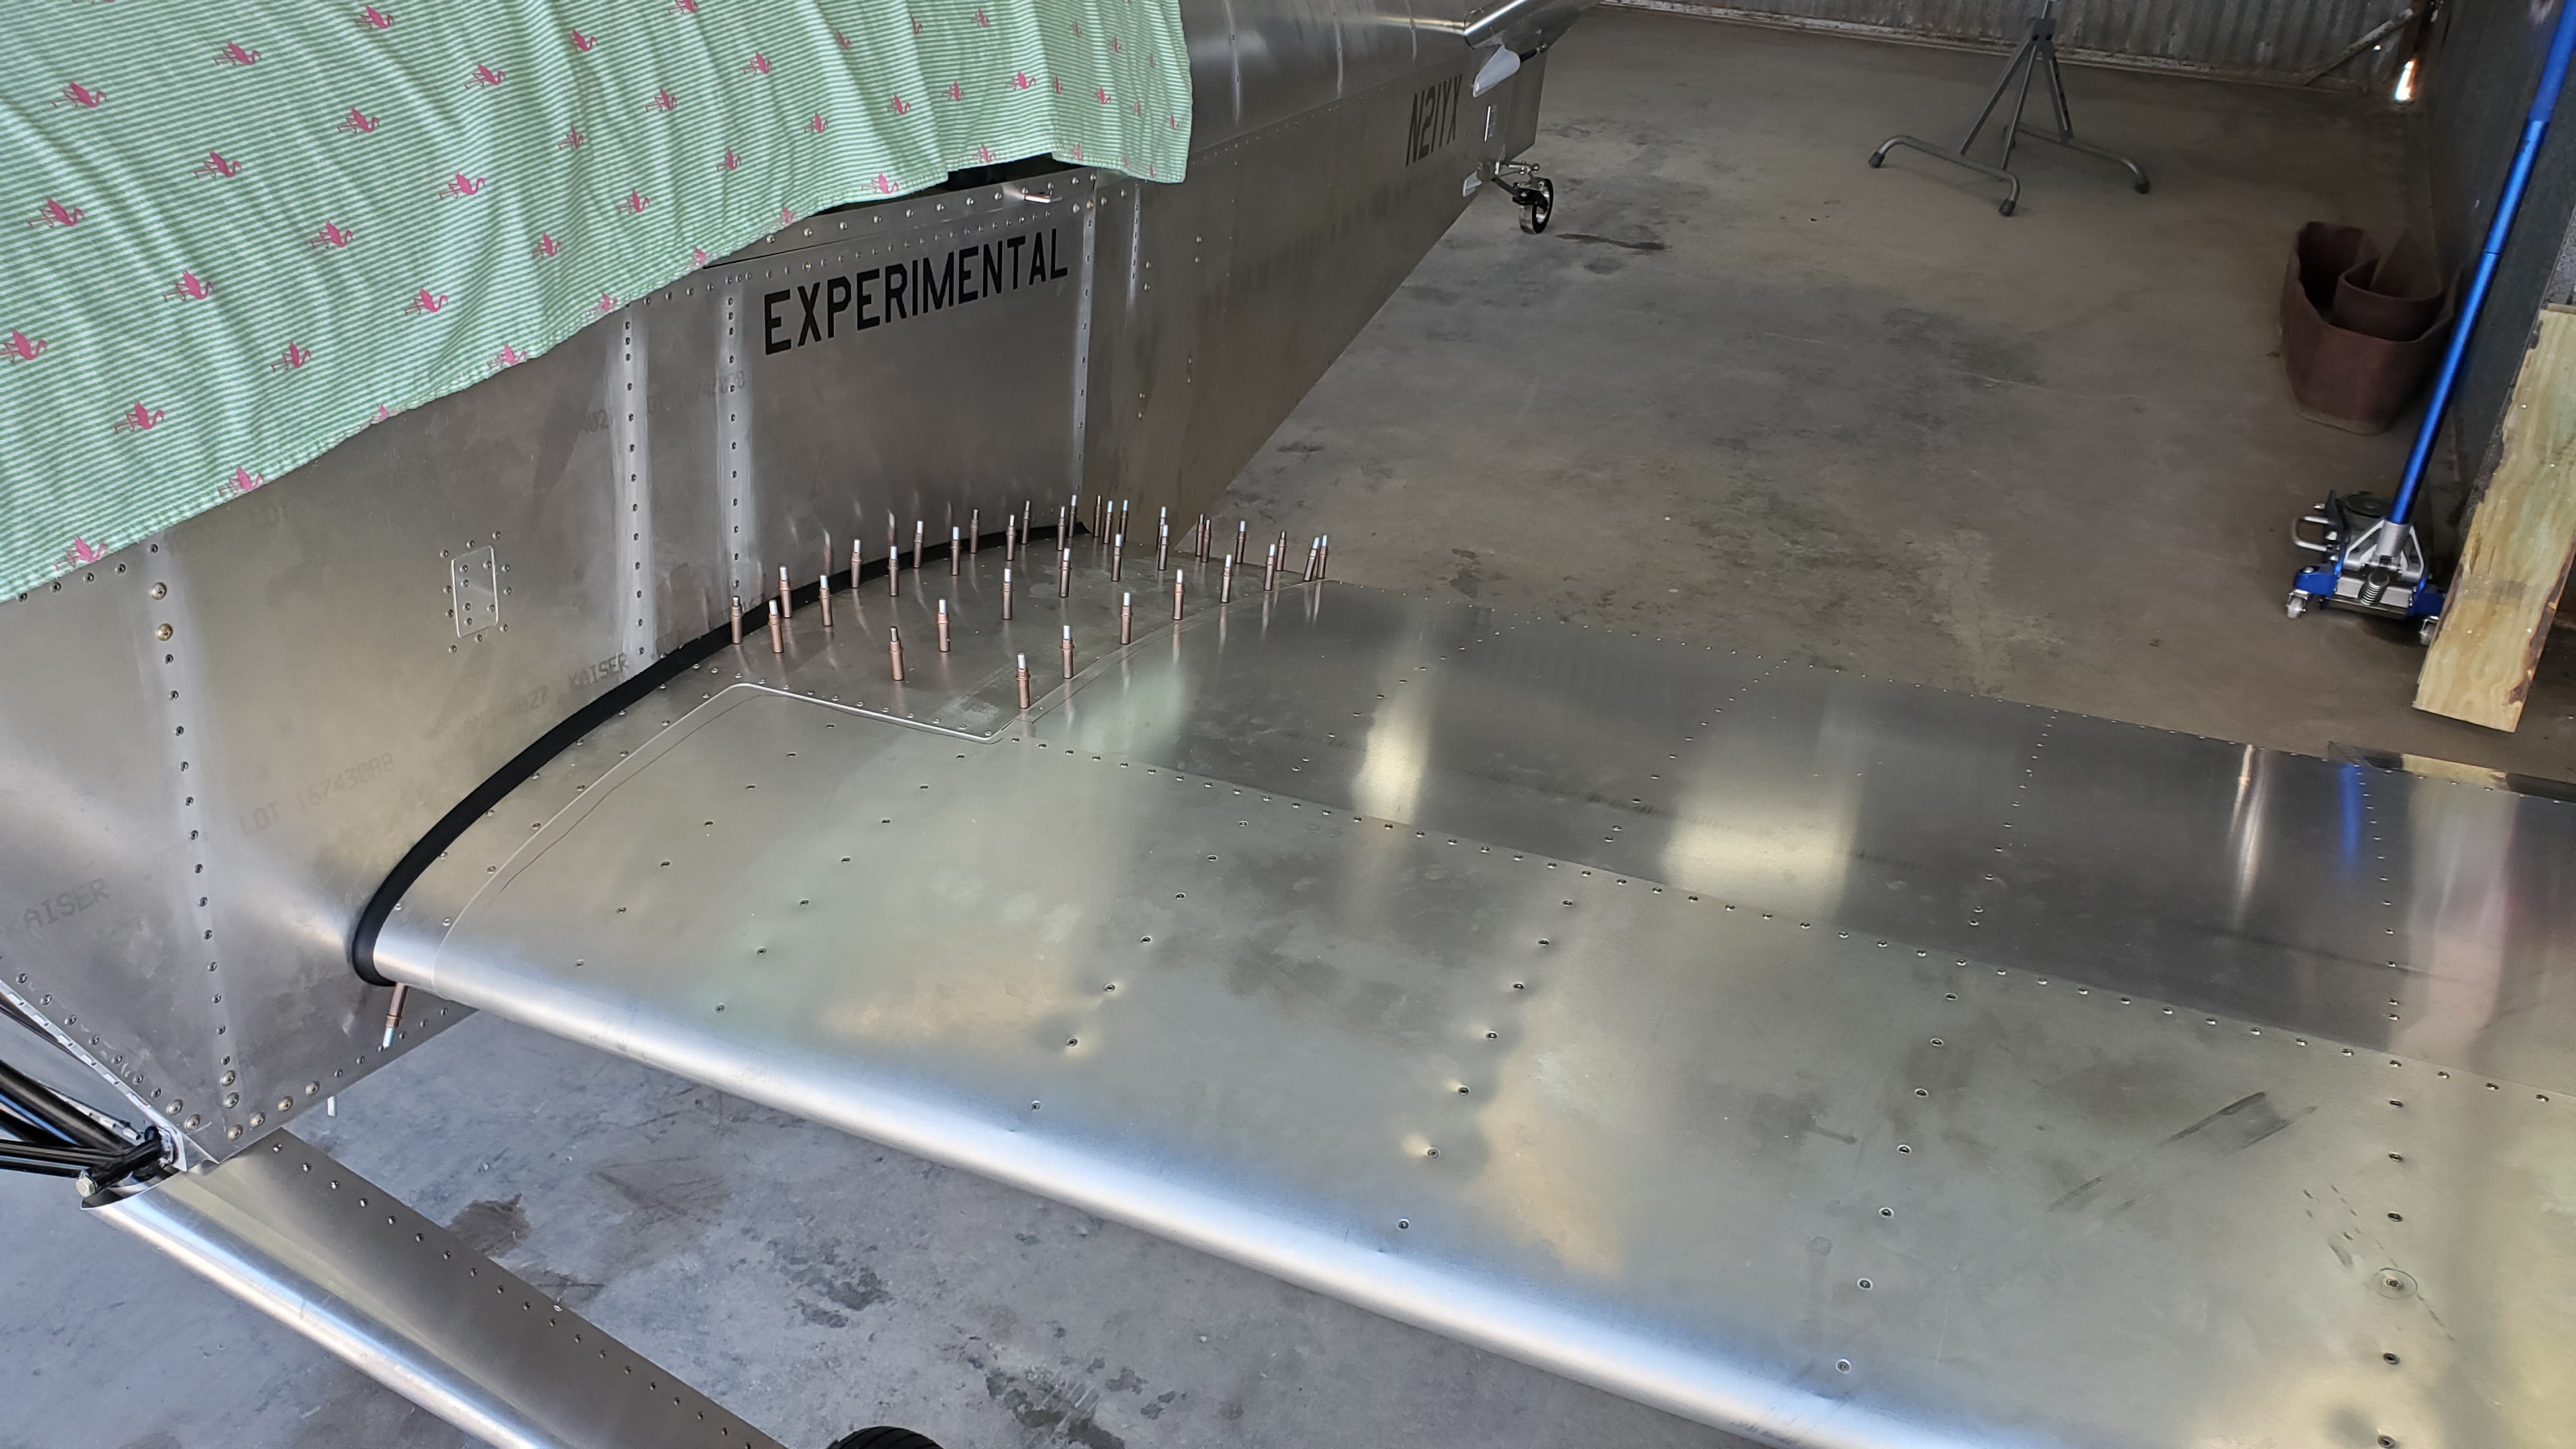
I riveted the wing root doublers on, except one rivet that I'll save for my kid since it's the last one.
I added some grip tape to the wing walk area. It's 3M Safety Walk, 4" wide, and I used a little less than 5 feet of it total.
I also made a no step label for the flap, using the Cricut again and some black vinyl.
Finally, I put some body filler around the wingtips where were some small gaps between the fiberglass and the wing skin, mostly around the leading edges.
I still have the cowl and wheel pants at home, and there were a few little jobs I wanted to get done before taking them to the airport.
On the upper cowl, I still needed to add some kind of air exit for the turbo cooler. I went with these two little NACA vents from Aircraft Spruce. I just mounted them backwards so they don't act like scoops in flight.
I glued them to the inside of the cowl with JB Weld plastic epoxy.
After a bunch of trimming, sanding, a little filler, and more sanding, they look decent enough.
I also finally filled the holes I drilled way back when I initially fit the cowl to the prop hub.
This is the filler I used. It's like Bondo except it weighs almost nothing!
I have read that it helps engine cooling to smooth out the air inlet on the front of the cowl. I already had the filler out so I figured I might as well try to improve these inlets while I was at it. It ended up taking three applications with a bunch of sanding in between, but now the inlets have nice little ramps instead of abrupt entrances.
I also used some filler to smoothen the parting lines on the wheel pants, and cover the couple erroneous holes I drilled when I fit them to the landing gear.