3 hours
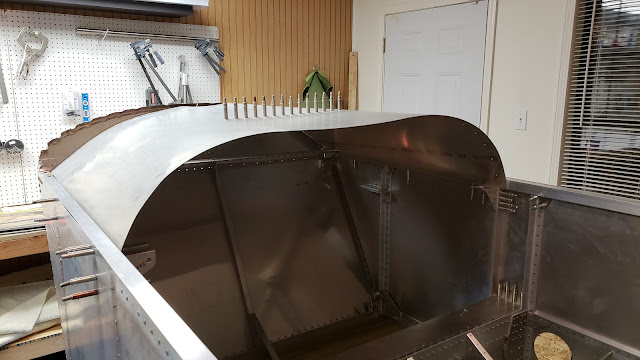
It took me some head scratching to figure out how to tackle this thing. I decided that the only way to access everything was to first remove the floor, so I started with that. I'm really glad I haven't riveted the floor on yet or this glare shield would be a ridiculous pain to install!
Then I installed the glare shield, and from underneath just drilled it to the upper longerons in a few places to hold it.
Then I crammed the little firewall angle into place. I had to test fit it and trim the ends a few times before it finally fit. In order to drill the angle to the firewall, I traced the bottom edge of the flange on the back of the firewall, then removed the upper firewall (since I hadn't riveted it yet... thankfully again), and measured up 1/4" from my trace marks to mark the holes. I drilled those, then reinstalled the upper firewall, and drilled through my holes into the angle. I think it ended up working pretty well.
Then I fit the panel, which was straightforward except I had to trim the ends a tiny bit to fit inside the glare shield.
I still need to drill the glare shield to the firewall angle and the rest of the upper longerons, but that's just about it for this thing!


No comments:
Post a Comment