Wednesday, April 24, 2019

Stabilator Mounting (8)

8 hours

I was thinking of packing everything up after the canopy was done, but I still have a few weeks before I need to move the plane so I thought I'd see if I could get the stabilators mounted first.  That way I wouldn't have to worry about packing them up separately.

Anyway, I began by trying to test fit one of the stabilators in place between the back of the turtledeck and the tail post.  I quickly realized that the notches I cut out way back when I first started on the turtledeck were not in the right place.


The two notches near the center were supposed to be at the outer edges to accept the end of the stabilator spar.  Not too big of a deal, I just cut new notches, and I made them a little deeper than what the plans specified for clearance.  With that done, I was able to get both stabilators in place.


Then I pilot drilled the aft spars to the tail post.


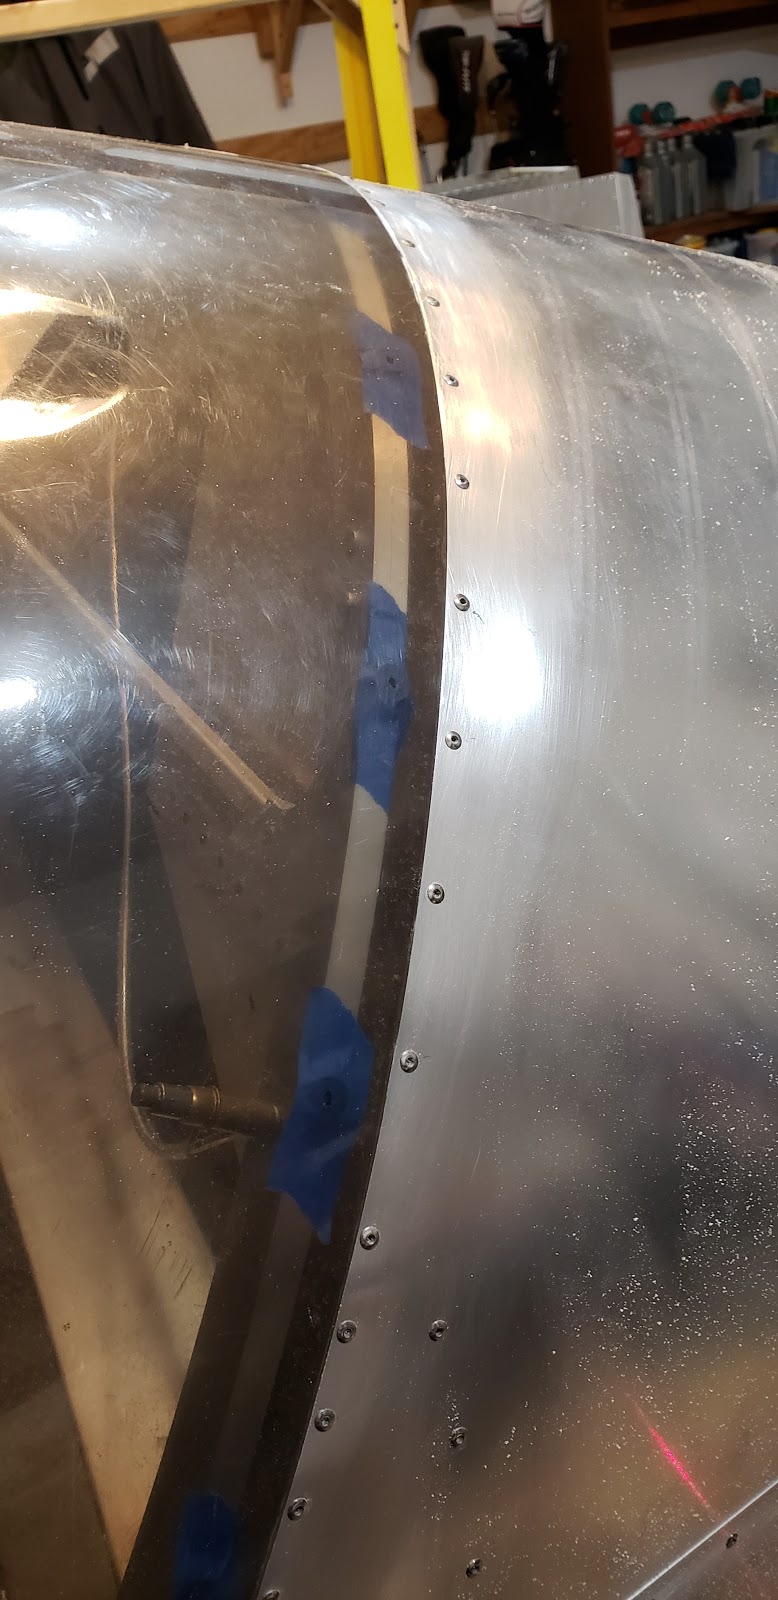
I also had to trim the lower stabilator skins slightly to clear the sides of the fuselage.  The part I trimmed looked like this (the purple sharpie line):


Next I worked on fitting the attach angles to the forward spars.  I got everything positioned and then pilot drilled both angles.


I updrilled all the holes to 1/8", but I couldn't get a straight enough shot at them to updrill all the way to 3/16", so I did the final updrilling off the plane to make sure the holes were straight.


I didn't have any clecos long enough to hold the mounting blocks to the angles during updrilling, so I took the lower attach angle and clamped the blocks to it, then drilled the holes straight to the final size on the drill press.


I did one more test fit, and also updrilled all the holes on the back side.


Then I took everything apart again for the last time to deburr all the parts.  This is why the plans told me not to rivet one side of the stabilator way back when I built it; I was able to lift the skin up on the top side and deburr the inner surface of the aft spar.

In order to install the bolts, I was just barely able to place them in the holes in each forward spar and then squeeze the heads past the turtledeck skin.  The challenging part was getting a wrench between the last turtledeck former and the spars to hold each bolt!


After much contorting of fingers, I finally got all 14 fasteners tightened.


All that was left then was to rivet the aft spars to the tail post, and install all the rivets in the upper stabilator skins, and the tail was installed!


Friday, April 19, 2019

Canopy Final Installation (6)

6 hours

I finally got around to finishing up the canopy.  It took a lot of finagling to get all the holes in the canopy to line up with the tapped holes in the frame well enough for all the fasteners to go in nicely.  I ended up enlarging most of the holes to 11/64" to avoid putting stress on the plexiglass from the screws.  Some of the holes had to go as large as 3/16"!  Anyway I got the whole canopy screwed on, including the one hole that caused me so much trouble previously.  I just used a longer screw and a nut.


The last thing to do was adjust the notches in the canopy latch so it could be locked and unlocked smoothly.  Initially they were way too tight to close at all, so I had to do quite a lot of filing until the latch actually fit over the pins in the fuselage.


This was also the first time I ever actually sat in the plane!


My assistant was less excited.


After many, many iterations of gradually filing open the latch slots, it eventually began to operate nicely.  Then I sanded down the locking tab a bit until it also fit.  This is just a simple piece that can be padlocked to the tab on the outside of the latch, preventing it from being opened.


With that, the canopy is finally done!


Wednesday, March 27, 2019

Canopy Frame Finishing (4)

4 hours

This probably should have taken like an hour but I goofed up and things got out of control.  I started by painting the canopy frame and latch flat black.


Then I went through and tapped all the 6-32 holes.  Of course on hole number 45 out of 48, I snapped the tap off in the hole.


I couldn't get it out, so the next day I brought the frame to a local machine shop to see if they could get it out.  They took it for a day, and when I picked it up they said they had to drill out the aluminum around the tap to get it out, so they did that, filled the area back in with weld, ground it down to shape, drilled and tapped a new hole, and repainted it.  Seemed like a lot of work, and all they accepted in return was a 12-pack!

Anyway, I got it home, and unfortunately the new hole they drilled didn't quite match up with the hole in the canopy.  I guess I should have specified it had to be in the exact same spot, but I didn't expect them to drill a new hole anyway.


At this point I wasn't sure what to do.  I looked into trying to fill the plexiglass so I could drill a new hole in the canopy, but I wasn't confident it would turn out looking nice.  I wasn't sure if I should drill a new hole in the frame, since I didn't know how hard the weld material was, or if there were chunks of tap still in there I'd run into, or what.

Eventually I decided to go ahead and try drilling a new hole in the frame,  I marked the location with a drill bit while the canopy was on, then removed it from the plane to drill through.


I was able to drill through that location without too much trouble, although the bit tried to wander towards the other hole.  I decided I didn't trust trying to tap it again because it was so close to the other hole, so I enlarged the hole and plan to use a longer screw with a nut on the back side.  I'll get a picture of it in the next entry, but they way the B-model frame is, I don't think the nut will ever really be visible unless you were looking from the rear, on the right side of the plane, with the canopy open.  I think it'll be fine!

Friday, March 15, 2019

Stabilator Mounting Blocks (0.5)

0.5 hours

I'm starting to pack up my indoor workshop where the power tools are, in anticipation of moving, so I wanted to whip up these little blocks just in case I get around to mounting the tail before the move.  Nothing too fancy about them!


Thursday, March 14, 2019

Canopy Trimming (12.5)

12.5 hours

This is another one of those tasks I had been dreading all along.  I heard it was pretty tedious to fit the canopy, and that was true!  It took me about 12.5 hours over the course of a week to finally get the plexiglass canopy to fit nicely on the frame.  In total I had the canopy on and off the plane about 20 times.

I started by trimming the canopy very roughly to fit the opening in the fuselage, using a Dremel oscillating tool with a metal blade on it.  I ended up cutting about an inch off the whole perimeter of the canopy.  The oscillating tool worked pretty well, it just wasn't very fast.  I didn't follow the factory recommended bandsaw method because it would've taken two people and I had to do this part on my own!


After the initial cut, I just set the canopy in place, marked all the edges with masking tape, removed it from the plane, and then trimmed to the tape.  For the continued trimming I switched to an angle grinder with a 60 grit flapper wheel.  It removed material pretty quickly and was a little easier to control than the oscillator.  It made a HUGE mess though.  For smaller trims I used a palm sander with 80 and then 220 grit sandpaper.

The three tools I used to shape the canopy


Eventually, after about 5 or so iterations, the canopy finally fit between the windshield and the turtledeck, so I could actually tape it in position and make more precise marks.  I continued making small trims and after several more iterations I could start drilling through the canopy to match the holes in the frame and cleco it in place.


I started at the top center hole at the front and back, and worked outwards from there.  As I constrained the canopy in place further to each side, it became apparent that more and more material needed to be removed from the bottom corners.  This is pretty much what John Monnett said would happen in the Sonex instructional video.  Anyway this went on for many more iterations, until I was finally able to fully cleco the canopy down.


Around this point I realized that the canopy sat noticably lower than the top of the windshield and turtledeck in a few places.  I wanted it to line up as nicely as possible, so my solution was to add rubber washers where needed to space the canopy from the frame slightly.  I found two different thickness of washers at Home Depot, and using them where required I got the canopy to match up pretty well with the profile of the fuselage.


Next, at the very bottom aft corner on each side, the frame actually pushed the canopy out slightly too far, so I had to remove the canopy and just file some metal off the frame to improve the fit.  I guess I don't have an after pic to go with this before, but eventually I go it to what I considered acceptable.


Finally I had the whole canopy fit!


The final tasks for the plexiglass piece were to enlarge the holes and countersink them for the countersunk washers.  I read many horror stories of people cracking the canopy while updrilling the holes, so I tested a few different drill bits on pieces of scrap.  Even trying extra hard to be overly aggressive and using brand new sharp bits, I couldn't get my scrap pieces to crack.  In the end I just used a slightly old regular bit to updrill the holes and I had no issues.  To countersink the holes, I actually was pretty scared of cracking, so I just did it by hand with my little deburring tool.  It took about a minute per hole but it wasn't too hard, and nothing cracked.