Sunday, December 1, 2019

Trim System (3)

3 hours

Now that the tail is coming together I felt like seeing how this pitch trim system is supposed to work.  With the Y-tail, it would be complicated to use trim tabs, so the system uses two springs instead to just apply pressure to the elevator pushrod.  One spring is fixed, and pulls the stick forward, and the other one is adjustable and pulls the stick aft.

The aft spring is attached to the pushrod using this bracket and two hose clamps. 


I spent about 45 minutes making this thing, then realized it was supposed to be 1/8" thick, and I had used 1/4" aluminum.  I threw it away and re-made it out of 1/8" bar stock, which went a lot faster than the first one.


The other end of the aft spring attaches to the horizontal member just behind the seat (which I can't remember the name for... aft fuselage cross-tie?).  The plans show the end of the spring hooked through the top of this C-channel, but when I put the spring there it rubbed on the flap drive tube.


Instead of that, I decided to mount the forward end of the spring to the larger member just forward of that.  It has this extra duplicate hole next to the hole for the elevator pushrod that doesn't do anything, so that seemed like a good spot.


However, the force of the spring tension flexed the sheet metal a little bit there, which I didn't like, so I made a quick little reinforcement plate and riveted it in place.  I think this will do it.


At the forward end, there's another spring attached to the stick that pulls it the opposite direction.  This red bracket mounts to the back side of the instrument panel with a knob on the front.  Turning the knob clockwise shortens a cable, which increases the tension on the forward spring and effectively gives you nose-up trim.


This is full nose-down:


This is full nose-up.  The instructions say that you should be able to trim the ruddervators full up on the ground with the trim system, but this is as far as mine goes.  I will need to shorten this spring or buy a shorter one to increase the tension.  I'll work on that some more later!


Saturday, November 30, 2019

Stabilator Tips (4)

4 hours

Here's a job I've been putting off since I built the stabilators a few years ago!  Ultimately, like so many other jobs I dreaded, it wasn't too difficult once I got started.  It was definitely easier than the fiberglass wing tips at least.

The fiberglass pieces that come with the kit are a bit too large.  The front edge is tapered, so the plans have you cut the bottom off the create to correct overall length.  I couldn't really come up with a good way to measure this, so I just snuck up on it.  I think I ended up cutting off about an inch on each piece.  I used a Dremel cutoff wheel and a belt sander to do it.

The closer piece in this photo is cut to length, and behind that is the other one not trimmed yet.


Next I laid out the holes and drilled each tip to its stabilator.


The other cut I had to make was the clearance on the aft side of each one for the ruddervator.  I carefully snuck up on this cut too, since I wanted to end up with a nice even gap between each tip and ruddervator.  Once I did the initial cut I just used the belt sander to remove a little bit at a time and did several test fits until it looked good.


Each tip gets a rib to reinforce the aft part.  They're the same ribs that are used in the ruddervators, with the forward edge cut off.  You might notice that on the lower assembly in this photo, the rib doesn't reach as far towards the aft point as the other one.  The fiberglass on that one was built up extra thick in the corner, which blocked the rib.  I just got it as close as possible, then cut the forward end of the rib off to make it even with the other one.


One final test fit, and then I riveted the reinforcement ribs in!


Sunday, November 24, 2019

Ruddervator Rigging (2)

2 hours

Continuing on with setting up the tail control surfaces.  All I had to do here was set the lengths of the pushrods going from the mixer to each ruddervator.  In order to set the right length, the plans say to hold the stick all the way aft and set each ruddervator to 10 degrees up relative to the tops of the stabilators.

I used bungee cords to hold the stick all the way back, and then I made a 10 degree template out of a piece of cardboard.  That made it pretty easy to set each pushrod to the right length.

I'll have to take the stabilators back off again anyway because I still have to do the fiberglass stabilator tips, but now that everything is set up they're be quick to put back on.


Saturday, November 23, 2019

Rudder Rigging (2)

2 hours

This was pretty simple.  I put the rudder on with its piano hinge and centered it, centered the control mixer, and then adjusted the cable lengths to keep both parts in the right place.

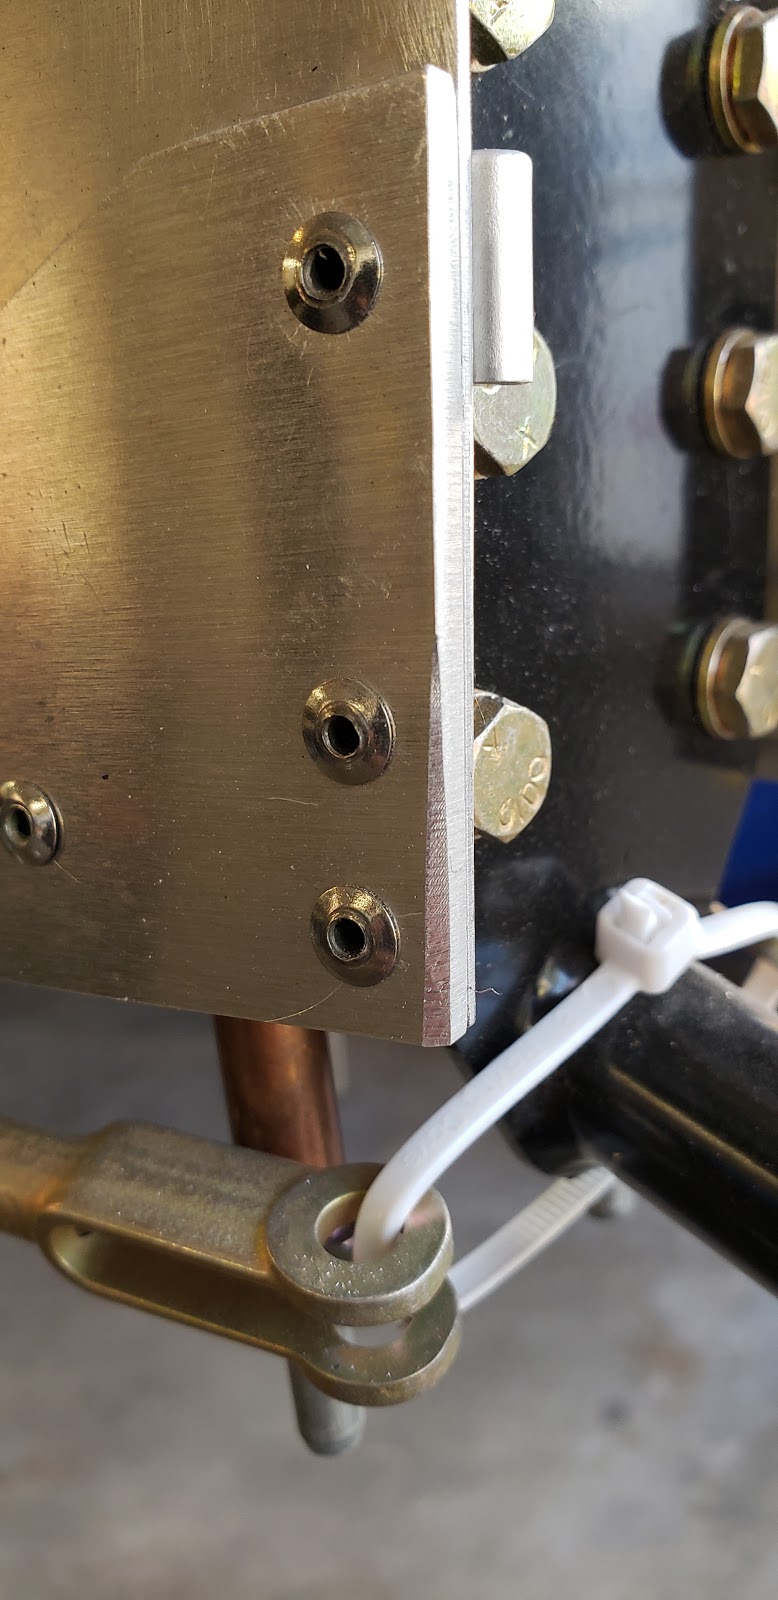
The only issue I ran into was the rudder drive horn interfered with the corners of of the stop plates at the bottom corners of the tail.  I filed some relief into the corners of the drive horn on each side to fix the interference.  However, the drive horn happens to land on the rivets on the stop plate instead of the flat surfaces of the plates themselves.  I'm not sure if that matters, but if it does I think I will just drill those rivets out and replace them with flush rivets.  I'll figure that out later.


You can see here where the drive horn was running into the corner of the stop plate:


I cleaned up that edge which also helped with the interference.


Working on filing relief into the drive horn:


It's pretty good now but I'll probably do a little more later.


Up front, the next task was to link the rudder pedals to the mixer by completing the cable adjusters I started earlier.  The plans say to put the rudder at the left stop, and the left rudder pedal 3/8" from the floor.  I used a 3/8" drill bit as a spacer, pulled the cable tight, marked it, drilled the hole, and trimmed the cable adjuster.  Then I centered the mixer, centered the pedals, and did the same thing on the right side.  I didn't have the right bolts on hand, but besides installing the hardware this part is done!


Wednesday, November 20, 2019

Ruddervators (9)

9 hours

Moving on!  The ruddervators were the same exact process as the rudder, flaps, and ailerons.

Annoyingly, the plastic coating on these two skins is something different than whatever's on all the other parts I've done so far.  It was SUPER hard to remove!  It's very sticky, but somehow also extremely fragile, so I couldn't really peel it off in big chunks.  I just had to sit there and pick away at it.  That covered like 2 tedious hours of the time I spent on these parts.


This bag used to be totally full!

Saturday, November 16, 2019

Rudder (5)

5 hours

Holy crap it's been 6 months but I'm finally back at it!  I've been busy with house projects, work, and other stuff so the poor plane just sat in the garage.  It's time to get back to work!

Anyway I figured I'd start with a relatively simple part and bust out this rudder.  The drive horn plate needed a few degrees worth of bend.  I thought I had already bent all the plate type parts that needed bending, but I guess I missed this one.  I don't have my arbor press anymore but with a little finagling I got it bent acceptably with my little vise.


Next I cut out the skin.  Just like the ailerons I used snips to carefully cut it to the lines.  Pretty easy although I sliced the crap out of my hands, also just like the ailerons.


I fit everything together, which was simple.  The plastic cap at the top didn't fit that great at the tip, but there wasn't much I could do about it so I just got it as close as I could.  I might add some filler later, or more likely just leave it!


Thursday, May 16, 2019

Moving!

This was a project.  We moved from Little Rock, AR to Abilene, TX, and there was no way I was going to let the movers get anywhere near the plane, so I moved it myself.

I ended up renting a 16' flatbed trailer to move everything on.  I think that was pretty much the perfect size, at least without an engine mounted.  I strapped the main gear tires to the forward wall of the trailer, so the engine mount hung out over the tongue of the trailer.  Without the engine that was fine and it made it easy to secure everything.

Anyway, I strapped the front down by the tires and the engine mount.


Next I made two individual wing stands, pretty much copying the idea of the stand I already built that holds both wings.  I didn't want to cannibalize the stand I already built since I'd need it at the new house.  I pretty much built these out of scrap wood I had laying around anyway.  I bolted these stands to the deck of the trailer on either side of the fuselage using self drilling bolts, and then strapped the stands to the sides of the trailer as well to help keep them upright.


I used several straps per wing to contain them in every direction, and also put some moving blankets folded up between the leading edge and the straps to help prevent any chance of them getting dented somehow.  It took me a while to figure out but it worked!


For the rear of the fuselage, I stacked up some wood just high enough to get the tailwheel off the floor, then strapped the tail down using straps crisscrossed around the stabilators.  I bolted a few tiedown rings to the floor to give me something to strap to.


With the big parts secure, I neatly piled up all the remaining large flat parts, long pushrods, flaps, and ailerons under the fuselage and strapped everything to the floor with some moving blankets between the layers.


With the plane all the way forward I had a couple feet of empty space at the back of the trailer, so I piled up more boxes of parts there, along with my other wing rack (mostly disassembled), and my wife's beehive (full of bees) in the back.


I had to stop a few times along the way to adjust and tighten straps and stuff, mostly holding the wings, but eventually we made it!


Here's everything in the new garage.  It'll probably be a little while until I get back to serious work but I'll have plenty of room here!


Overall this was a decent amount of work but it was totally doable.  This was a 500 mile move so it only took a day, but once everything was secured I think I could have driven it indefinitely...  With that said, I hope I can have the plane done before the next move!