3 hours
Before I get too much further along with the engine, there were a few more things I wanted to do to the firewall.
First, when I installed the fuel tank and then riveted the top of the firewall to the glareshield flange, I found that the tank was very close to the back side of the upper firewall. So close to one spot, in fact, that I couldn't even insert a couple of rivets all the way!
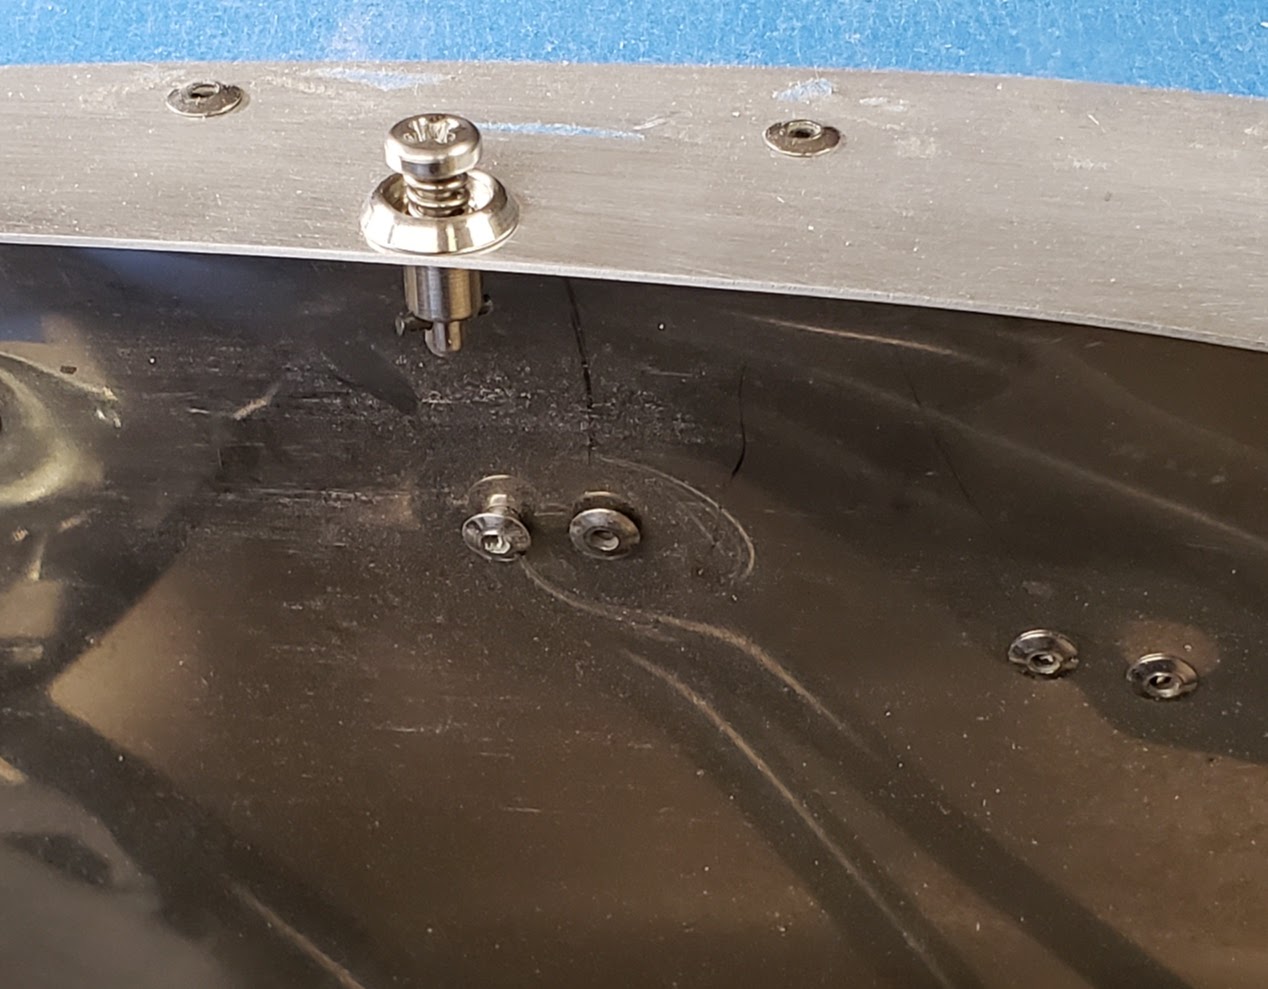
I decided that I really should pull the tank back out and redo those rivets, and make sure there weren't any real serious interference issues between the tank and the firewall.
Removing the tank was actually easier than I expected, EXCEPT I totally mangled the bulkhead fitting on the top forward end of the tank that connectd the vent line. I'll have to replace that fitting. Besides removing the vent fitting, I had to pull the panel off and remove the two throttle mount plates and the brake lever, and then I was able to wrangle the tank out. I found a few little marks on the front corner but nothing too extreme thankfully.

I drilled out and replaced those two problem rivets with the shortest rivets I had.
Next, there were some decent size gaps between the firewall and the upper engine mount blocks. Too big for caulk at least, in my opinion. I found some fireproof putty on Amazon, and used that to fill the gaps.


I did not have to use very much.

Next, in order to alleviate any concerns about the top edge of the tank chafing against the back of the firewall, I used some spray adhesive to attach some felt strips to the inside flange for padding.


When I re-install the tank, I plan to put some teflon anti-chafe tape along the top edge of the tank to further protect it!
Finally, I used some fireproof caulk to seal up all the seams and rivets on the front of the firewall.


No comments:
Post a Comment