Today I started installing the RH stabilator skin. I began by clamping the skin to the structure and double checking my measurements several times. Then I drilled and cleco'ed the bottom of the skin on. This was easy and went pretty quick!


Next I flipped the assembly over and tried to fold the top of the skin down to the structure. This was harder than I thought it would be! I tried pulling it down by hand and clamping it and that was hopeless. Then I grabbed a pair of tie down straps from the garage, and that got the trailing edge of the skin within less than an inch of where it needed to be, but that was it.
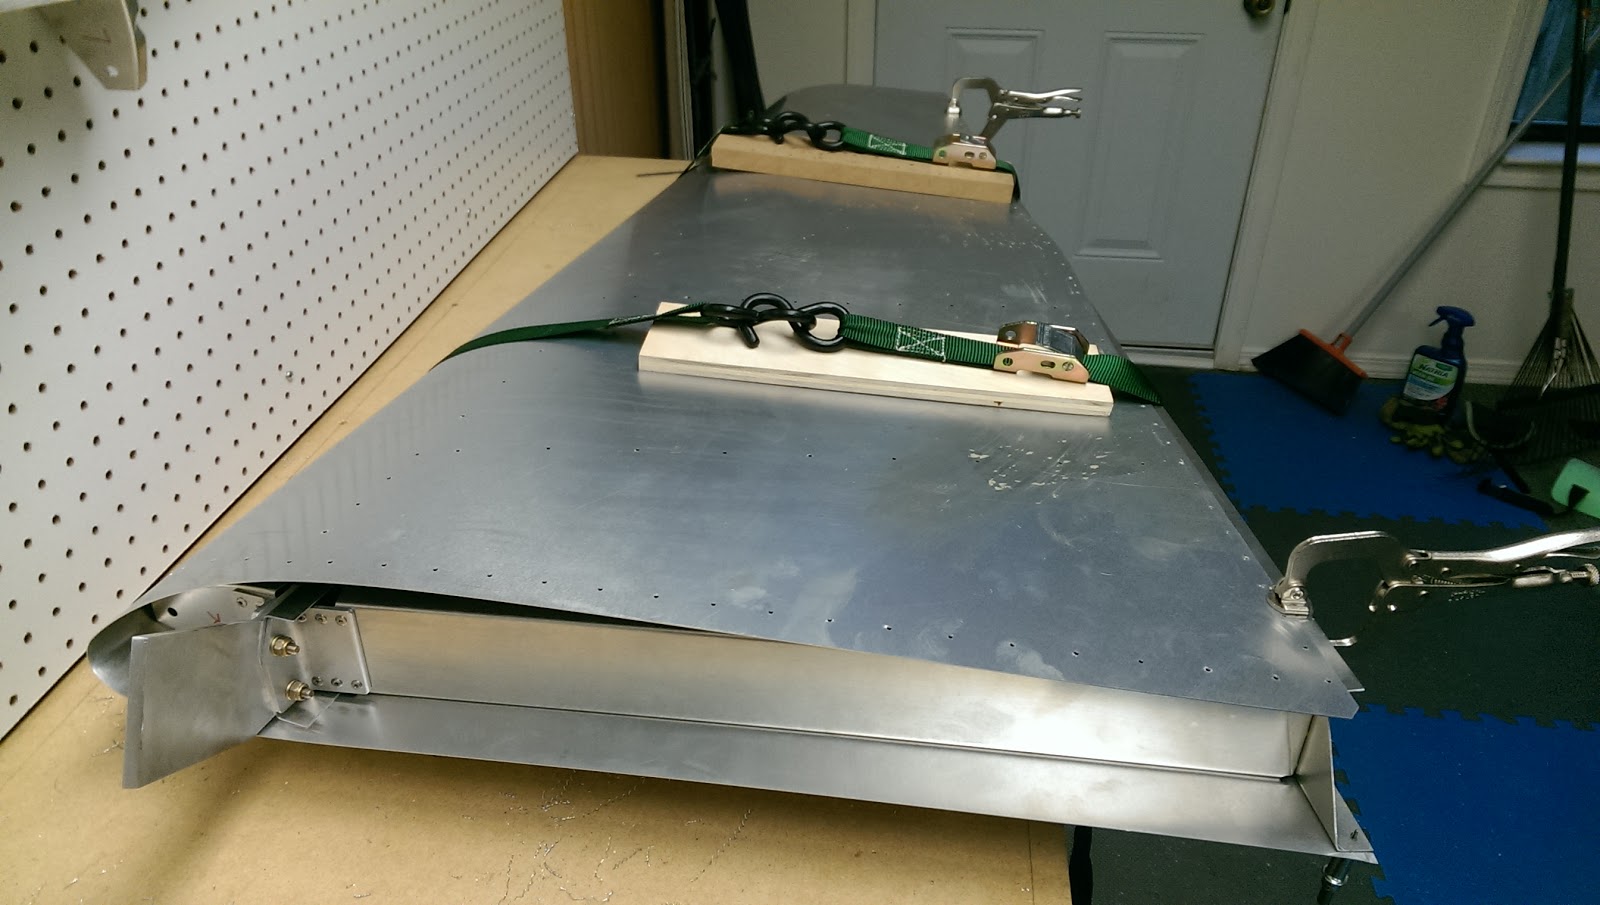
After scratching my head a bit, I remembered seeing some other builders using 2x4's to flatten the skin against the ribs. I went back to the garage and grabbed some scrap wood and two big ratchet straps.

This got the trailing edge real close but I still didn't have enough arms to hold it by myself!

Eventually I got my wife to help me. I tightened down the straps and pulled the skin toward the trailing edge as hard as I could while she clamped the skin to the aft spar. I was able to get the tip end aligned just right so I drilled one hole and put a cleco in it, and then we worked our way to the root of the stabilator. It ended up not quite 100% perfect, but the trailing edge of the skin is within about 1/32" of the trailing edge of the spar (about a third of what is shown in the picture above). I think it will be good enough!
I drilled the trailing edge of the bottom skin and started working my way forward until I ran out of silver clecos, and then I called it a night. It finally actually looks like part of an airplane!


No comments:
Post a Comment