I wanted to get the throttle and mixture cables figured out, since they have to penetrate the firewall and they aren't super flexible, so I didn't want to inadvertently install something that would be in their way.
The first thing was to source parts. After some research I ended up ordering this mixture control from Aircraft Spruce: https://www.aircraftspruce.com/catalog/appages/a7902.php
It's probably overkill for this plane, but I wanted a vernier knob and this one seems pretty nice. I ordered the 72" length, and only ended up cutting off like a foot, so I recommend that length.
For firewall penetrations, I bought two of these cable fittings: https://www.aircraftspruce.com/catalog/appages/cablesafe.php
They have a 1/4" ID, which fit the ACS mixture cable perfectly. The stock AeroConversions throttle cable is a hair larger than 1/4" though. I carefully drilled one of the fittings a tiny bit larger to fit the throttle cable, and it seems to have worked fine.
I installed the mixture control in the stock location on the left panel support bracket. I updrilled the pre-drilled hole to the appropriate size and then installed the control housing. The only issue with this stock location is that the bracket is a little small for this knob. I ended up having to omit the lockwasher that came with it, and file a little bit of a chamfer on one edge of the nut so it would fit. It might have been worth trying to drill a new hole in a different place, but I think this will work.
I located my two firewall penetrations in the upper left corner of the firewall, to give both cables as straight of a shot as possible through the fittings.
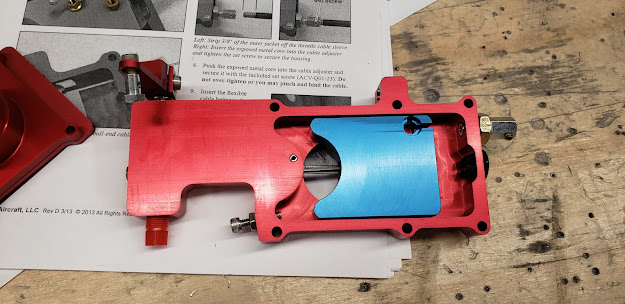
The next step was to install the throttle cable into the AeroInjector. You have to disassemble it to install the cable, and then it just snaps in to the throttle plate. Then I put everything back together and fed the cable back through its housing to the throttle lever.
To make a nice angle for the two cables, I installed the injector on a slight angle to the cables enter it from the front right.
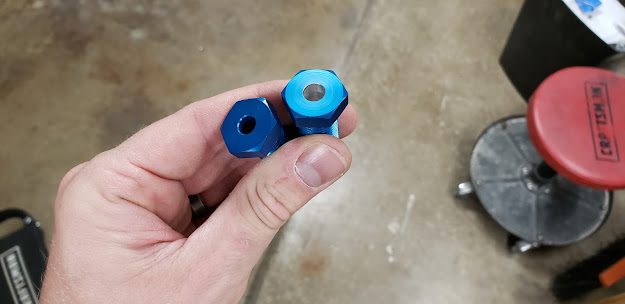
Next I connected the mixture cable. This gave me some trouble at first, because the instructions have you route the cable end through a swivel nut and then tighten the nut. It's supposed to be tight enough to hold the cable tightly, and still allow the swivel nut to rotate within the swivel arm. I found that tightening it at all clamped the cable against the arm, so it couldn't rotate!
I ended up buying a set screw from Home Depot, running a tap through the swivel nut so the whole length was threaded, and then installing the set screw from the opposite side. The set screw pushed the cable away from the arm, so when I tightened the original screw it held the cable securely without locking it against the arm. That worked well and now it moves nice and freely!
Here's my overall cable routing:


No comments:
Post a Comment