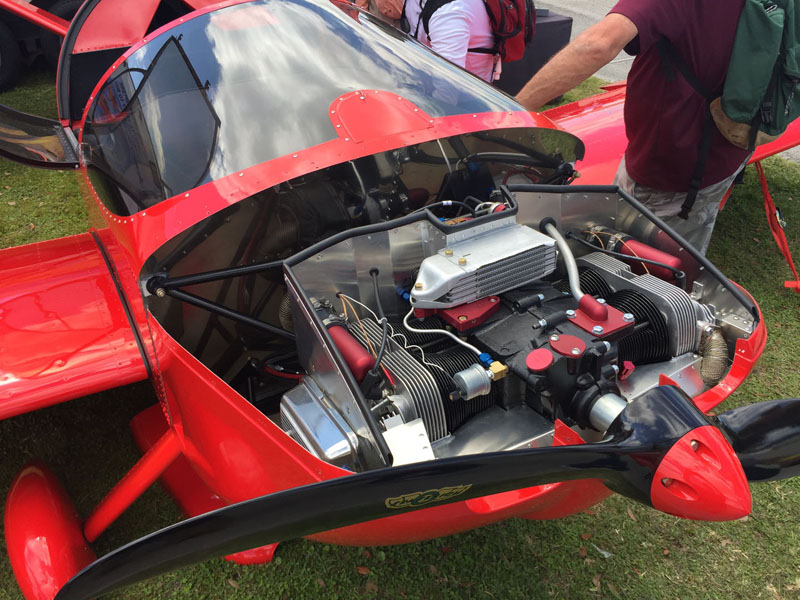
Fitting the baffles was a pretty tedious process that I spread out over several days. Like I mentioned before, you get a bunch of laser cut parts, but very little guidance for how to fit everything together. The photos that came with the instructions showed a baffle that appeared quite different from what I got, so it was an okay reference but not great. Once of the most helpful references I found was just this one picture of the factory B-model on the Sonex website:
Anyway I guess even though it's not super apparent how everything is supposed to fit together initially, there's probably really only one way it all fits, so after a bunch of trial and error I figured out where each piece is supposed to go.
The aft fence pieces were the trickiest to get into position. For anyone reading this I'd recommend waiting to bend those parts until you try installing them first. I had to make a bunch of adjustments to my bends but luckily they're only ~10-degree bends so it wasn't a big deal to bend them back somewhat.
I also had to do a bunch of trimming on the center aft part that forms the oil cooler exit. But, once that was done I was able to get the aft fence installed. From there I attached the side fences, which sit on top of the heads. The forward area was the most confusing to configure but it didn't take too much trimming or adjusting to get it into place.


 |
| This piece is not used; even Sonex doesn't know what it's for! |

 |
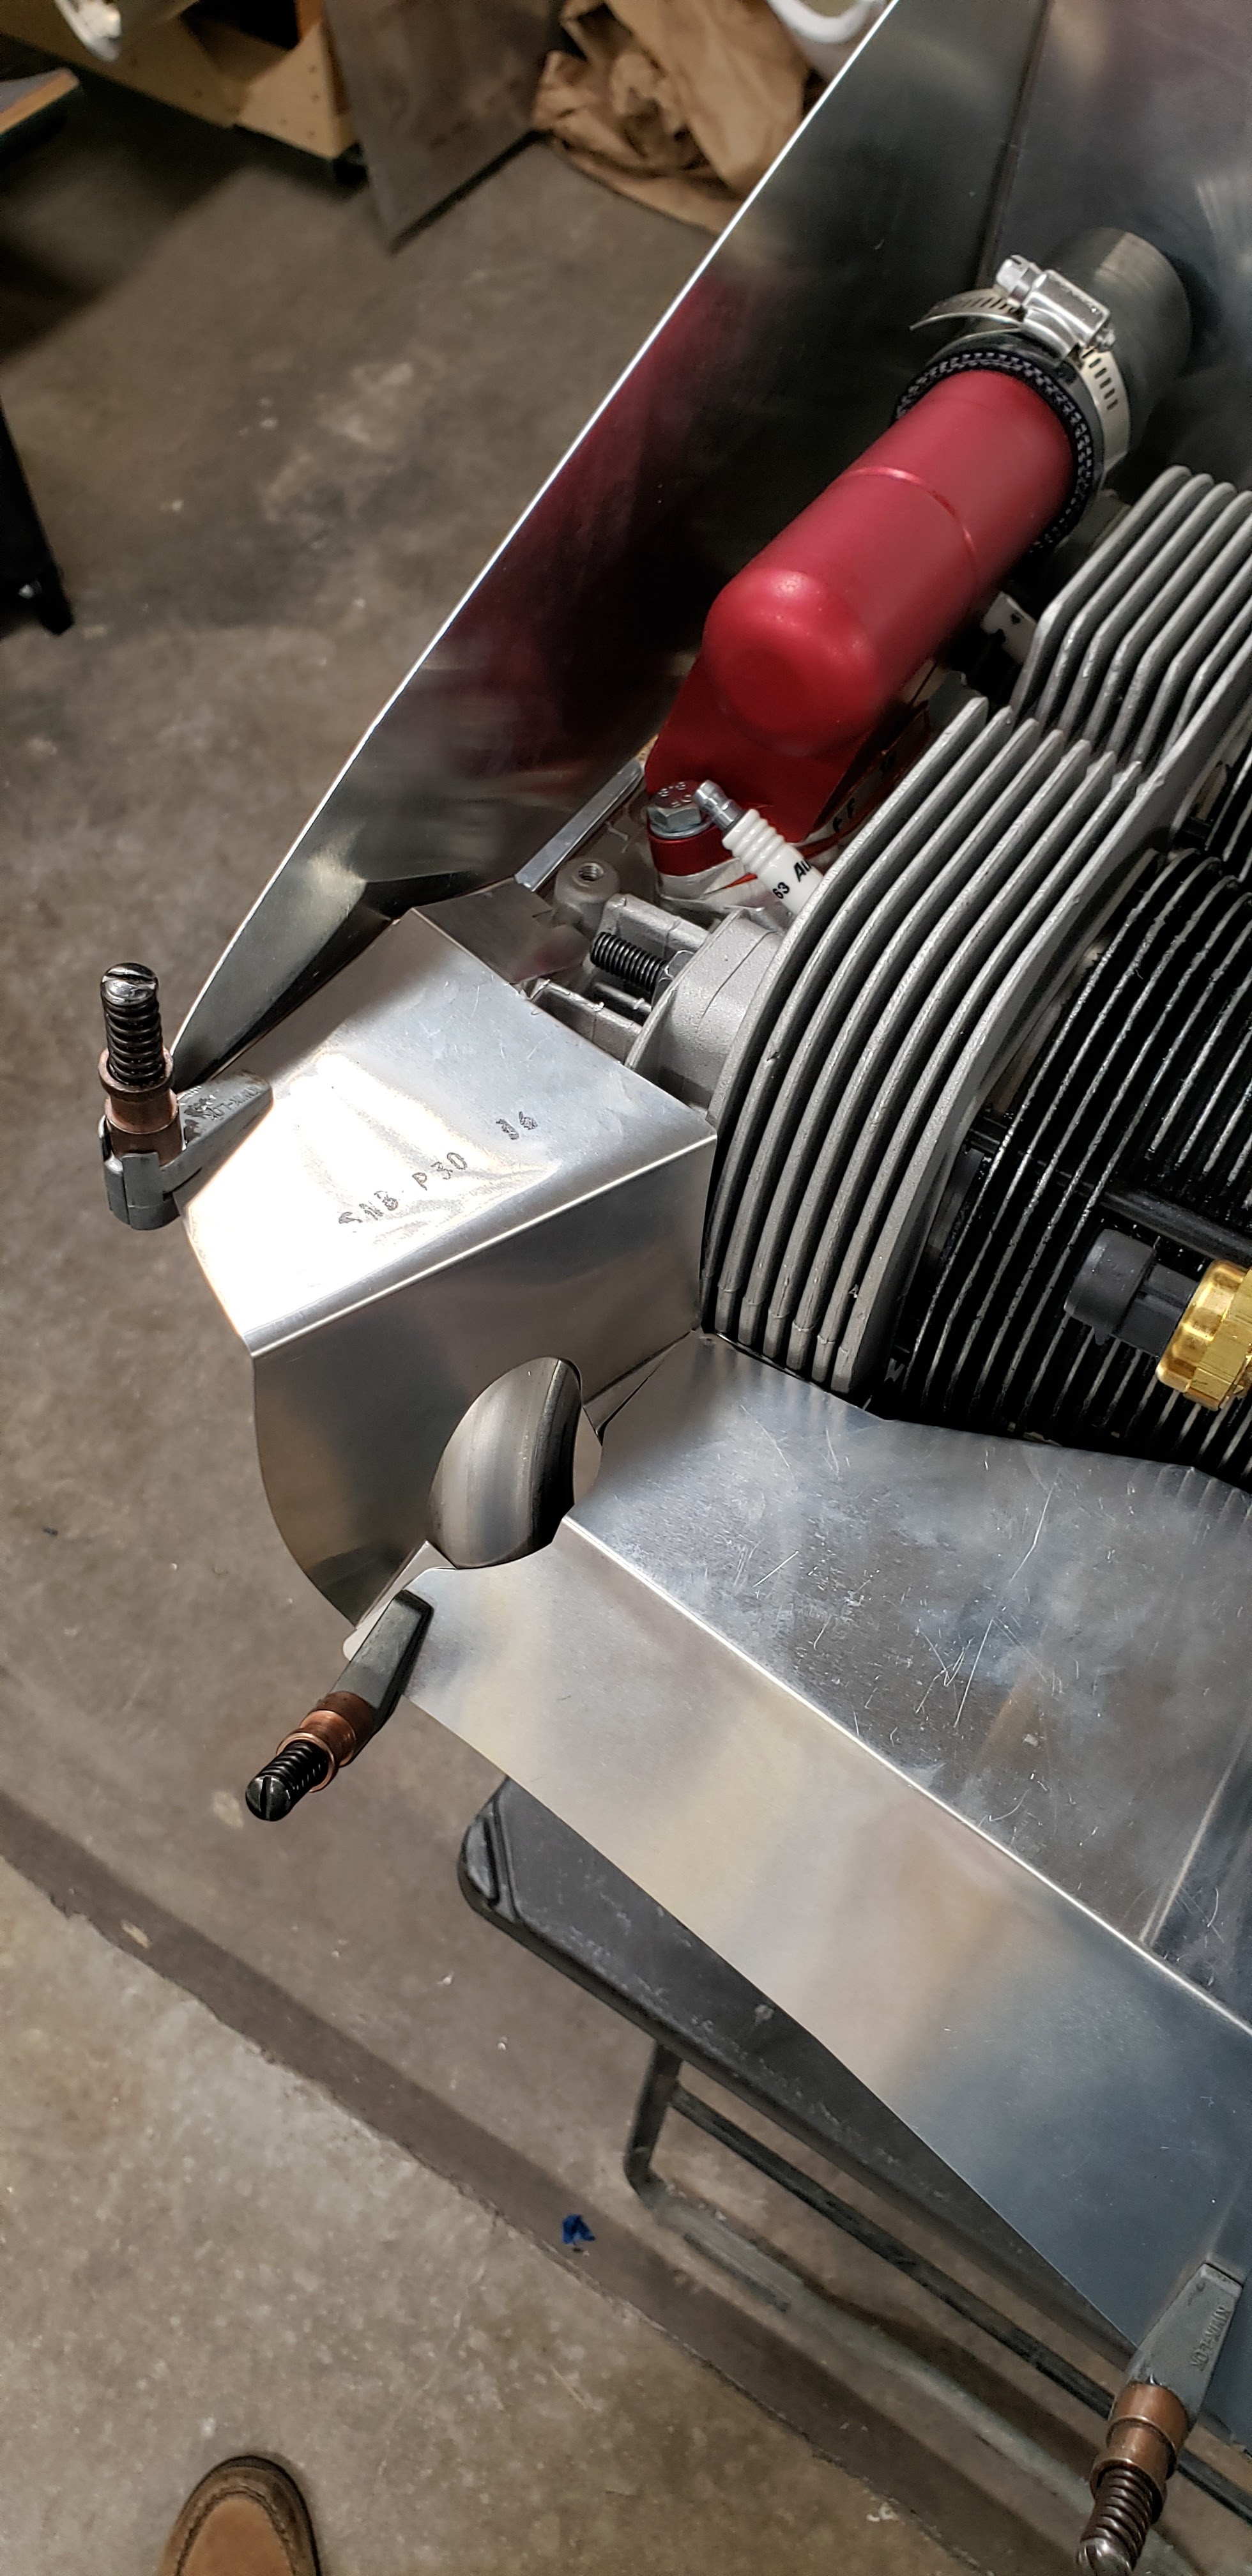
| At first I thought these tabs with slots were points to be bolted to the head somehow, but they actually just bend up 90-degrees and the tab fits around a rib on top of the head. |


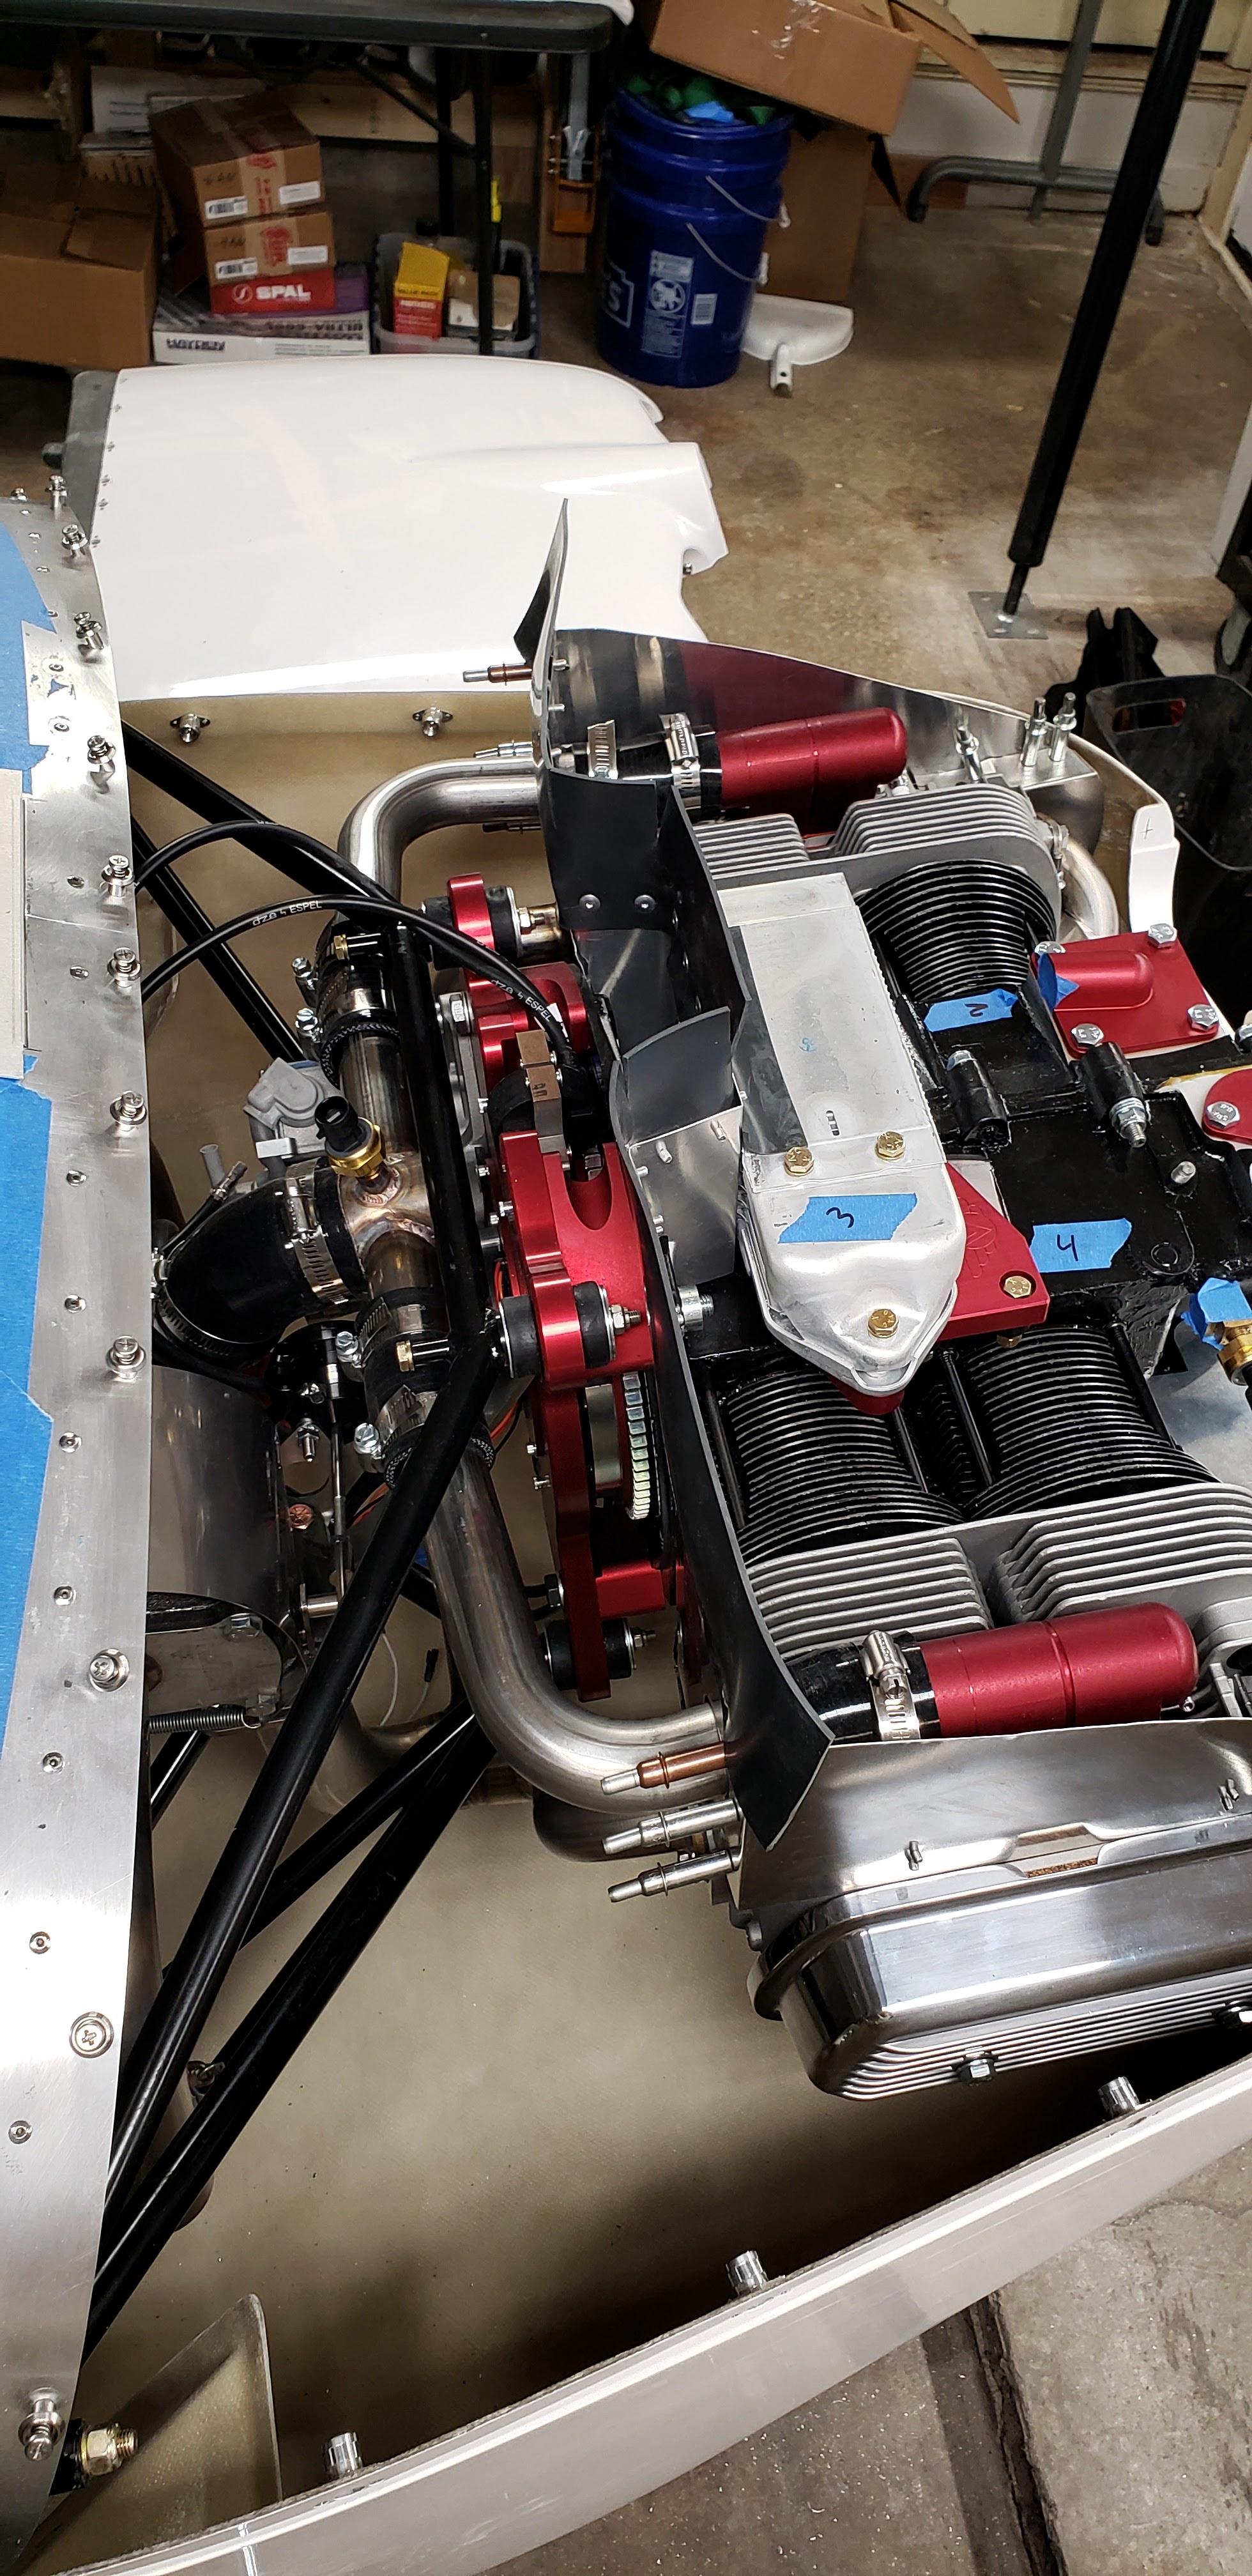
That was my initial test fit with clamps. From there I did some trimming and adjusted some bends, and then began drilling and clecoing parts together.


The next step was getting all these parts to coexist with the cowl. I had to trim a little bit off the front right away, but after that I got the lower cowl back on.


To get the upper cowl on, I had to trim the side and aft fence parts down to create a nominal 1/2" gap between the top of the baffles and the inside of the cowl.


It took many iterations, and I probably trimmed off a little more than I needed to, but eventually I made enough clearance for the upper cowl to fit over the baffle. I used a roll of this silicone material to bridge the gap between the baffle and the upper cowl.


I also installed a little strip on top of the oil cooler to close up a gap there.

Here's the mostly complete aft fence.

The Sonex plans say to make little doubler strips and rivet the rubber parts between them and the fences, but I found these large-head aluminum rivets specifically for baffle making. I'll try just using these and if the rubber starts to tear later I'll do the doubler strips.


Next I cut the holes in the aft fence for the intake manifold to pass through. I just used a hole saw.


Finally the whole intake is installed!
No comments:
Post a Comment